Spring has definitely sprung in the last few weeks in Vancouver. Peonies are starting to be in season and I can’t wait to spend my life savings on them so I can put them on all the cakes! To those of you who ask if I buy fresh flowers every time for these blog posts, the answer is yes. Why yes I do. So if you have any leftover flowers from a dinner party you attended or hosted (thanks, Nora!) or just have some extra flowers laying around, donate them to meeeeeee. I’ll give you a slice of cake (or two!) in return!
Have you guys noticed all the amazing new cookbooks that came out recently? I am exercising all the self-control I have in body to not put everything in my Amazon shopping cart. One of the cookbooks I have been most excited for is Tessa’s (www.stylesweetca.com) cookbook, Layered: Baking, Building, and Styling Spectacular Cakes. Nothing gets me more excited than layering cakes and it feels like her book was made just for me. It has so many tips and tricks on creating the perfect layered cake. To me, the best part of Layered is that Tessa has at least a photo for every recipe.
Tessa and I met up for the first time a month or so back to talk all things cake, blogging, and living (aka eating) in Vancouver. We talked about how she sometimes she has to shoot her cake photos while carrying her son on her back?! She is incredible. The cakes she makes are incredible. The crumb always looks so beautiful. Tessa reached out a few weeks ago and asked if I would be part of her online release copy (*cue fangirl squeals*). She sent me an advanced copy of her book and all I did during the days after receiving her book was flip through each recipe again and again being in awe of all the perfect layers, delicate crumb texture, and fluffy frostings of each recipe.
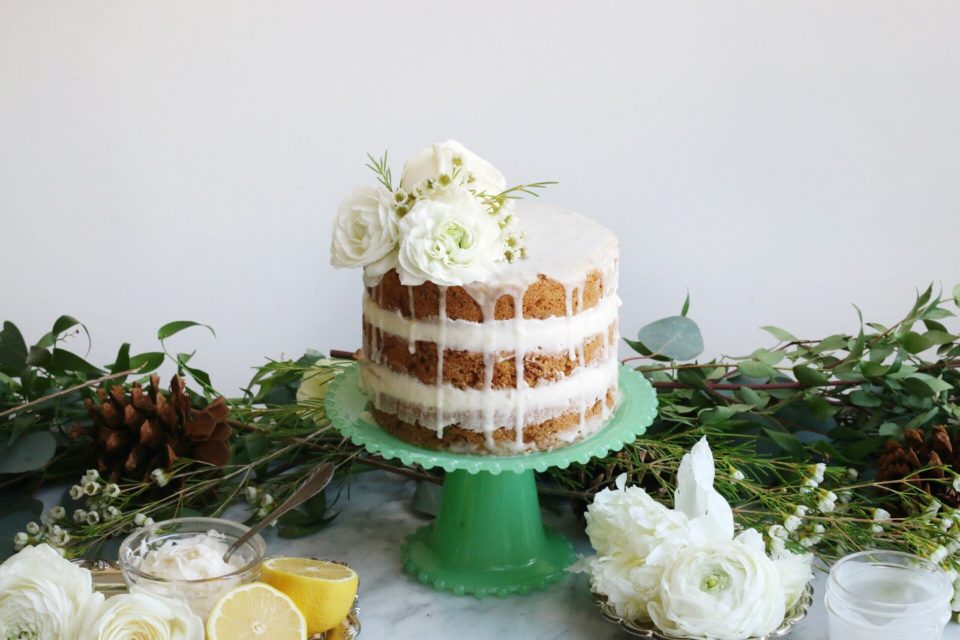
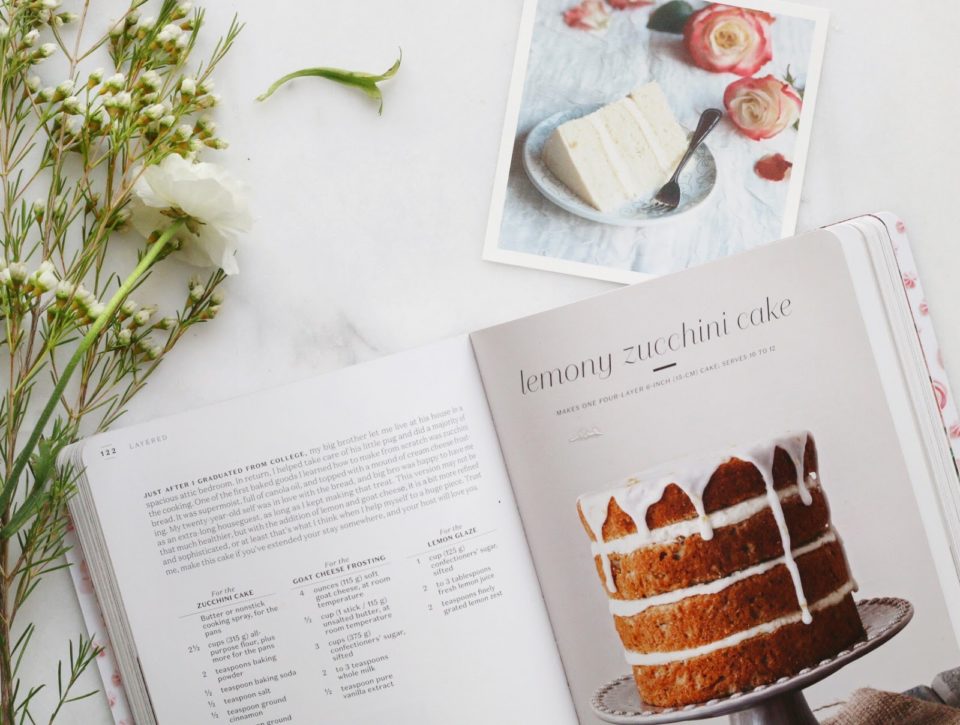
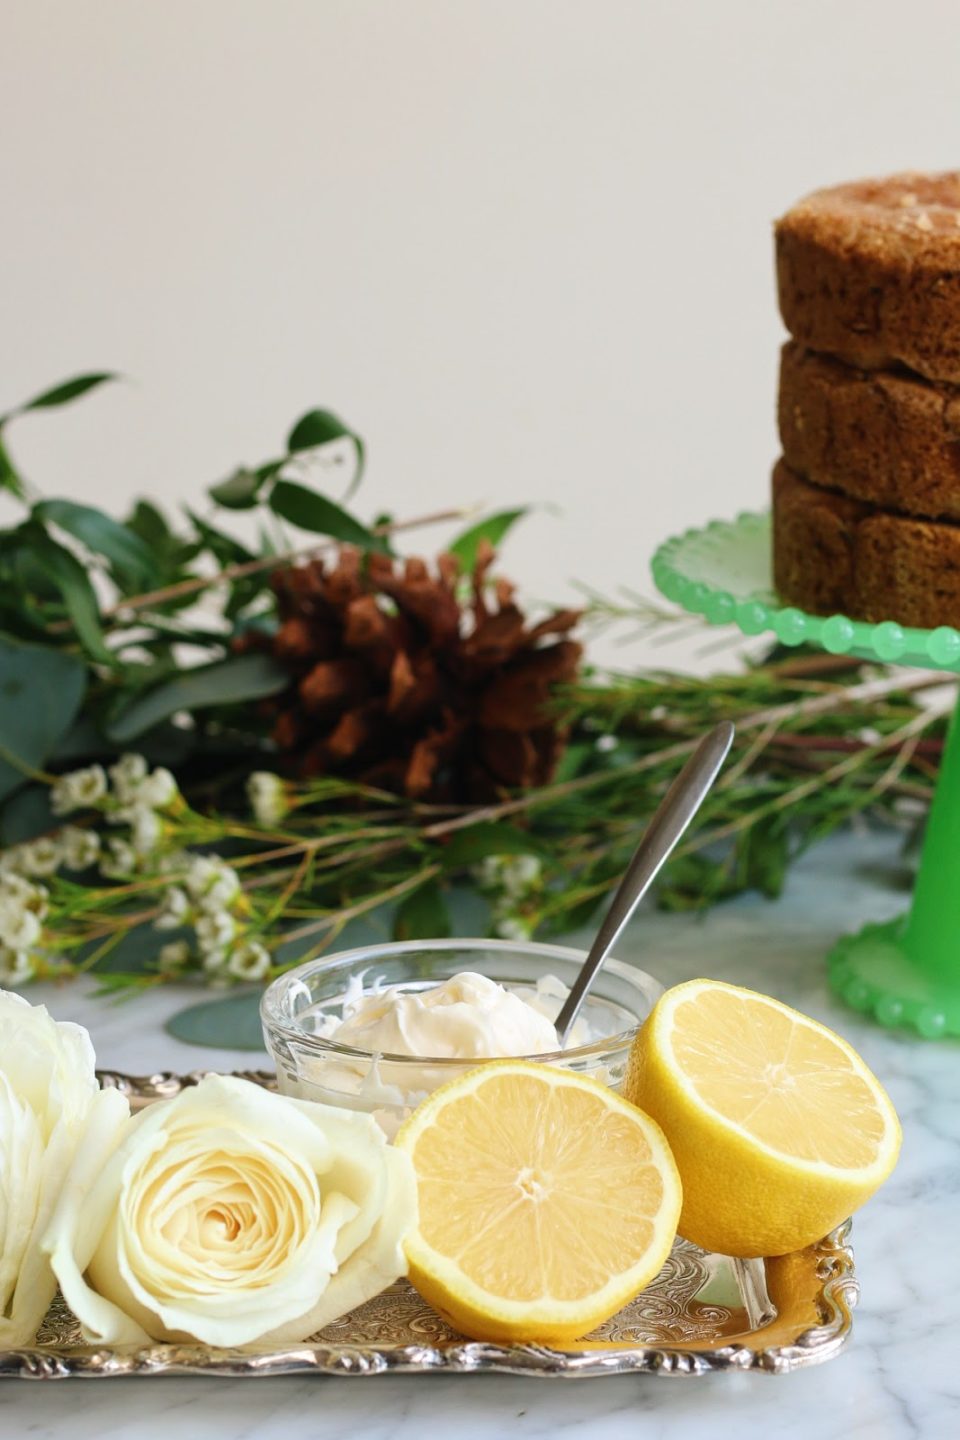
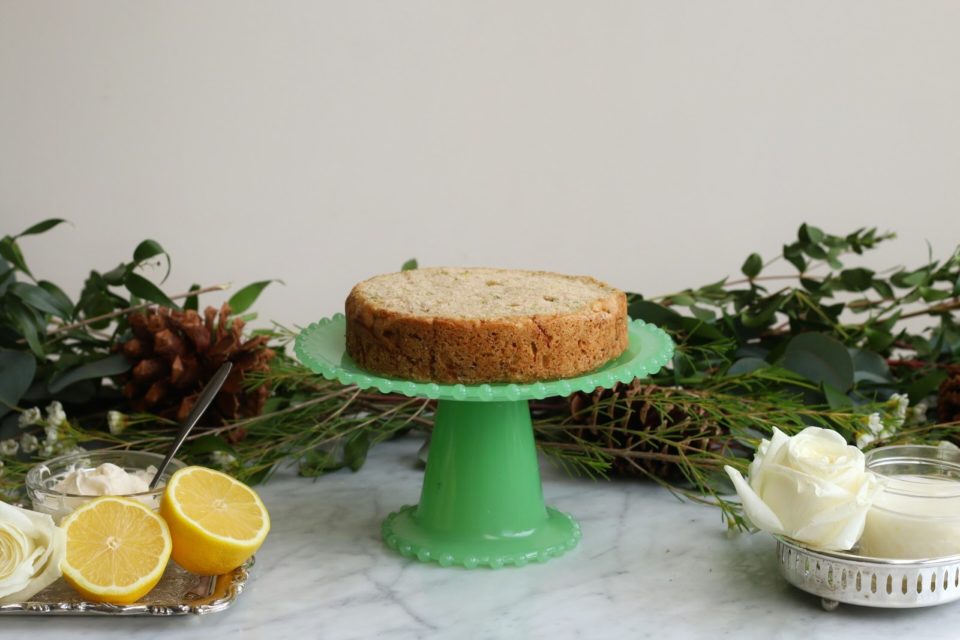
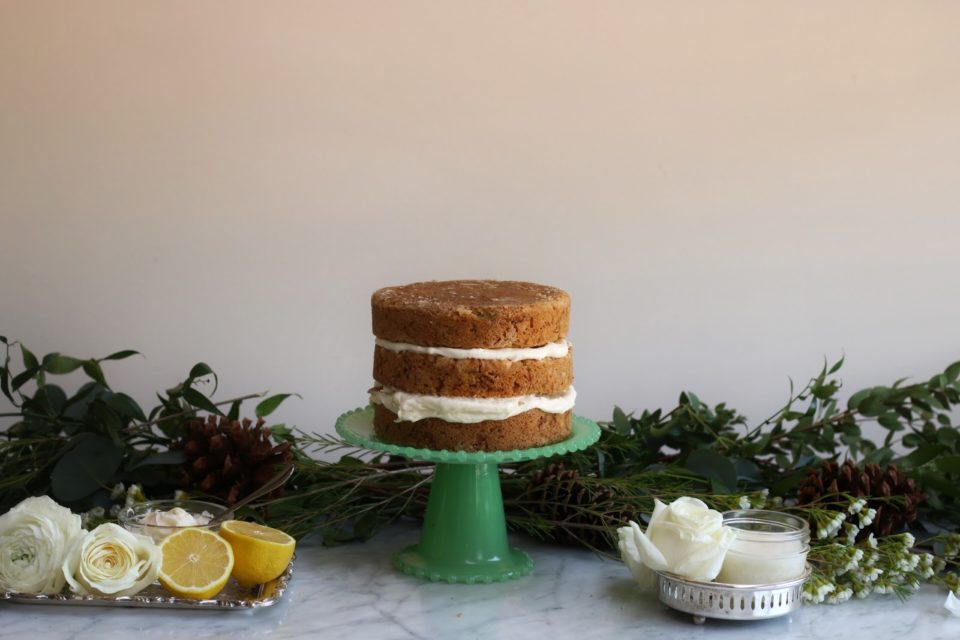
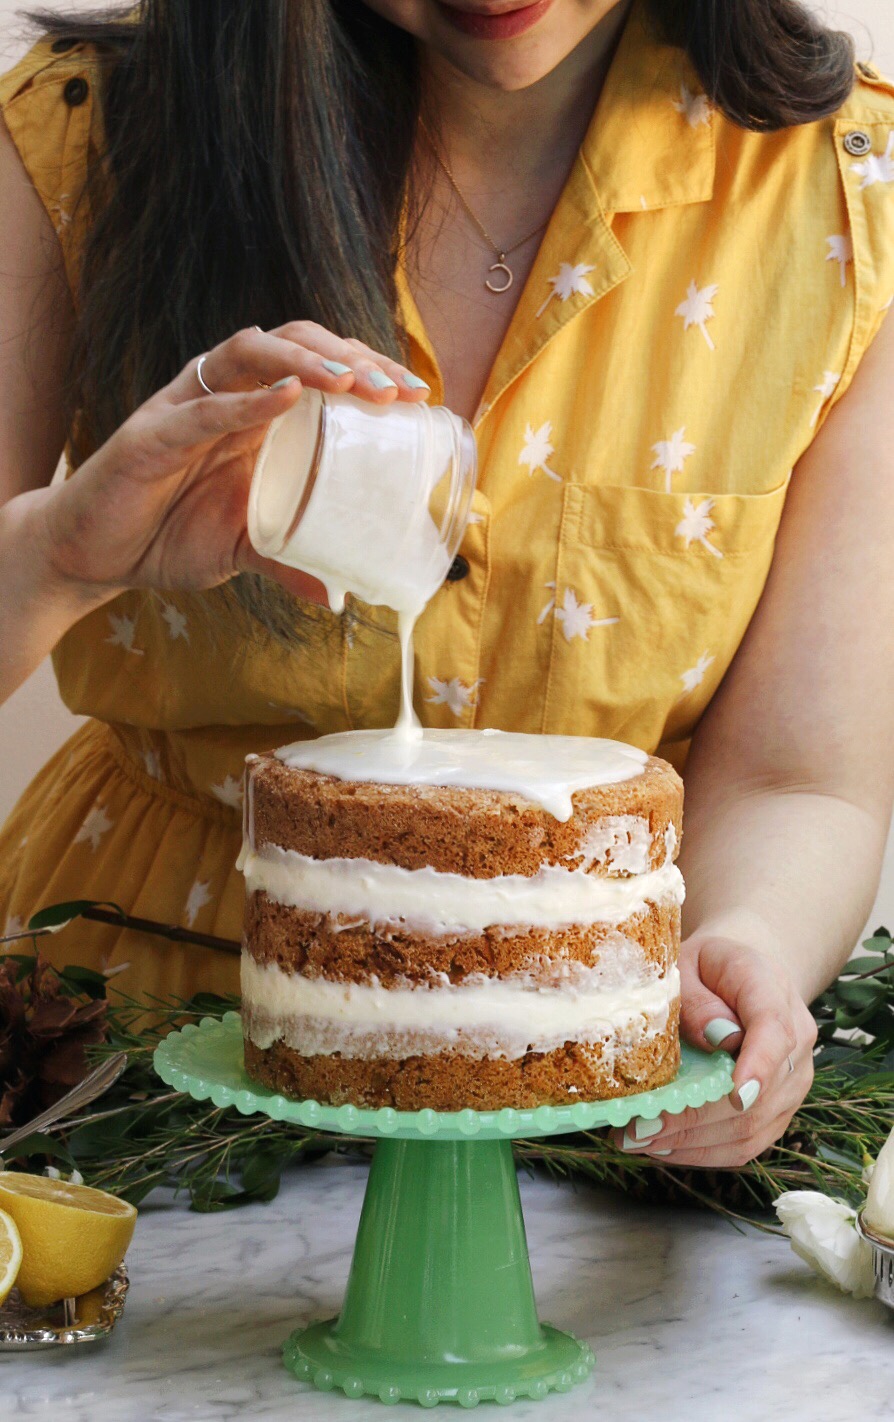
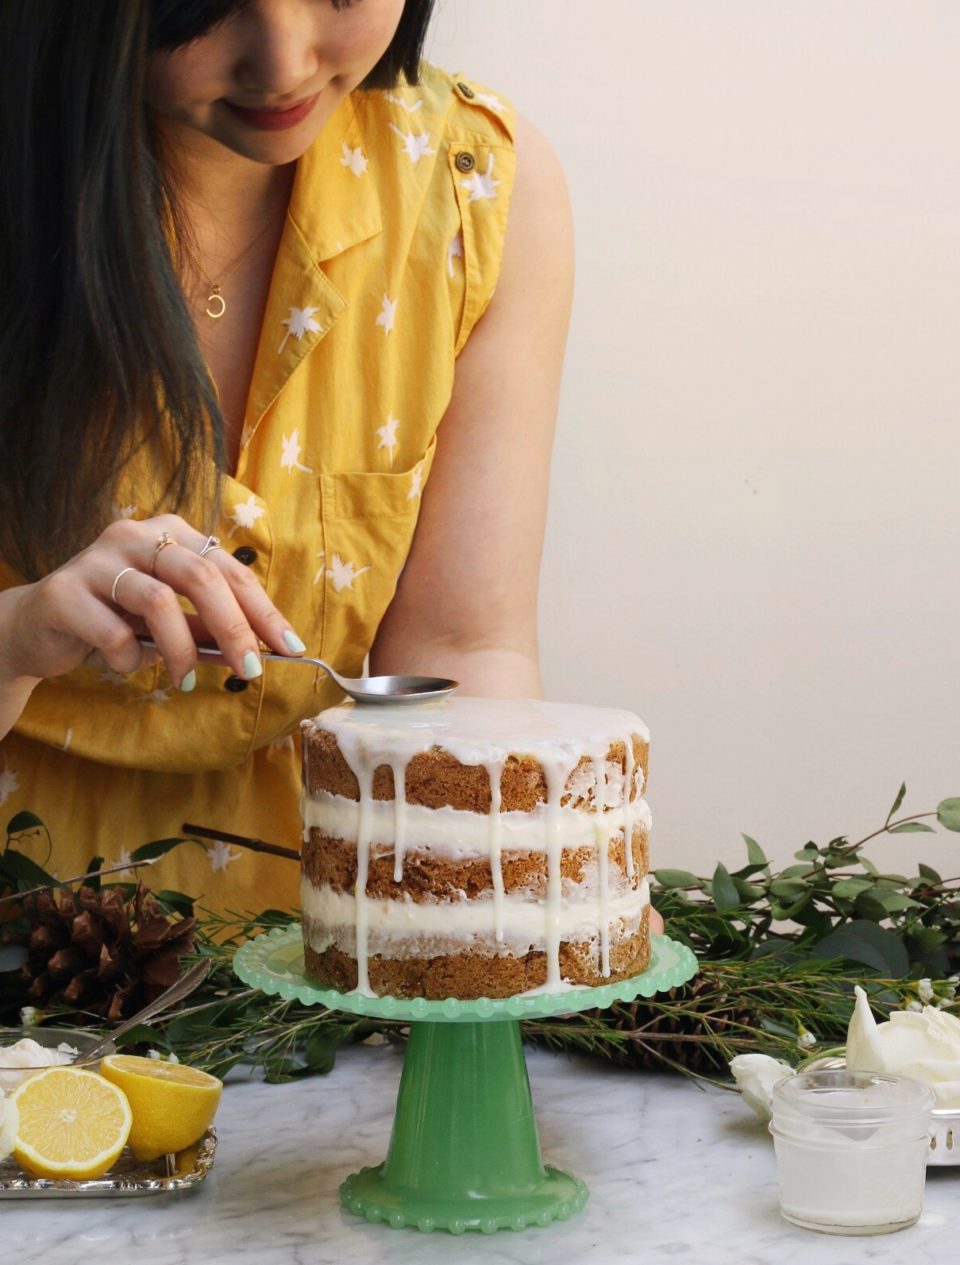
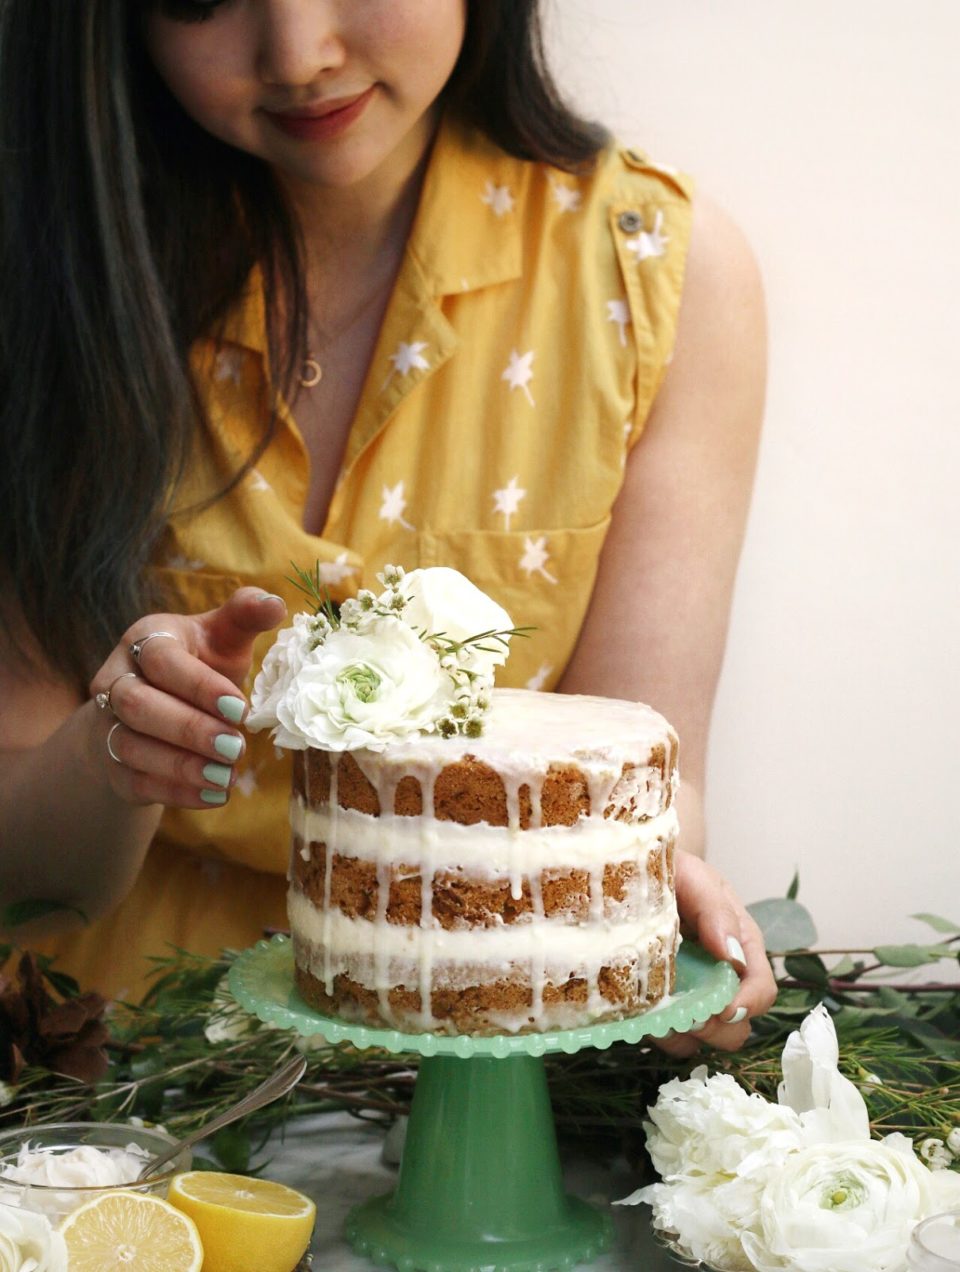
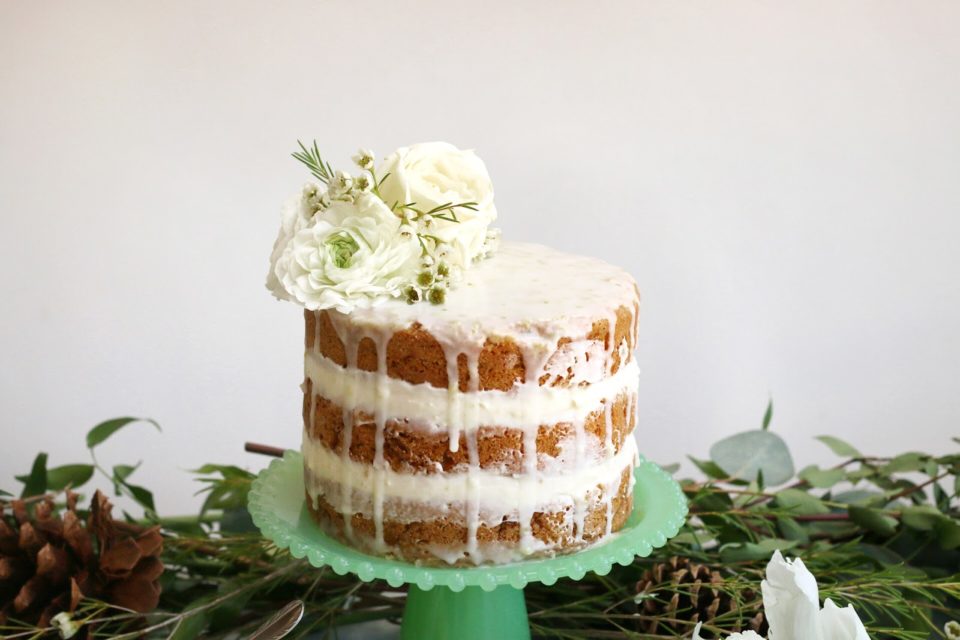
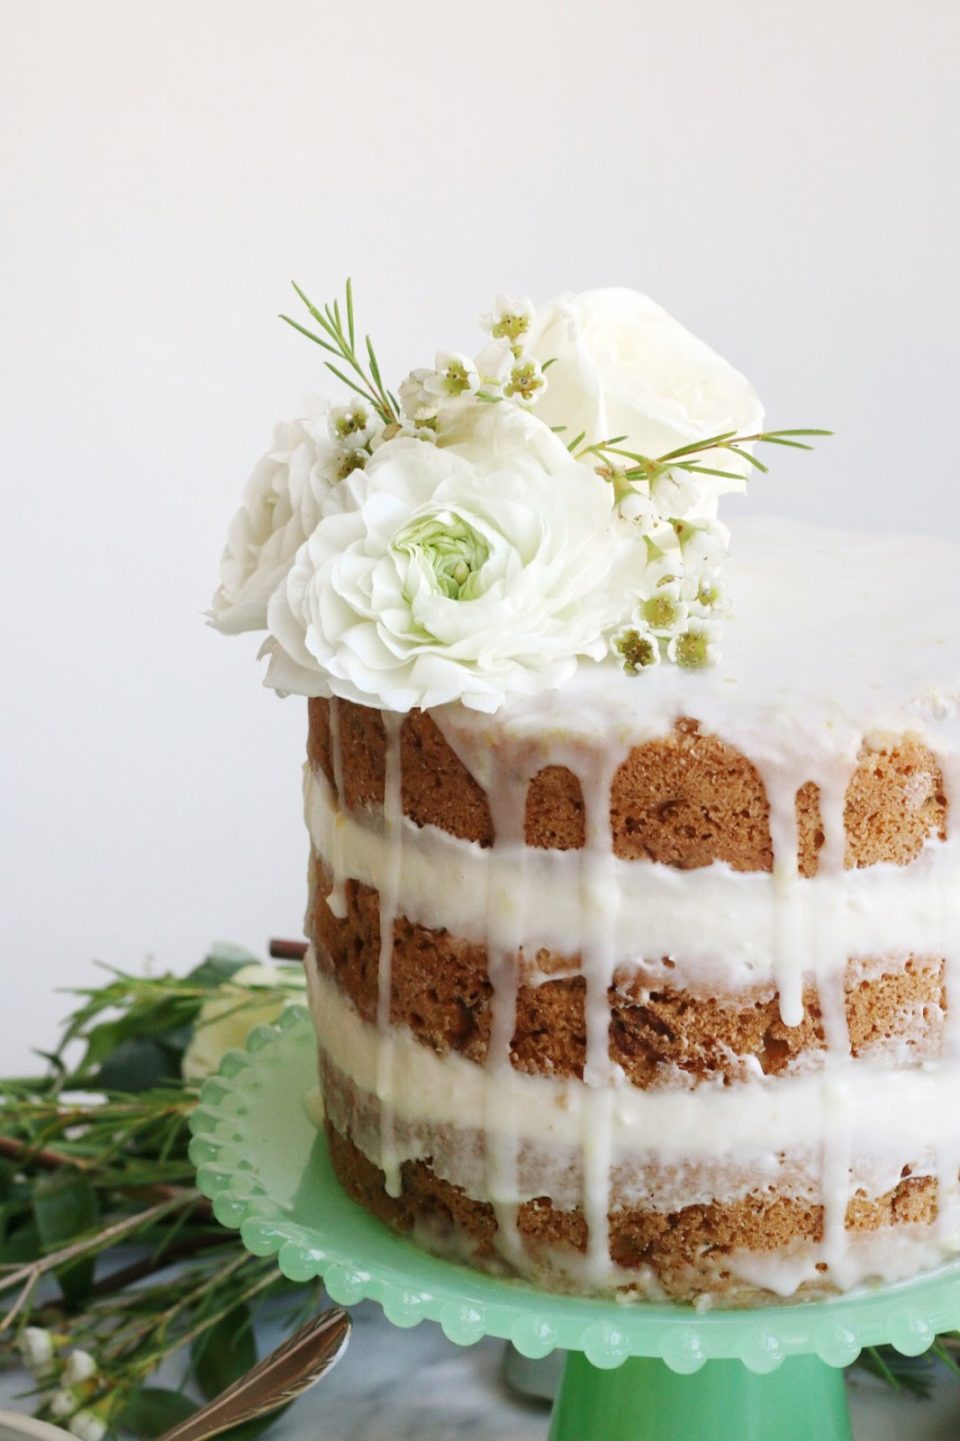
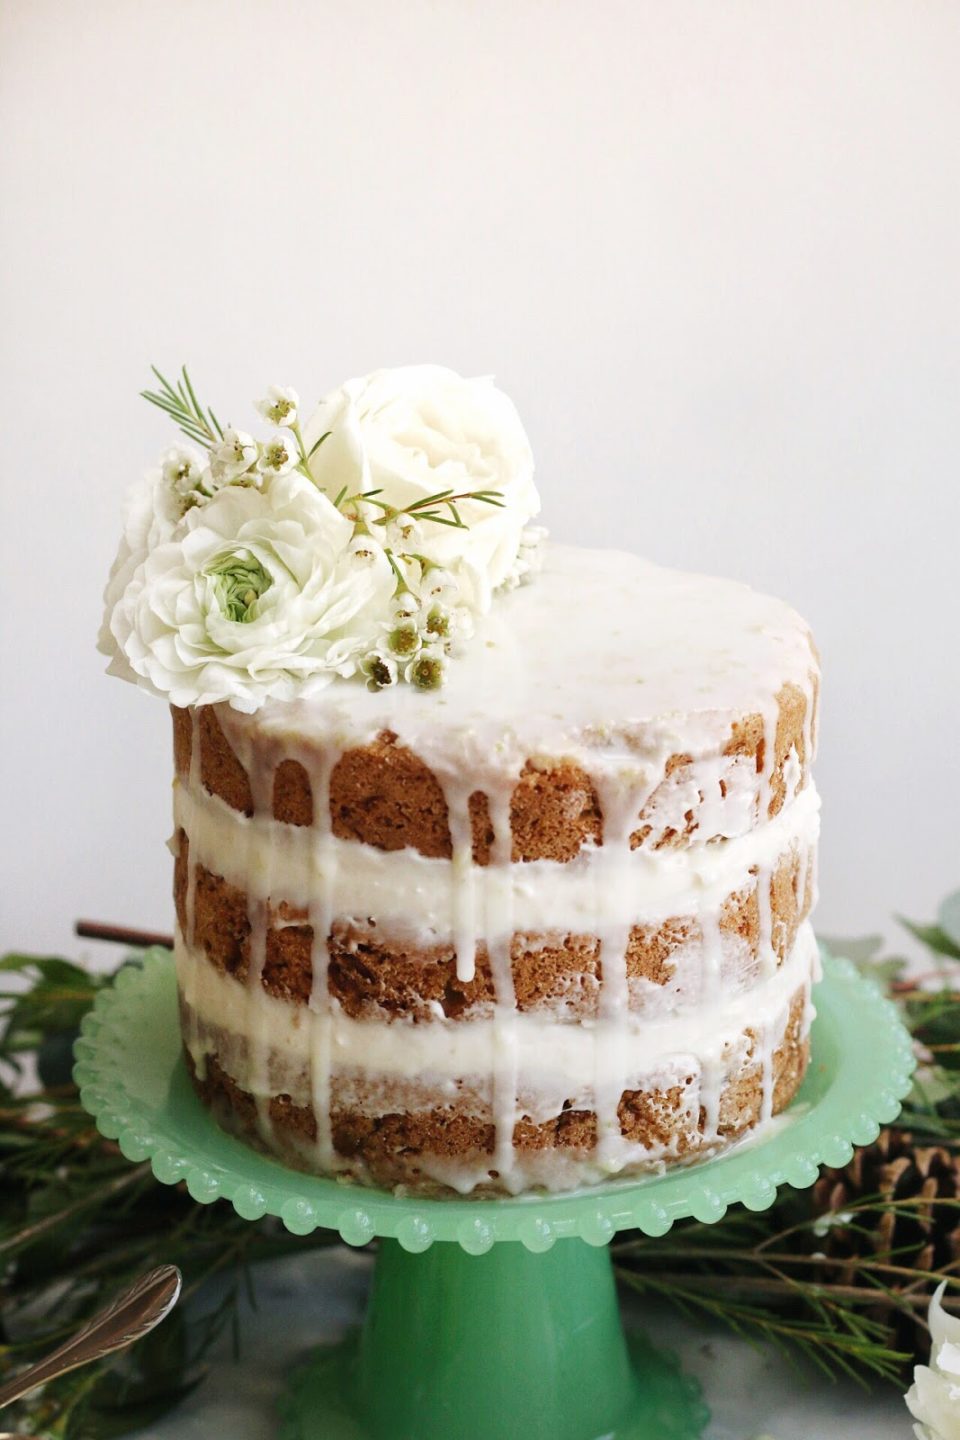
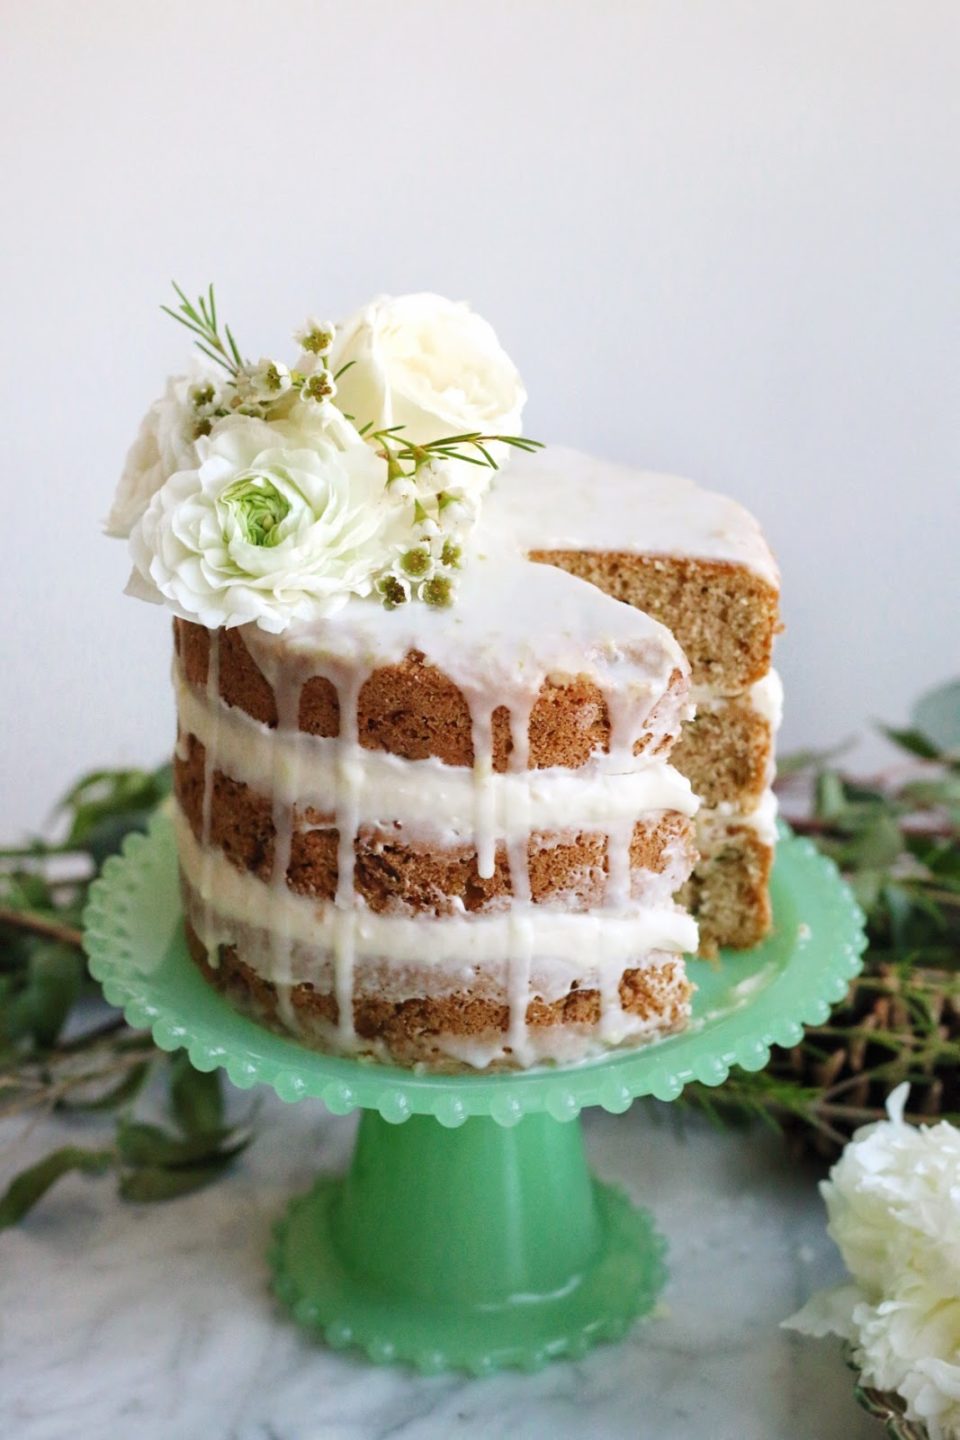
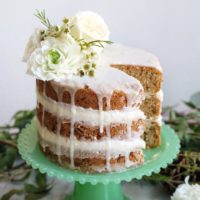
I decided to make the lemony zucchini cake from her book. The drippy lemon glaze got me all like *insert dancing lady emoji*. My first drippy cake attempt did not go so well so I had my fingers crossed the entire time right when I poured on the glaze. I’m not sure how to decorate a cake without using flowers so I went with an assortment of white flowers to match the frosting and the lemon glaze.
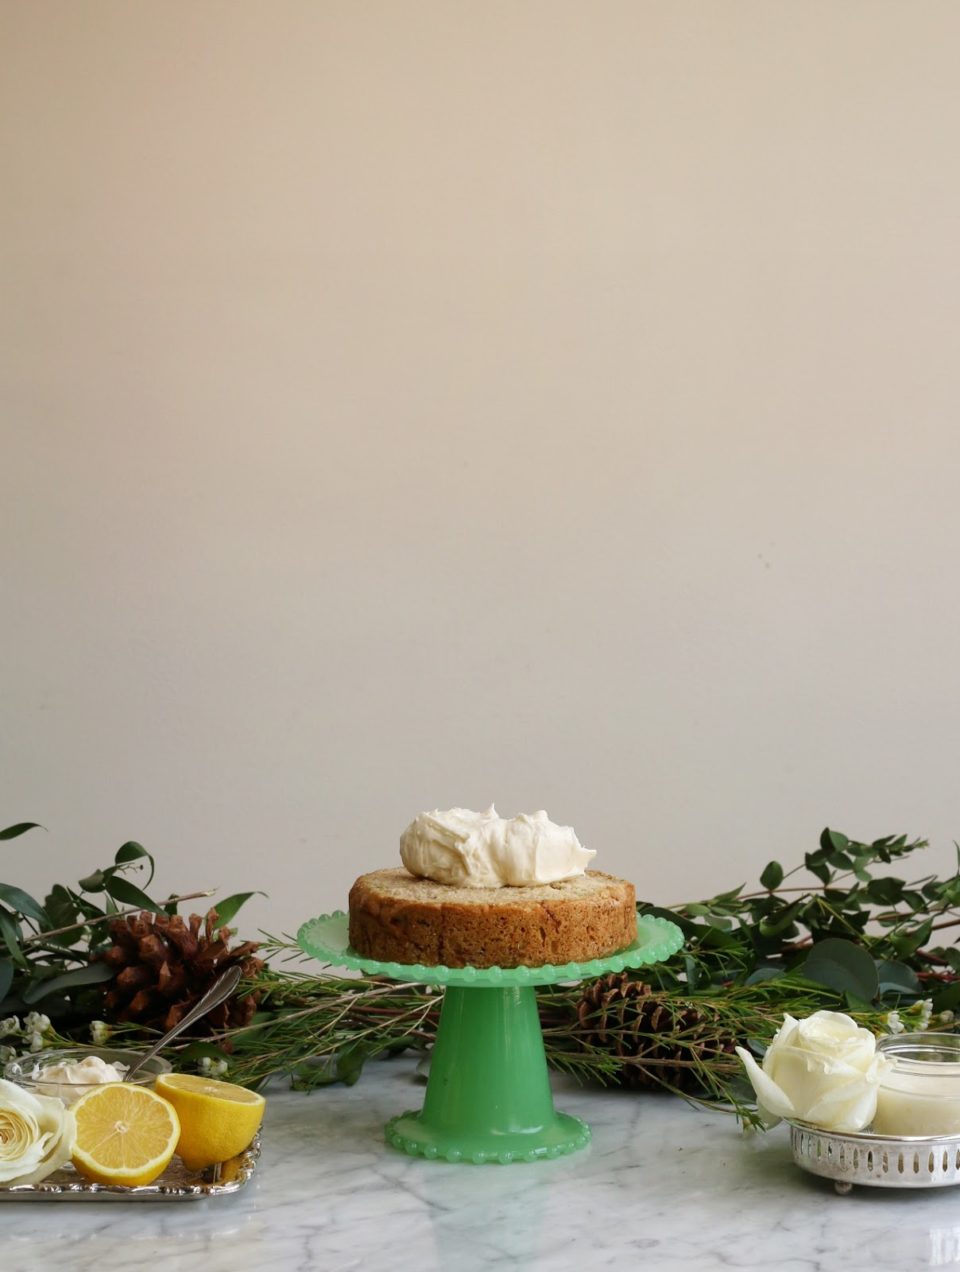
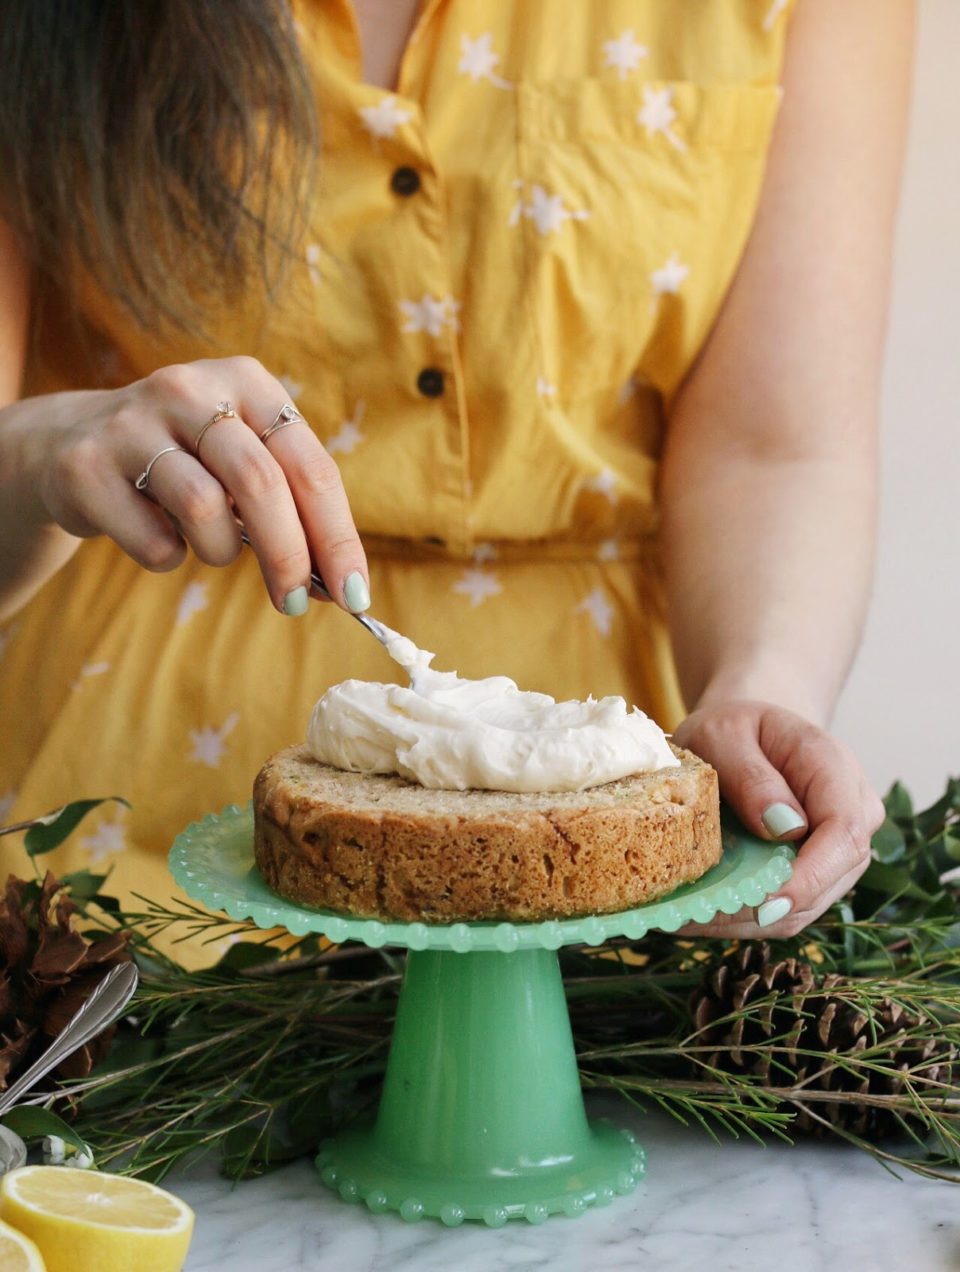
The flavours of the cake are soooo perfect for spring and summer. I followed Tessa’s recipe for the cake but ended up with a three-layered 6 inch cake instead of a four-layered cake as shown in the book because I ate the fourth layer when it came out of the oven. Don’t judge me. Tessa’s lemon zucchini cake is paired with a goat cheese frosting but because I have stubborn tastebuds and am not particularly fond of goat cheese, I used cream cheese instead. I subbed the goat cheese for cream cheese in a 1:1 ratio and the frosting turned out perfectly. The frosting was pretty much Beyonce #flawless.
Ingredients
Lemon Zucchini Cake
- 2 1/2 cup (315g) all-purpose flour
- 2 tsp baking powder
- 1/2 tsp baking soda
- 1/2 tsp salt
- 1/2 tsp cinnamon
- 1/4 tsp freshly grated nutmeg
- 1/2 cup + 2 tbsp (150ml) grapeseed oil
- 1 1/2 cup (300g) granulated sugar
- 2 tsp lemon zest
- 3 large eggs
- 1 1/2 cup (225g) grated zucchini, drained
- 3 tbsp buttermilk
- 1 tsp fresh lemon juice
Cream Cheese Frosting
- 4 oz (115g) cream cheese, at room temperature, Note: Tessa's original recipe calls for goat cheese but because I have a palette of a 5 year old, I opted for cream cheese instead. I replaced the goat cheese for cream cheese at a 1:1 ratio
- 1/2 cup (115g) unsalted butter, at room temperature
- 3 cup (375g) icing sugar
- 2 – 3 tsp whole milk
- 1/2 tsp vanilla extract
Lemon Glaze
- 1 cup (125g) icing sugar
- 2 – 3 tbsp fresh lemon juice
- 2 tsp lemon zest
Instructions
Lemon Zucchini Cake
- Preheat the oven at 350F and grease four cake pans.
- Whisk together all the dry ingredients and set aside.
- In the bowl of a standing mixer with a paddle attachment, beat together the oil, sugar, and lemon zest together on medium speed for 2 minutes. Add the eggs, one at a time.
- Slowly mix in the dry ingredients until the dry ingredients are no longer visible. Careful not to overmix.
- Gently fold in the zucchini, buttermilk, and lemon juice.
- Divide the batter in the greased cake pans and bake for 24 – 26 minutes, or until a toothpick inserted into the center comes out clean. Let the cakes cool for 10 – 15 minutes before removing them from the pan.
Cream Cheese Frosting
- In a mixer, cream together the cream cheese and unsalted butter until mixture is light and fluffy. Slowly add in the icing sugar, one cup at a time. Add in the vanilla extract. Add in the milk, one tablespoon at a time until desired consistency is reached.
Lemon Glaze
- Add 2 tablespoons of fresh lemon juice and 2 teaspoons of lemon zest to one cup of icing sugar and mix well. If glaze is too thick, add the last tablespoon of lemon juice.
Notes
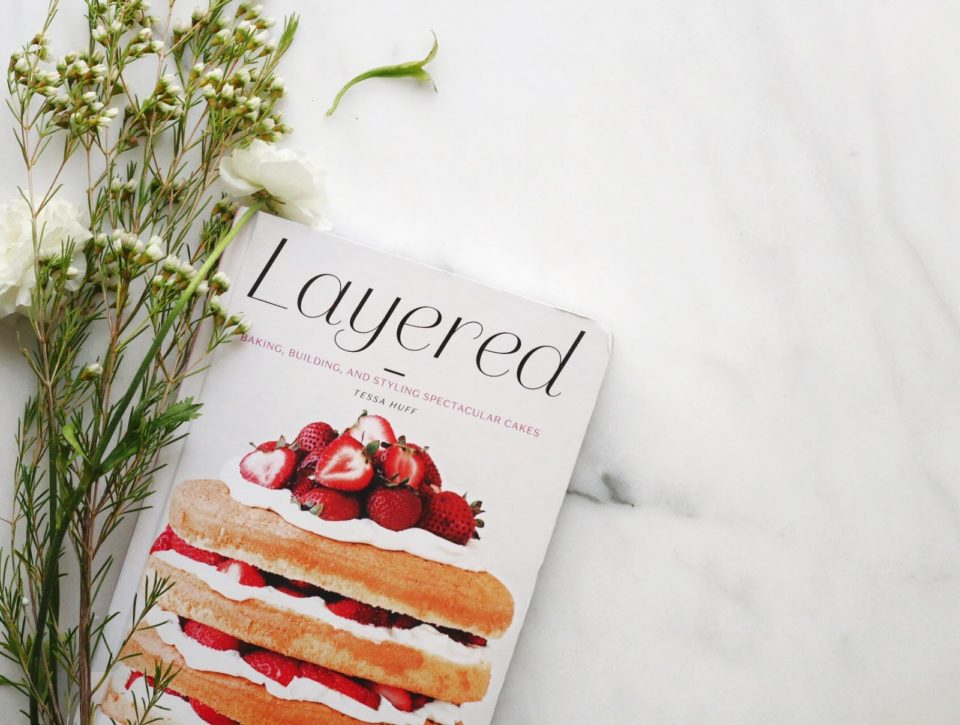
Layered: Baking, Building, and Styling Spectacular Cakes || Tessa Huff
Congratulations on the lovely book, Tessa! You can check out what other bloggers have made from her book with the hashtag #LayeredCookbook on social media. Layered comes out on April 19th and you can pick up a copy wherever books are sold!






Unknown says
Such incredible loveliness! I adore seeing all of your recipes and gorgeous photography inspiration! Thanks for sharing!
Unknown says
It's beautiful! Your styling is always lovely. I think this is such a delicious sounding cake!! I bought the cookbook after seeing all the gorgeous cakes out there today haha <3
Avery says
I just found your blog on my Recommended Bloglovin list and clicking on the link was the best decision I've made like this entire month. I love your blog and your stunning styling! You totally belong to the higher echelons of food bloggers amongst the ranks of amazing people like Hummingbird High, My Name is Yeh etc – your blog is literally that good!
Coco Cake Land says
Oh it turned out gorgeous and looks so delicious! I love how your yellow dress matches the styling… hehe! Too cute. (PS when my son was a baby I baked with him in a baby carrier, too! Haha. Gotta do what you gotta do…) ^__^
Unknown says
I'm seriously impressed with your drippy action shot that even has YOU in it! Mad skills. Thank you sooooo much, Amy! I am so glad you participated and that we can even be friends IRL. Everett told me that he is super excited about you coming over to bake soon =) But for reals, I appreciate you taking the time to create this stunning cake. Thank you.