


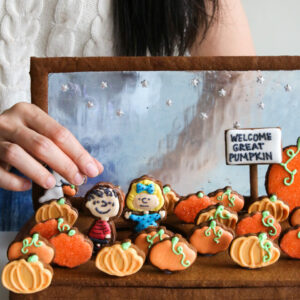
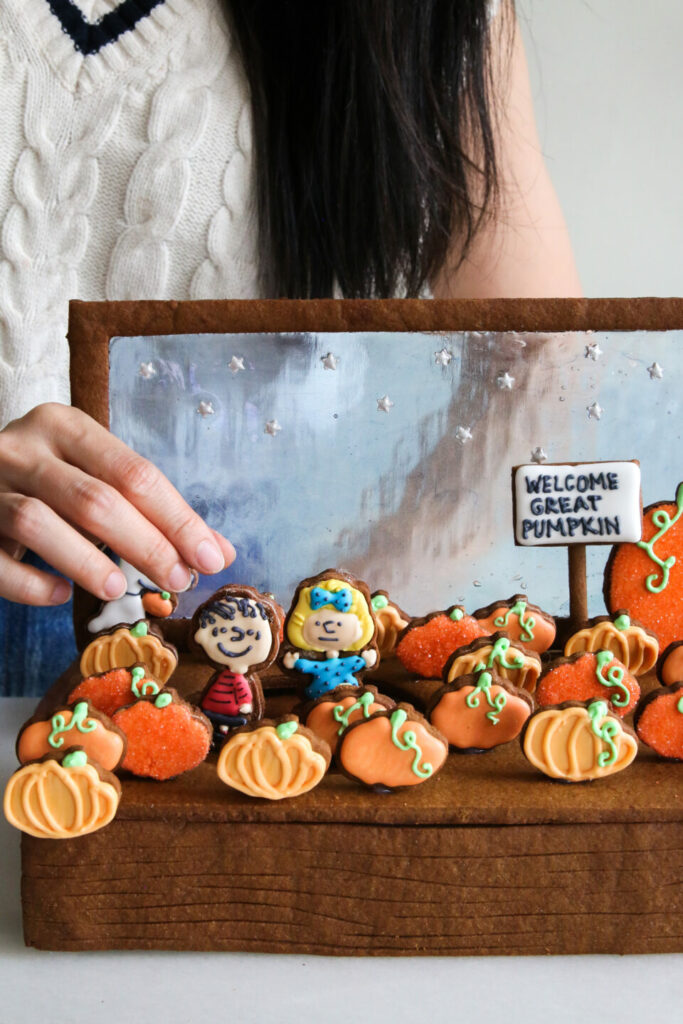
Linus and Sally’s quest to find the Great Pumpkin is one of my earliest and fondest memories of Halloween. Halloween was never my favourite holiday despite all the free candy because everything was just too scary (nothing scares me more than seeing people wear the Scream mask walking around…), but this Halloween TV special almost makes it all okay. I loved making my Peanuts skating rink last Christmas that I wanted to do a version for Halloween that depicts my favourite scene in It’s the Great Pumpkin, Charlie Brown.
Why Gingerbread?
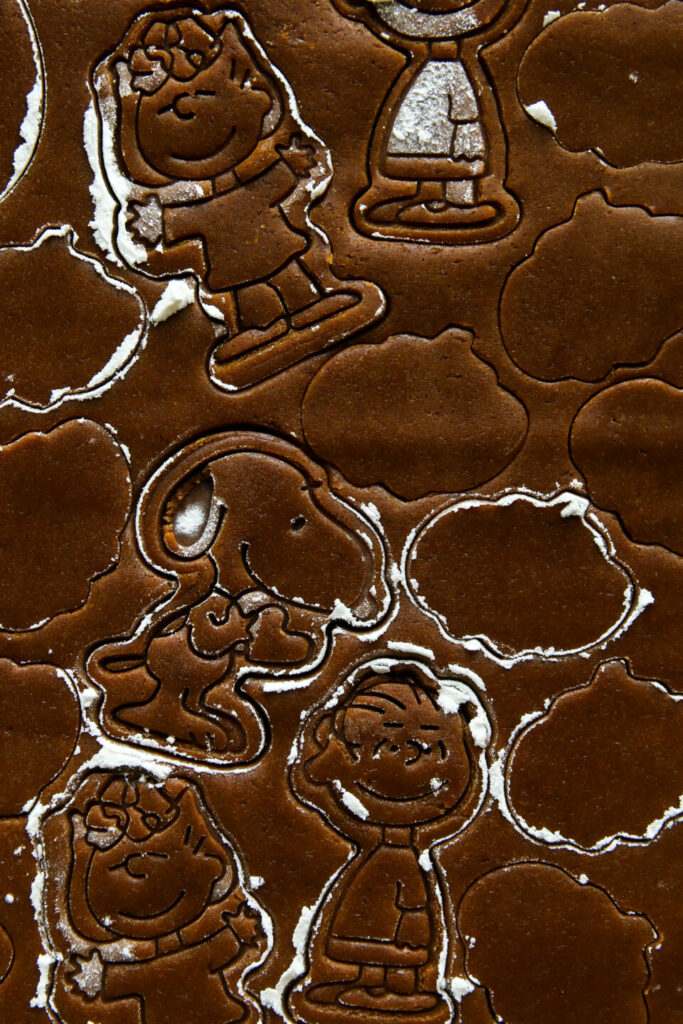
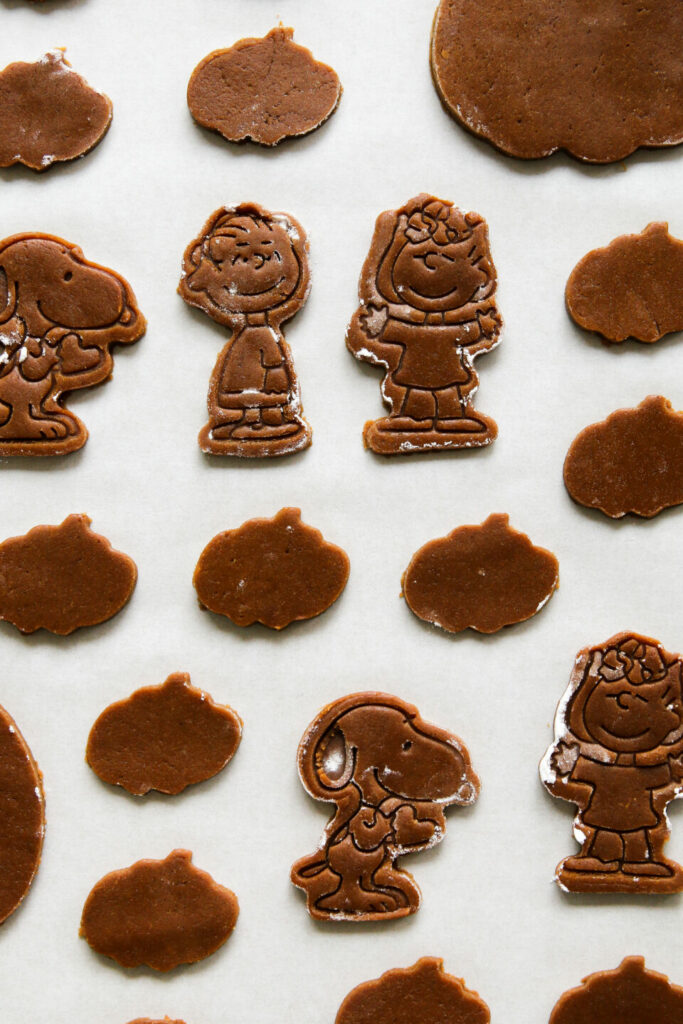
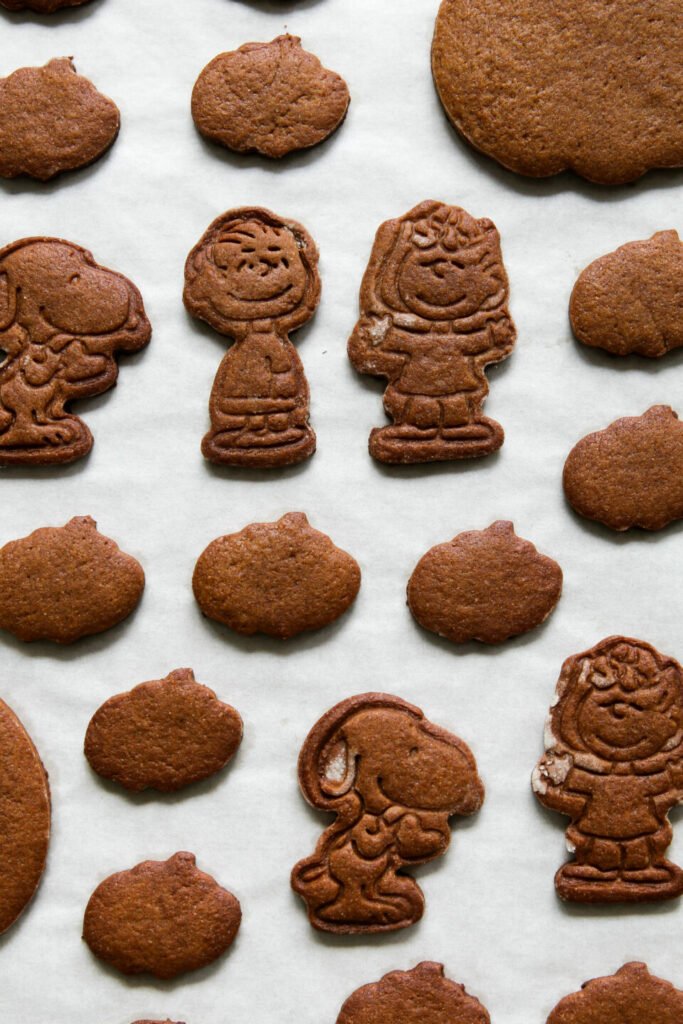
Gingerbread is the material for the whole display because it is the sturdiest cookie for making structures and it makes the apartment smell so good and festive when you leave it out afterwards. I used this great recipe from Food52 once again for the gingerbread. It’s one of the best gingerbread recipes out there — minimal spread (all the pieces retain their shape during the baking process), it doesn’t puff up much (any designs you carve on the gingerbread before baking will stay), and it’s sturdy enough to be a base for a larger displays that have many other cookie elements on top. I’ve also made ‘gingerbread’ houses with shortbread before and it is the next best thing. It’s a bit more delicate than gingerbread but it’s my preferable cookie medium if you intend on eating it afterwards or need something with a more neutral colour for the house.
How to determine the size of the display
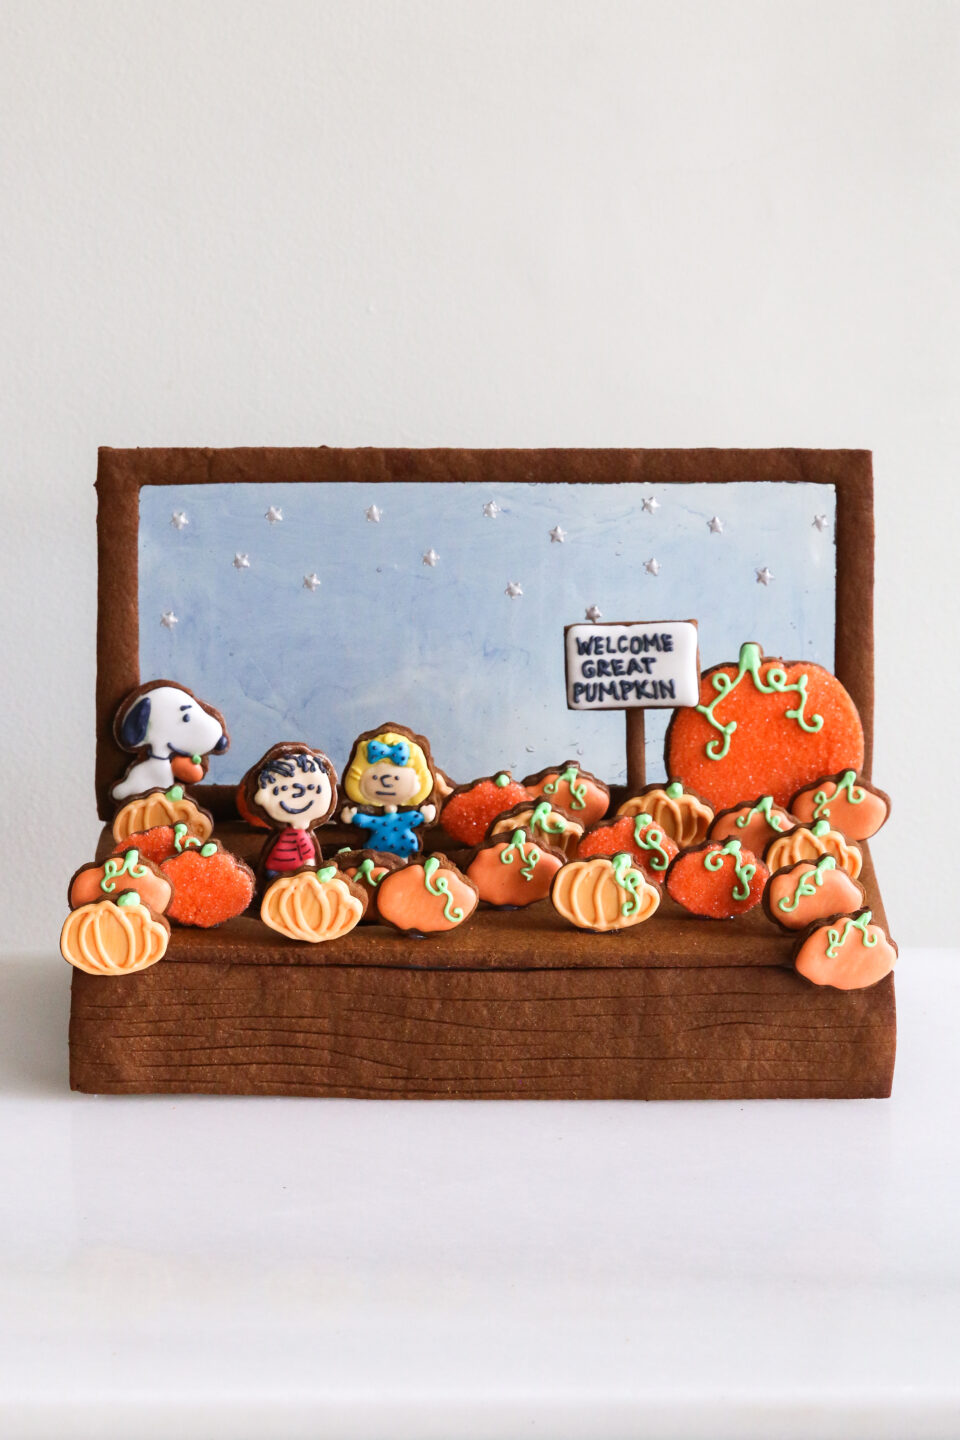
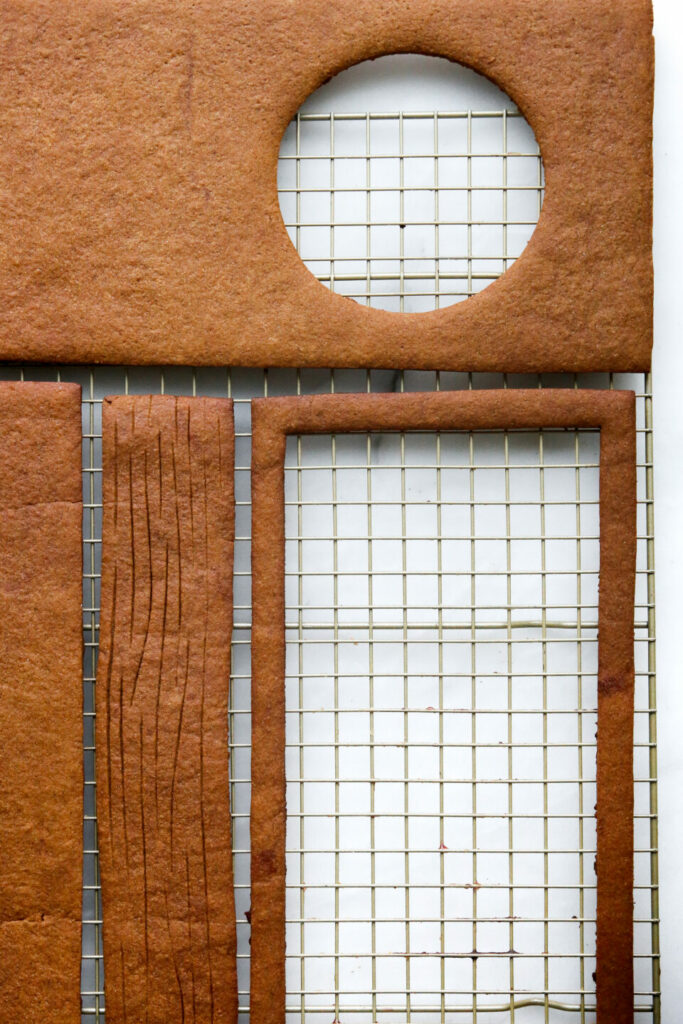
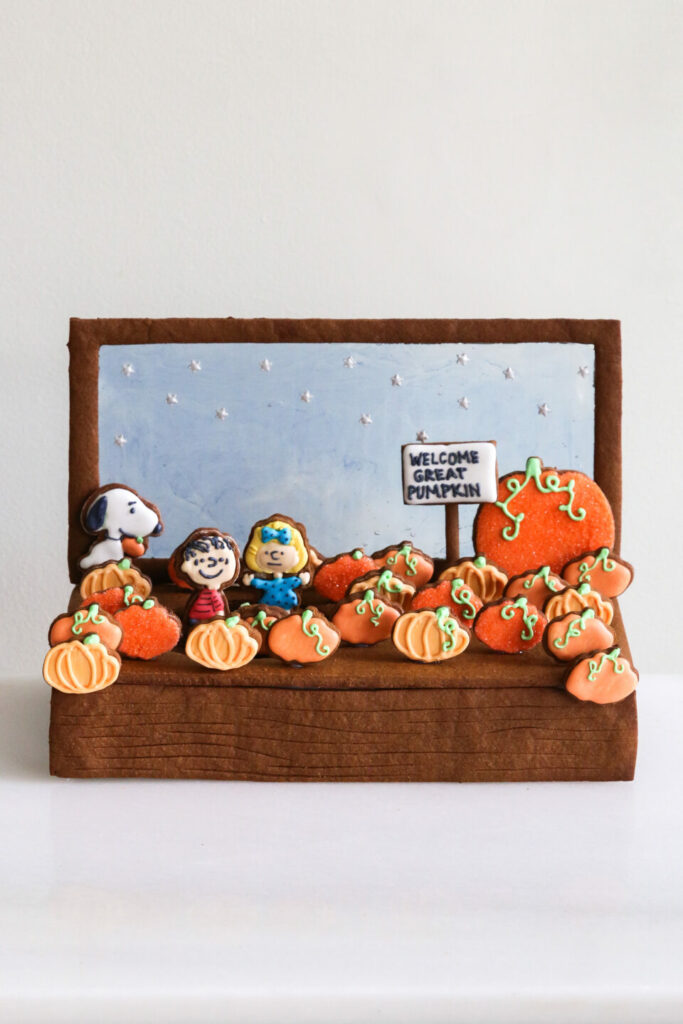
Before you get started, you want to measure the turntable you will be using for the moving element. The rest of the display depends on how tall and wide the turntable is because it has to fit inside the display. The turntable I used was 5.5-inches in diameter and 1-inch tall, so the base of the gingerbread display had to be larger than those measurements to allow the turntable to move freely. The final base was 10-inches wide, 6.5-inches deep 1.5-inches tall (the latter two are the more important elements that will allow the turntable to be slid inside the display). In total, four pieces will need to be made for the base of the display: large rectangular panel for ground of the pumpkin patch, two wooden panels that will elevate the pumpkin patch, and a ‘window’ panel to be filled with blue isomalt that will become the sky. To summarize, here are the measurements:
- The platform is 10 x 6.5 inches, with the front being 10 inches wide and the sides 6.5 inches deep
- There are two panels to raise the surface and these are 10 x 1.5 inches. You only want to make two panels for the front and back because you need the sides to be open to slide in the turntable. You want to make sure there is room for the ‘ground’ to spin below the platform without brushing the surface. For example, if you spinner is 3 inches tall, then you want to make your platform pieces at least 3.5 inches tall
- The back piece can be as tall as you like it to be — mine was 10 x 6 inches
How to make the characters move
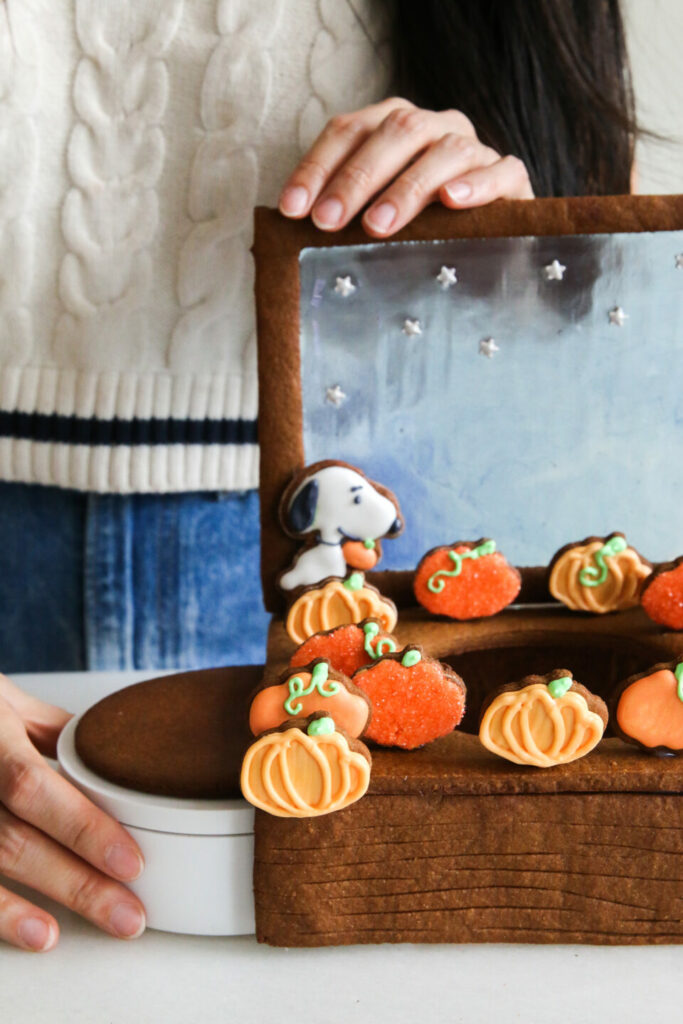
The base of this Halloween display is almost identical to the Peanuts holiday skating rink, just a few inches smaller because the pumpkin patch scene only features three characters instead of the whole Peanuts gang. Once again, we create the movement for the scene by cutting out a hole in the centre of the base and using that cut out on top of a turntable for the characters to stand on. Originally I was going to put pumpkins on the turntable and have Linus and Sally position on the base, but quickly realized that pumpkins shouldn’t be moving and it should be the characters walking around, looking for the Great Pumpkin. I knew that if I wanted Linus and Sally as the moving elements, I would have to decorate both the front and back of the characters (because someone pointed out that I should’ve decorated the back of each character last Christmas). See! I’m always listening! After decorating all the characters and pumpkin cookies, it was time to assemble (the best part!).
Royal icing vs. isomalt — which is better?
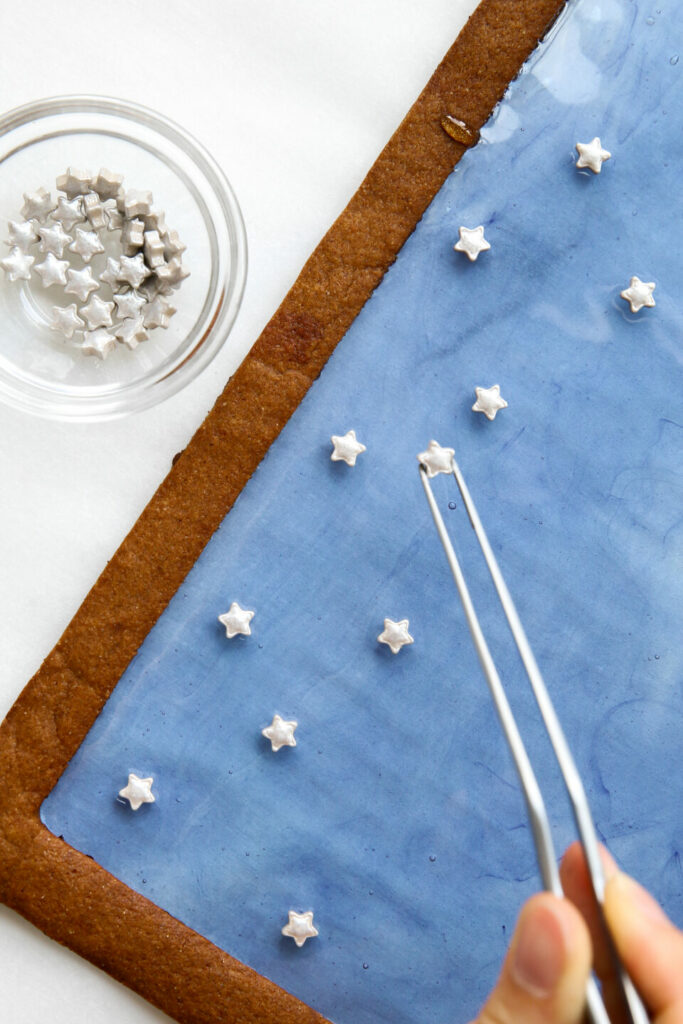
Royal icing is the easiest ‘glue’ to assemble the whole display but it’s not as strong as using melted sugar like isomalt. Royal icing also takes much longer to dry, which can slow down the whole process. I prefer to make extra isomalt mixture when making the sky component but leaving it clear to act as a the glue. The packaging for isomalt tends to have instructions on how to use the isomalt — I melt 1 cup of isomalt crystals or powder in an oven-safe saucepan over the stove on medium-low heat and once it has fully melted, stir in half a tablespoon of water to the mixture (careful, it will bubble up) and place it in the oven at 175F for ten minutes for the air bubbles to disappear. Once it’s ready, simply dip or apply isomalt to pieces that need to be adhered and the isomalt will set in 15 – 30 seconds. If isomalt starts firming up, return the isomalt to the oven until it becomes runny again. Isomalt is really hot, so be careful when using it to build the gingerbread display or pouring it to form the back panel.
Any other tips?
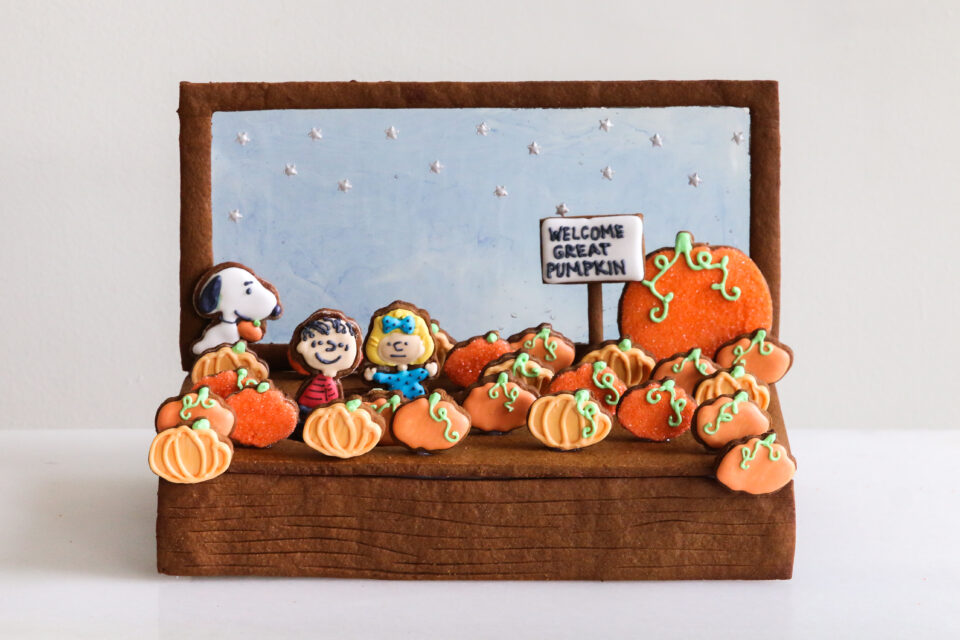
Once all the base pieces have been assembled, add your characters, pumpkins, and any details you want on display. Use the movie scene as your guide or be as creative as you want to be! Here are some other tips you might helpful for creating your own gingerbread pumpkin patch:
- To speed up the process of decorating the characters, cut two of each character: one to use as a the front and one to use as the back of the character. This will allow you to decorate the front and back sides at the same time, rather than having to wait for one side to fully dry before flipping over the cookie to decorate the backside. Attach the two cookies with royal icing.
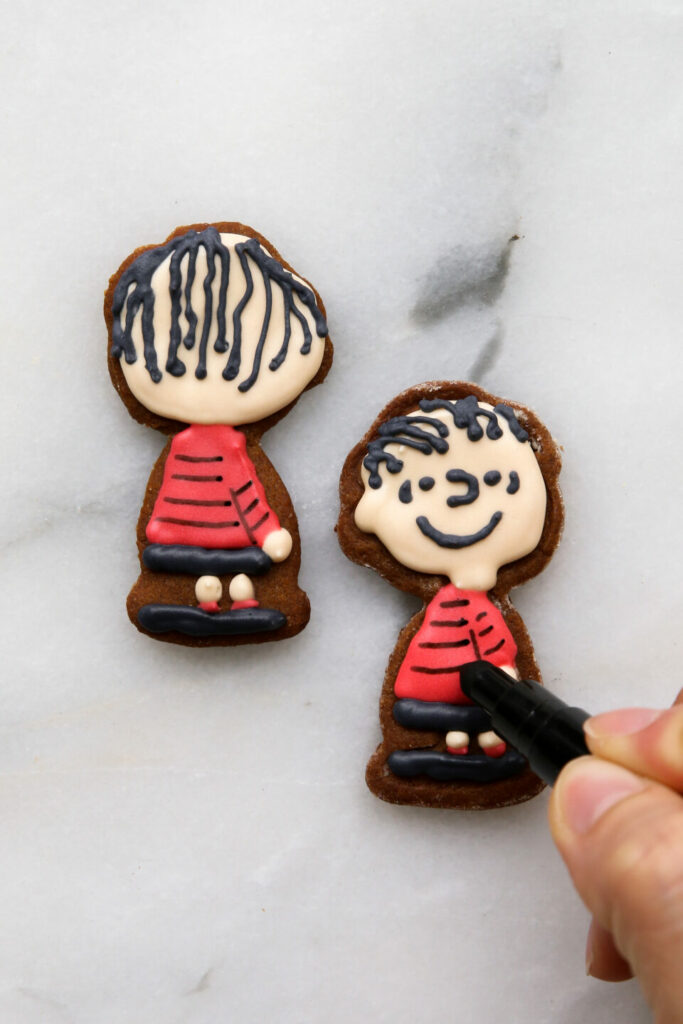
- If you are not confident with piping the details for characters faces with royal icing, use a edible marker pen! I forgot to pipe the stripes on Linus’ shirt when I was initially decorating the characters, so I used the edible marker pen to draw in the lines. I actually like the look of it better because it reminds me of the way the comics are drawn. Make sure the first layer of icing is completely dry before doing any drawing.
- If you are not able to find isomalt, crushed blue jolly ranchers can be used to create a similar effect for the sky. To use hard candy, fill the unbaked frame with the crushed candy, making sure the candy covers the entire surface of the ‘window.’ I like to overfill the frame a bit because the candy amount will shrink when heated. While the frame is baking, the crushed candies will melt and form a glass-like surface.
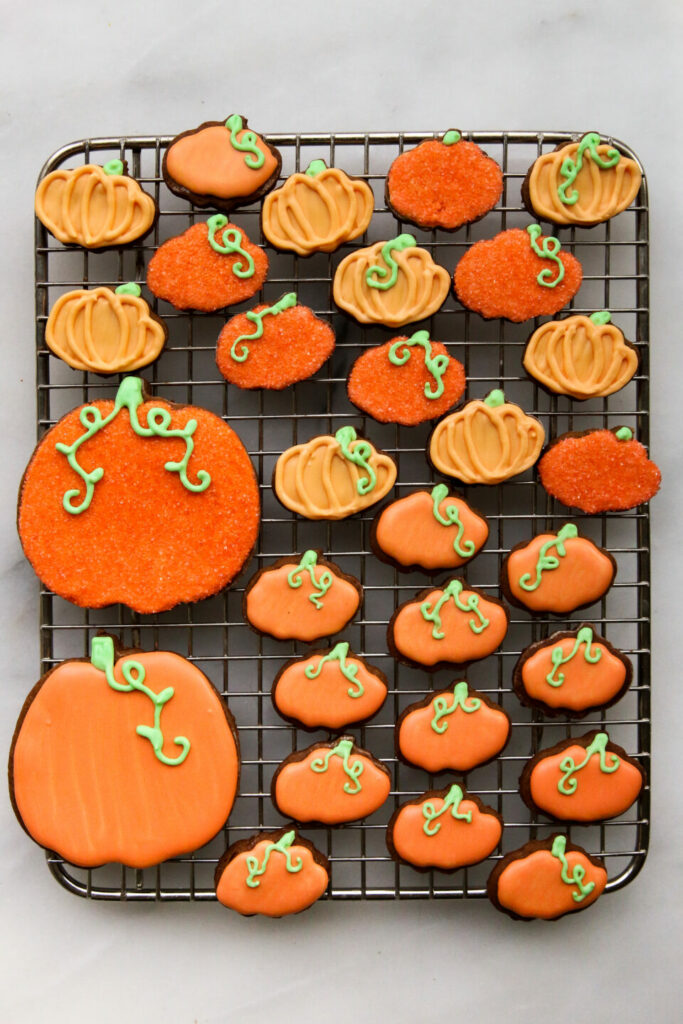
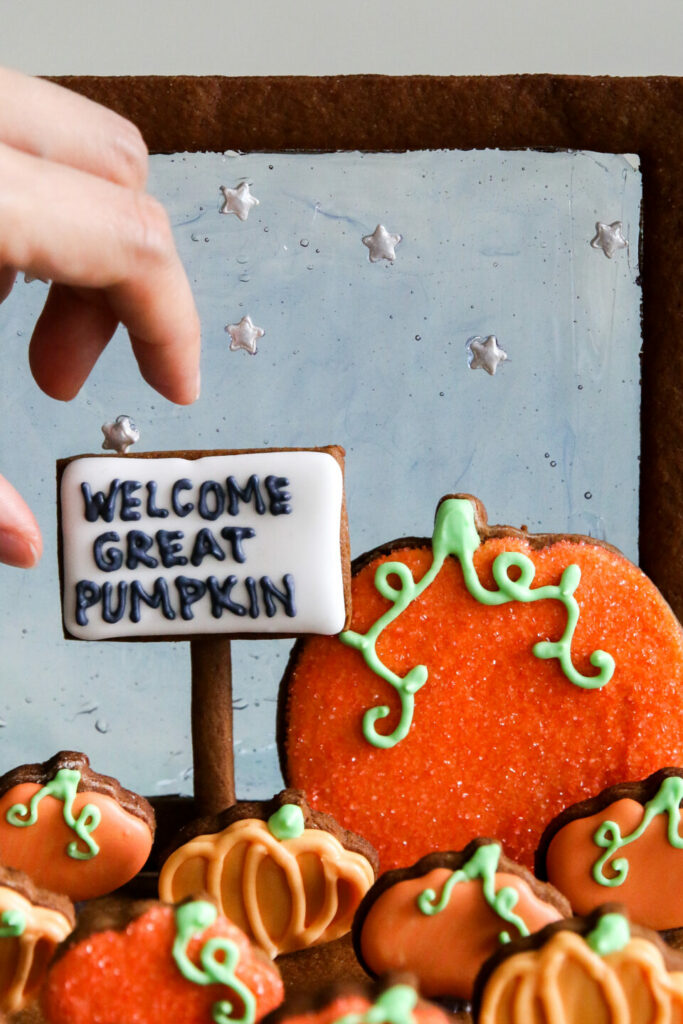
- Pumpkins can be decorated with royal icing or sprinkles, I like using both to add texture to the display.
- Leaving the gingerbread pumpkin patch out on display will make the apartment smell like fresh baked cookies 🙂


Rhona Gasaway says
Cute idea !
Ana says
Hi!
I was wondering if you can tell me where I can find the peanuts cookie cutters you show on you website.
Thank you!