


I started making edible crystals last summer, when my friend Jacky developed an obsession with it after he got placed in some edible crystal algorithm on TikTok. When you’re stuck in a specific niche algorithm on a social media app, it makes something feel so much more commonplace than it really is. It seemed like everyone was able to easily access these crunchy (very ASMR-friendly) candies but in reality it was actually quite difficult to source locally. So I made some, recorded a video of the process, got Jacky to record some very satisfying crunching (or cronching) sound clips of himself biting into these candy gems, and shared the process in this Instagram Reel. Apparently being fascinated by edible crystals is not just a common interest between Jacky and myself, because so many of you wanted to make them too. Making edible crystals is a multi-day process but trust me, it’s a very hands-off process and the most important ingredient is just patience.
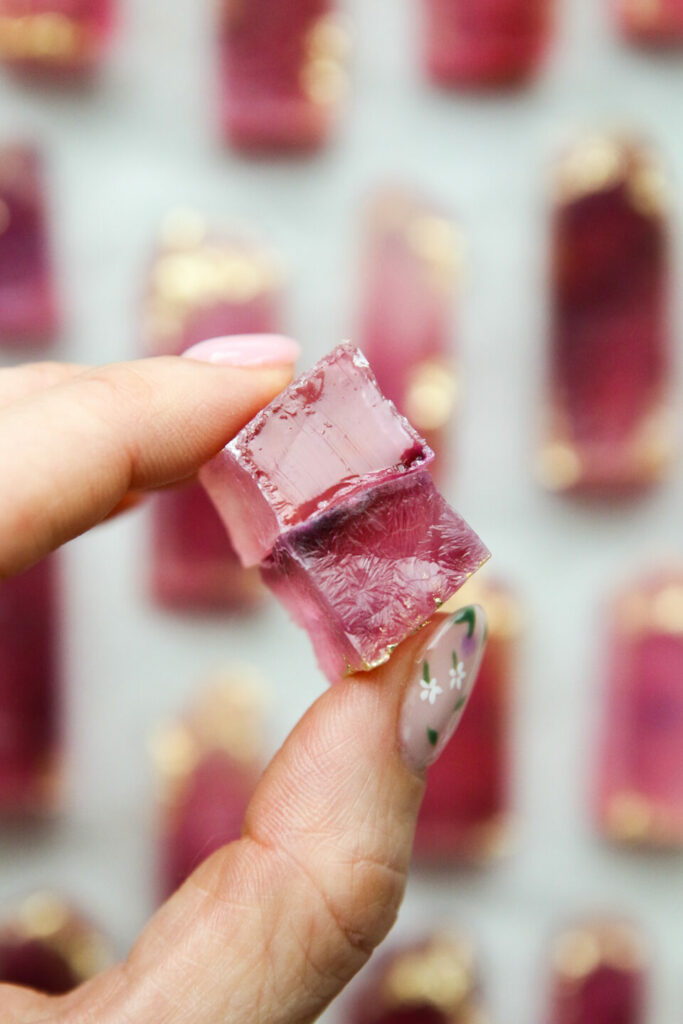
Edible crystals, also known as traditional Japanese confectionary ‘kohakutou,’ is a vegan candy made of agar agar. Agar agar is a thickener derived from seaweed — it’s a great alternative to gelatin and I like using it to set jellies and puddings… and now edible crystals! What makes edible crystals special and different from regular candy is that they have a thin shell with a firm jelly-like texture on the inside. If you grew up in a Chinese household, I would say the jelly texture of the candy is really similar one of my favourite candies I ate growing up, Smith’s Melon Candy.
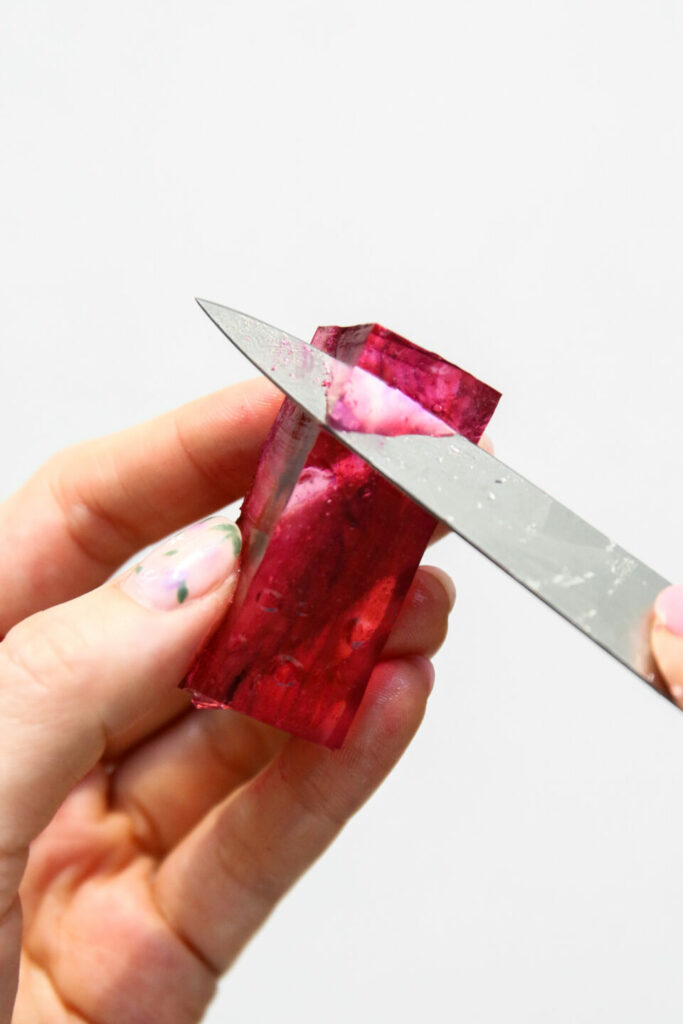
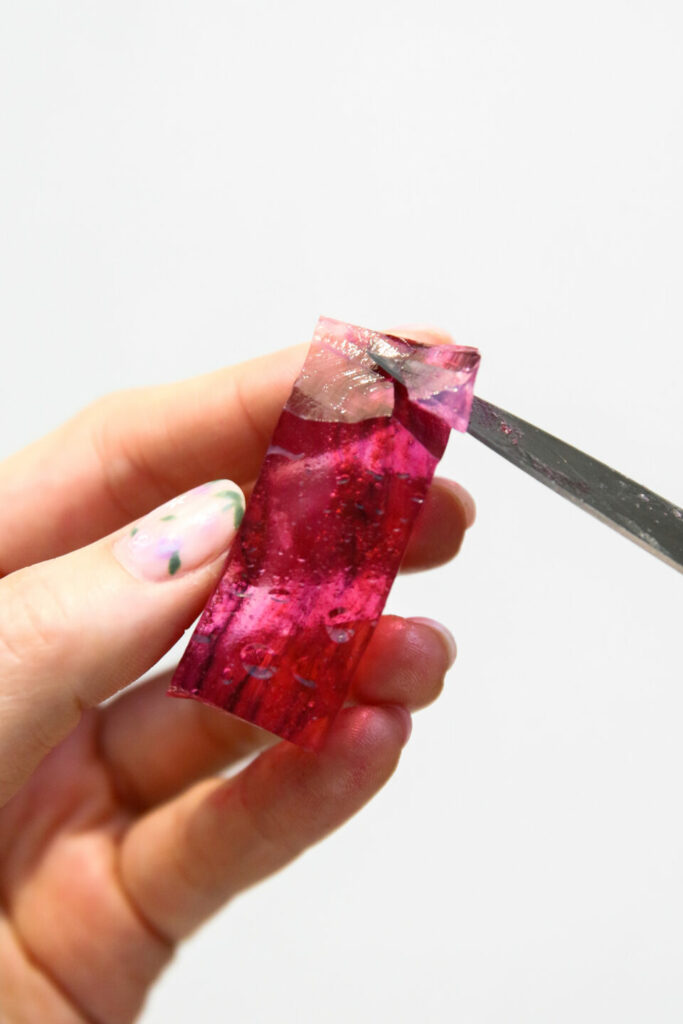
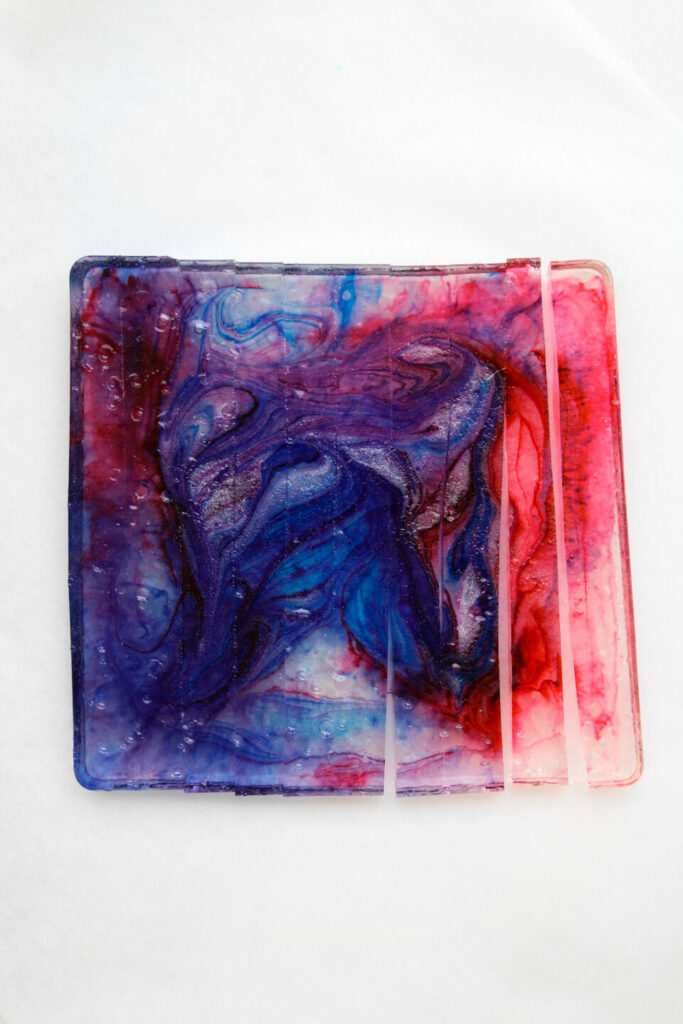
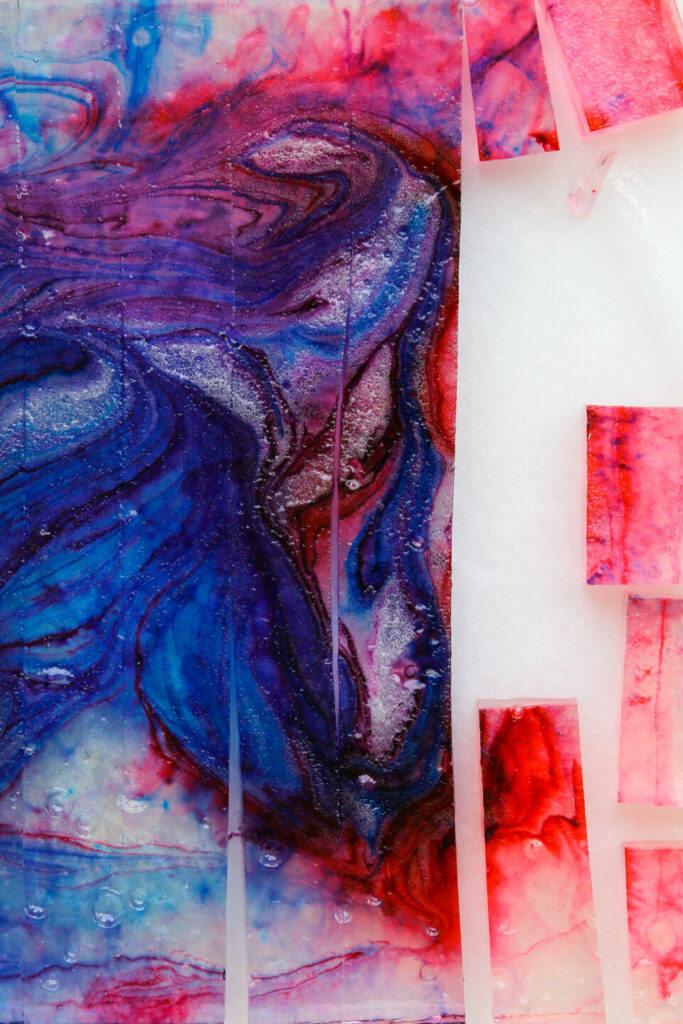
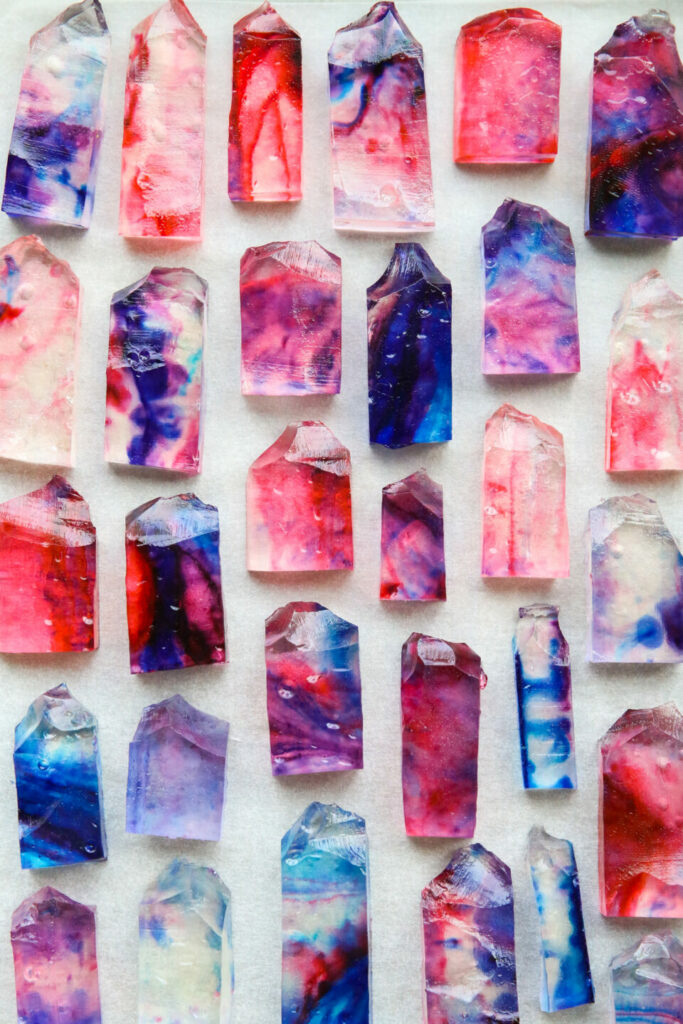
Edible crystals only require four ingredients: sugar, agar agar, water, and your flavouring of choice. First, the agar agar is combined with water (much like blooming gelatin in water), and is brought up to a boil. Sugar and candy flavouring is then added to form a thick, translucent mixture. While the candy mixture is still hot, it gets poured into a heatproof dish. Before the candy mixture sets, food colouring (you can use as many colours as you like) is swirled in to create beautiful gradients that resemble real gemstones. Unlike gelatin, agar agar sets relatively quickly at room temperature so you can start carving the gemstones soon after you make the mixture. The candy mixture sets in about 15 – 20 minutes in the refrigerator and is ready to carving immediately after. Carving each individual crystal is by far my favourite part of the process. Using a small knife, remove small pieces from the edges of a crystal. There is no real technique to it — all gemstones are uniquely shaped and no matter how you carve it, it will turn out beautiful!
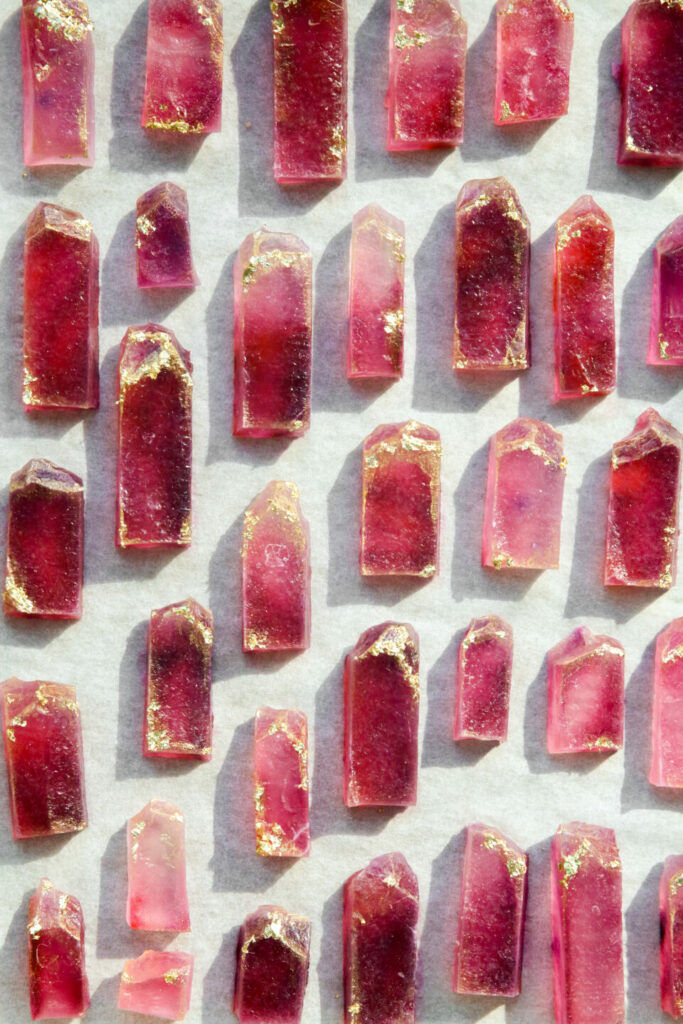
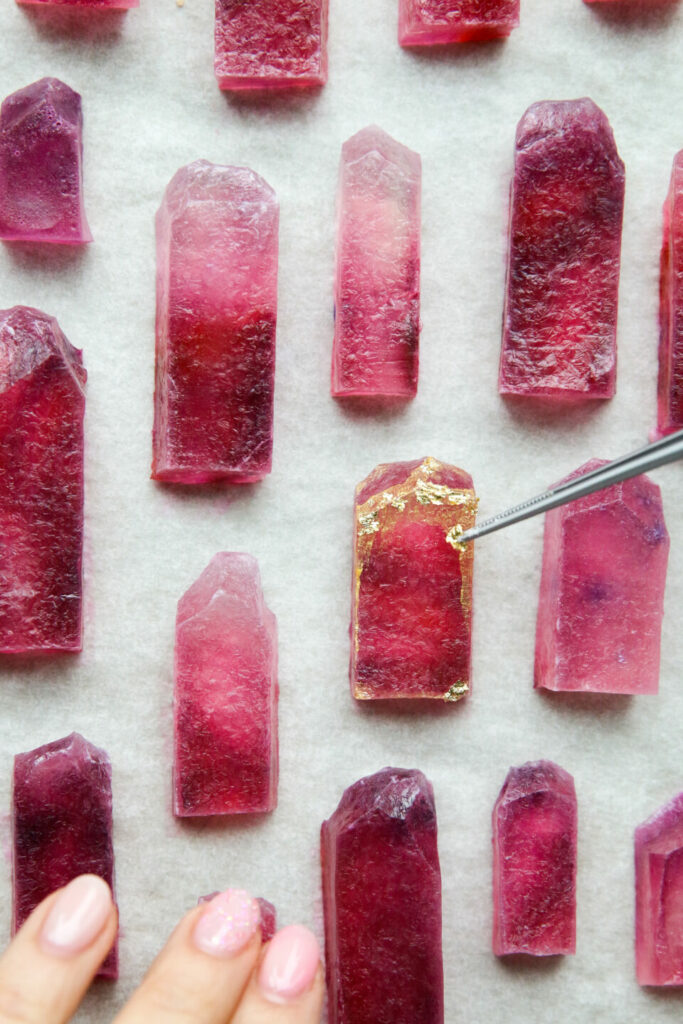
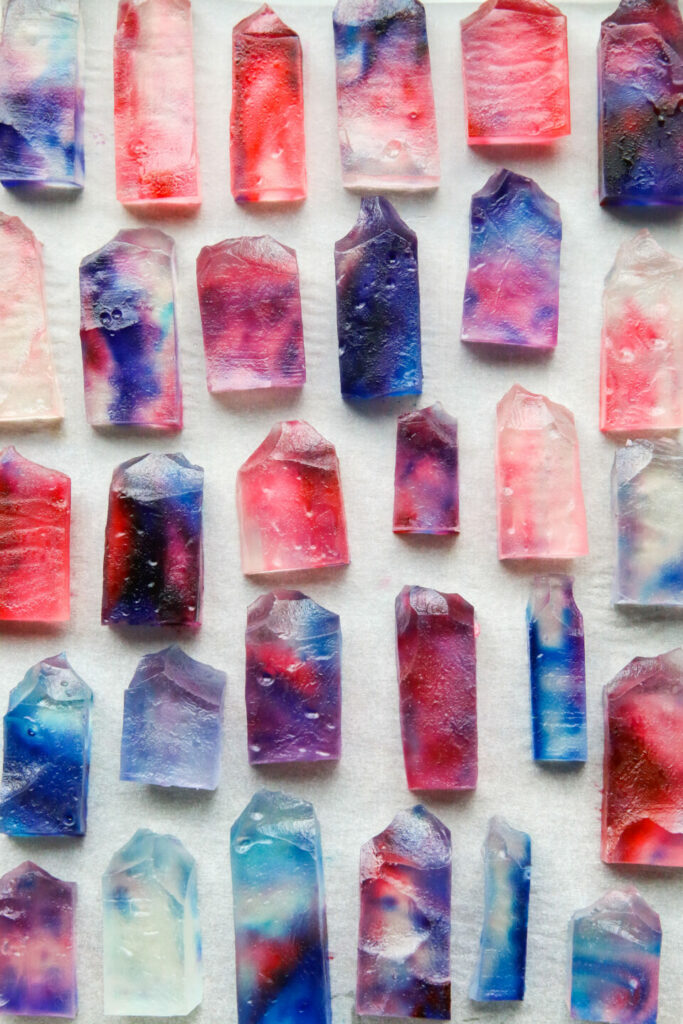
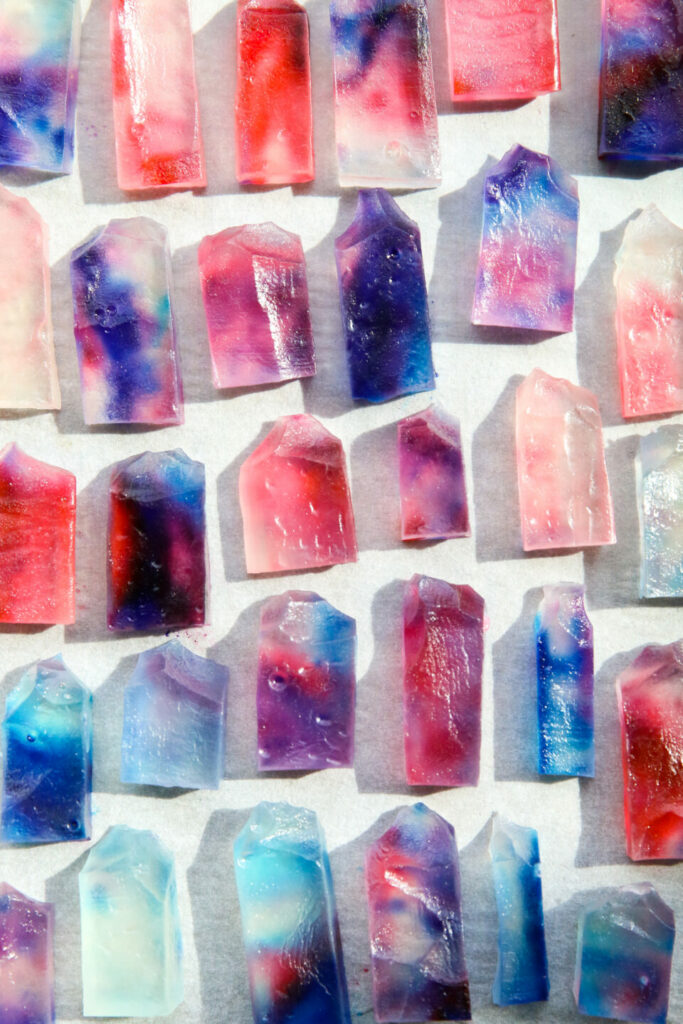
After all the crystals have been carved, it is simply a waiting game. On the first day, the candies are sticky to the touch and see through. Place the carved crystals on a parchment-lined baking sheet or plate, leaving a few centimetres between each candy. Loosely cover the crystals, it is important to not place plastic wrap directly onto the candies. I used a second baking sheeting to cover the pan of candies, leaving a small gap between the two baking sheets so the candies are able to dry. A thin crust will start forming on the second and third day, and this is when I like to flip each crystal over so the other side has a chance to form an even crust. The crystal will become less translucent and vibrant during the drying process. On day four and five, an even crust will have formed on all surfaces of the crystal. The crystals are ready to be enjoyed now but personally I found letting the crystals dry for one full week to created the best texture. Using edible gold paint and gold leaf to decorate the crystals is optional, but make the crystals even more jewel-like! Crystal candies can be stored in an airtight container for up to 3 weeks at this point.
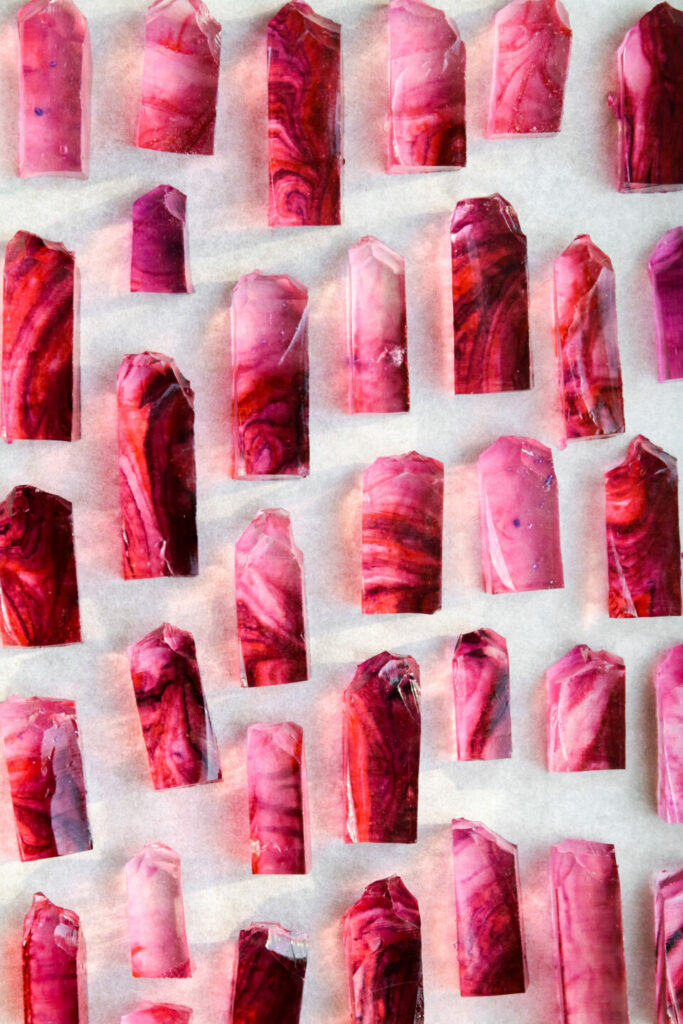
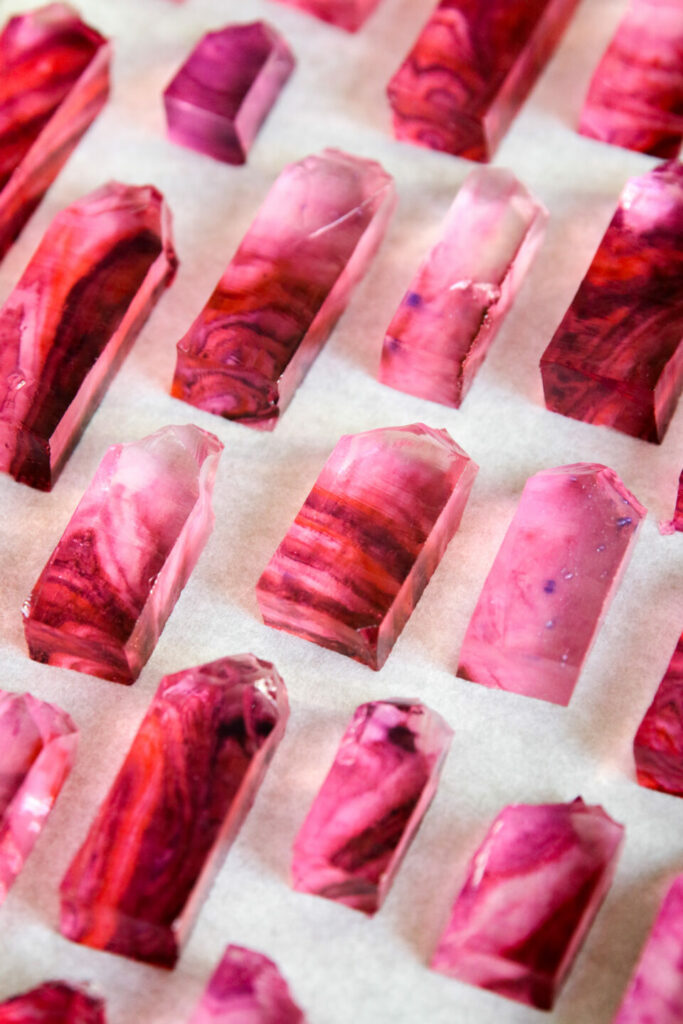
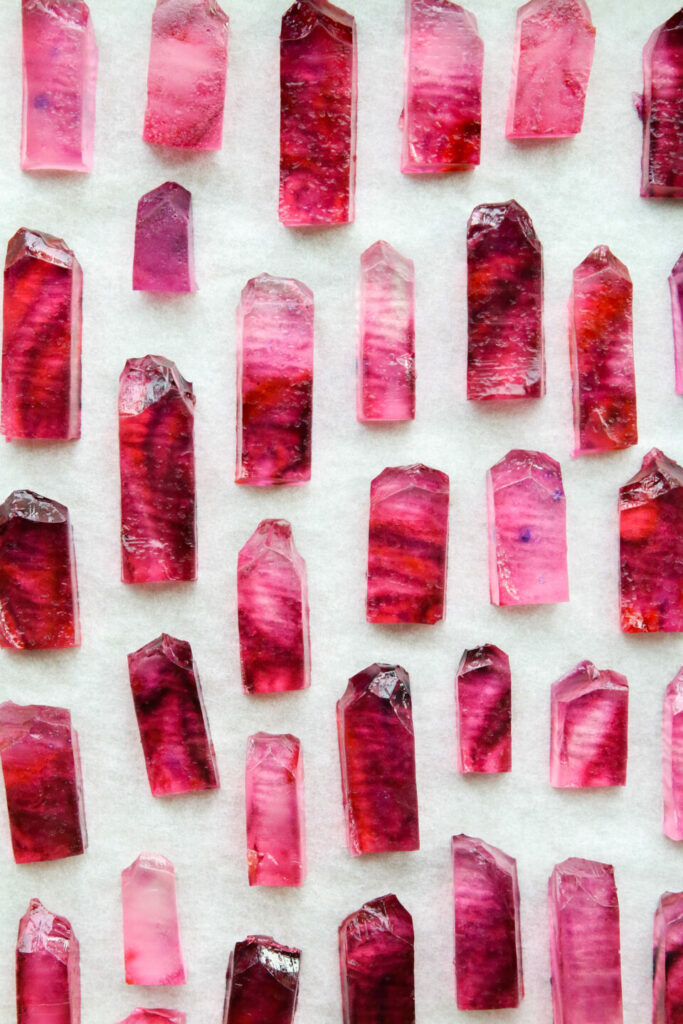
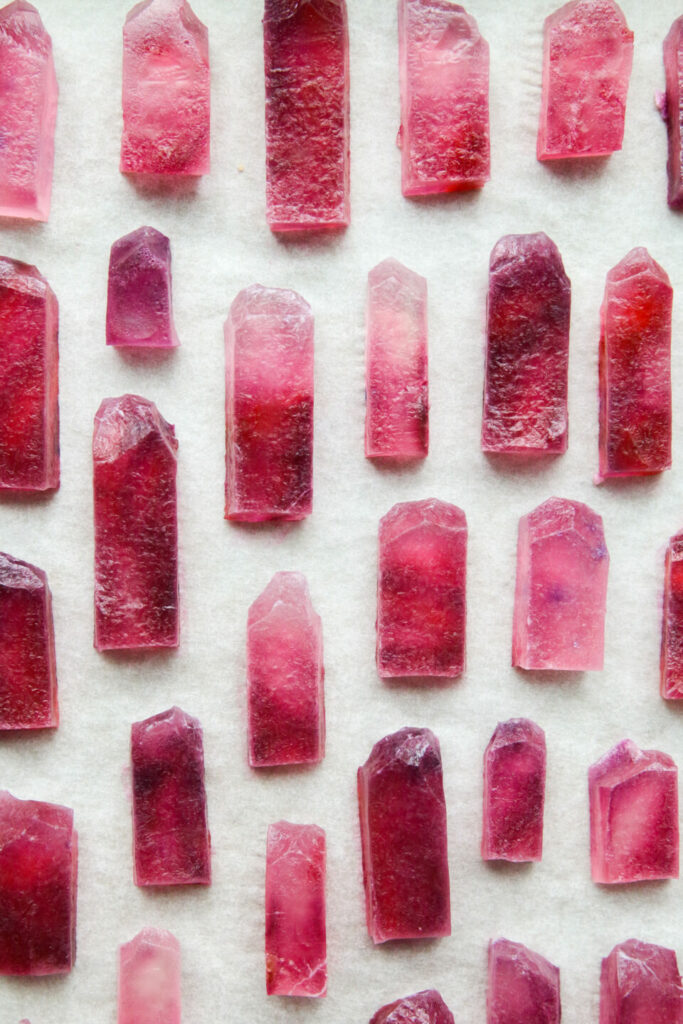


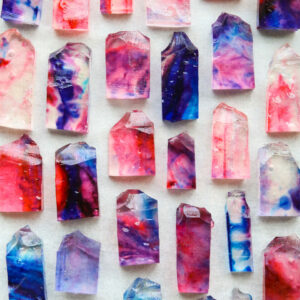
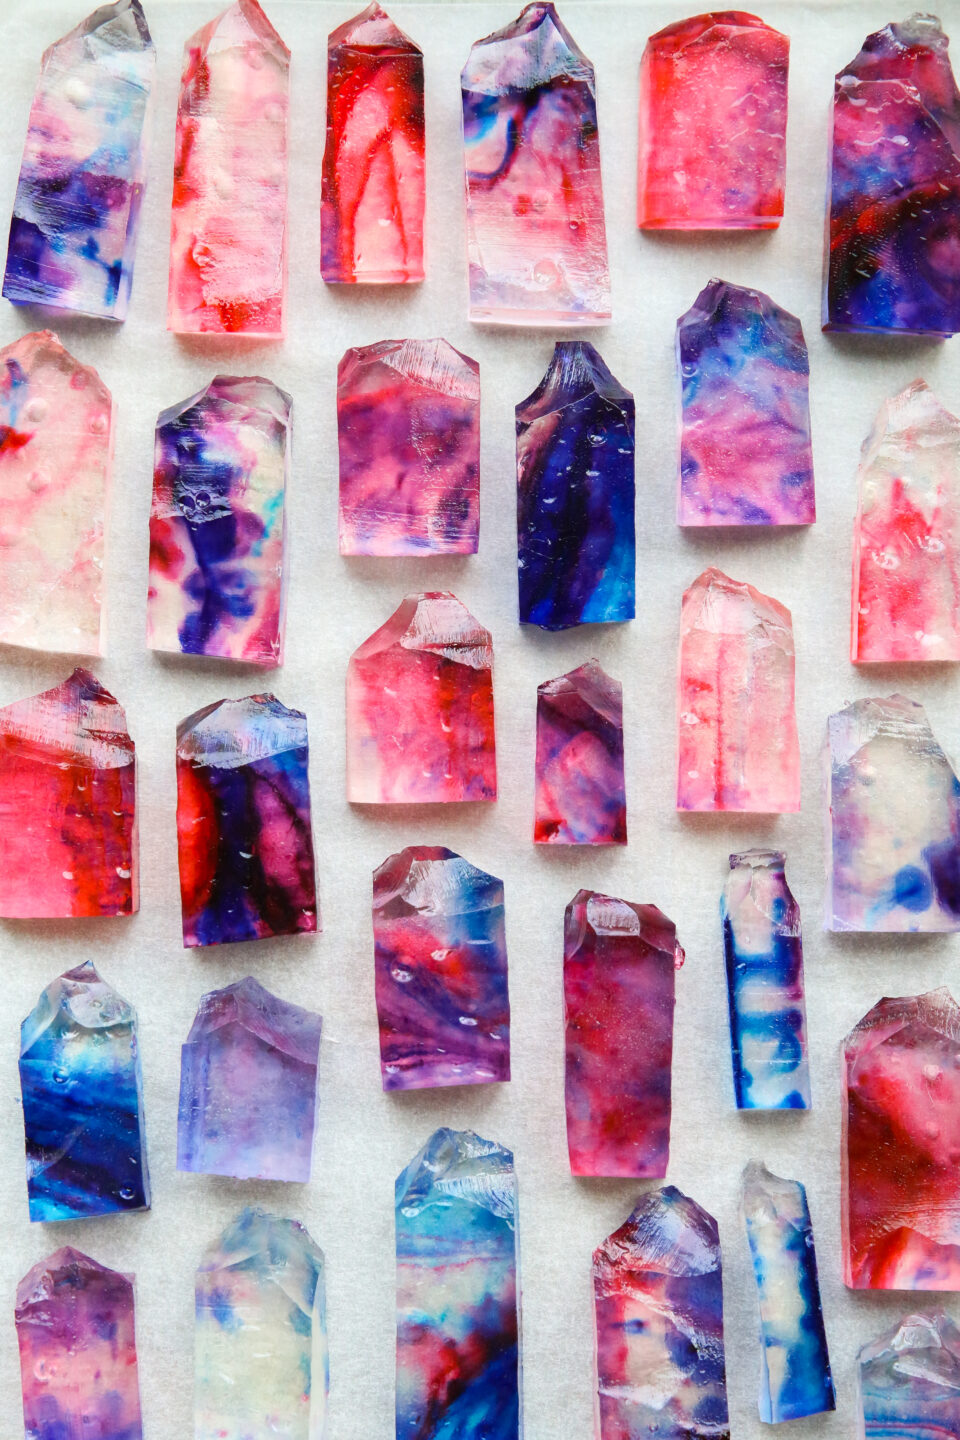
Here is a separate batch with a different colour palette. I omitted edible gold paint and gold leaf on these ones, but they are just as beautiful. The photos show the crystals on the first day and on the fifth day after drying:
Edible Crystals (Kohakutou)

Ingredients
- 350 ml (1 1/2 cups) cold water
- 10 g agar agar powder
- 550 g (2 3/4 cups) granulated sugar
- 1/4 tsp candy flavouring
- Several drops of food colouring
Instructions
- Lightly grease a 8 x 8 square baking pan. Set aside.
- Fill a medium-sized pot with cold water and add agar agar powder to the water. Allow the agar agar powder to absorb the water for 5 minutes.
- While whisking, bring the mixture to a simmer and cook over medium-low heat until all the agar agar powder has dissolved, about 3 minutes.
- Add granulated sugar and mix until all the sugar has dissolved. The mixture will be thick at this point. Add flavouring of choice.
- Pour the sugar mixture into prepared baking pan.
- Before the mixture sets, add a few drops of food colouring throughout the mixture, spacing out the food colouring. Using a butter knife or a spoon, run it through the mixture to gently swirl the colours into the sugar mixture.
- Transfer the pan to the refrigerator. Allow candy mixture to chill until it has fully set, at least one hour.
- Once mixture has set, run a sharp knife around the edges of the pan to loosen the candy. The candy should come out as one sheet.
- Using the same knife, cut the sheet of candy into strips (I did 10) then cut each strip into 5 – 6 rectangular pieces. Shape each piece of candy by cutting off the straight edges at an angle.
- Place the crystal candies onto a parchment-lined cookie sheet or large plate. Loosely cover the cookie sheet (without touching the top of each candy) and let dry at room temperature for 5 days (flipping the candies halfway through) until a hard crust forms on the outside. I like using a second cookie sheet to cover the first one while leaving a crack for air to get inside.
- Optional: Using a small paint brush, brush edible gold paint along the edges of the candies and add edible gold leaf on the last day of the candy drying process.


Leave a Reply