


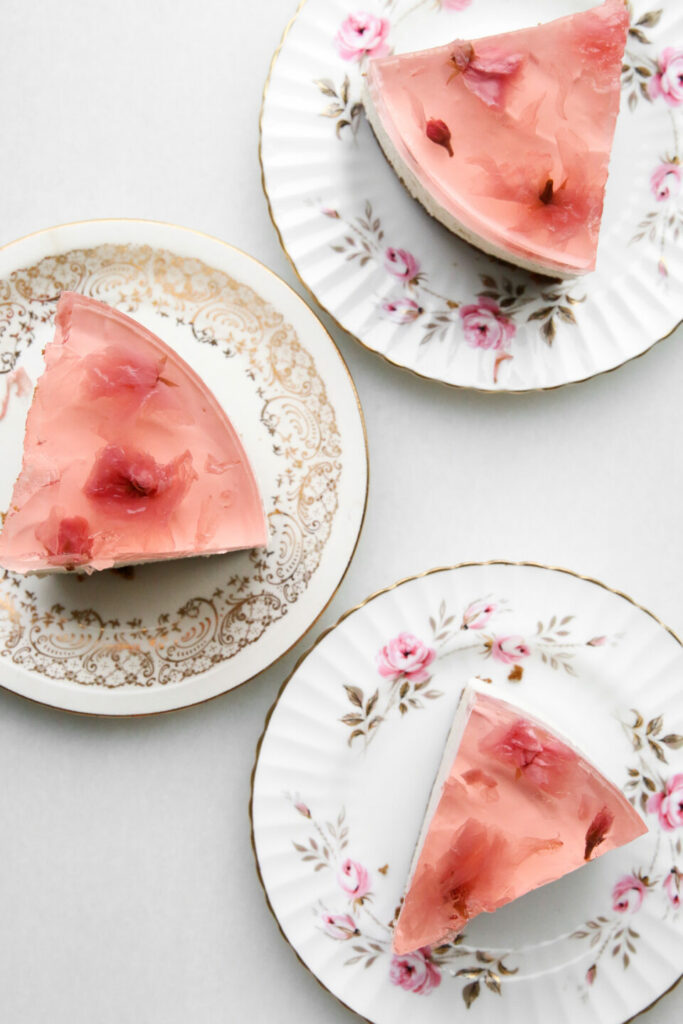
I started making this cherry blossom jelly cheesecake about three or four years ago. Every year when cherry blossoms start blooming, I would revisit the idea of this cheesecake but it never turns out perfect enough for me to share the recipe. I share a photo of each year’s version on Instagram but it never successfully becomes its own blog post. After a few years of less-than-perfect cherry blossom cheesecake (often due to a murky jelly layer), I’m happy to report back that we did it. We figured out why the cheesecake never sets firm enough (too much whipped cream), why the jelly would turn murky (the cheesecake layer wasn’t set yet), and cherry blossoms wouldn’t stand out in the jelly (the jelly was too red). Besides the many trials and tribulations (thought they were tasty ones), this no-bake cheesecake is actually quite easy to make if you give yourself enough time for each layer to set fully before assembling and serving.
What is a no-bake cheesecake?
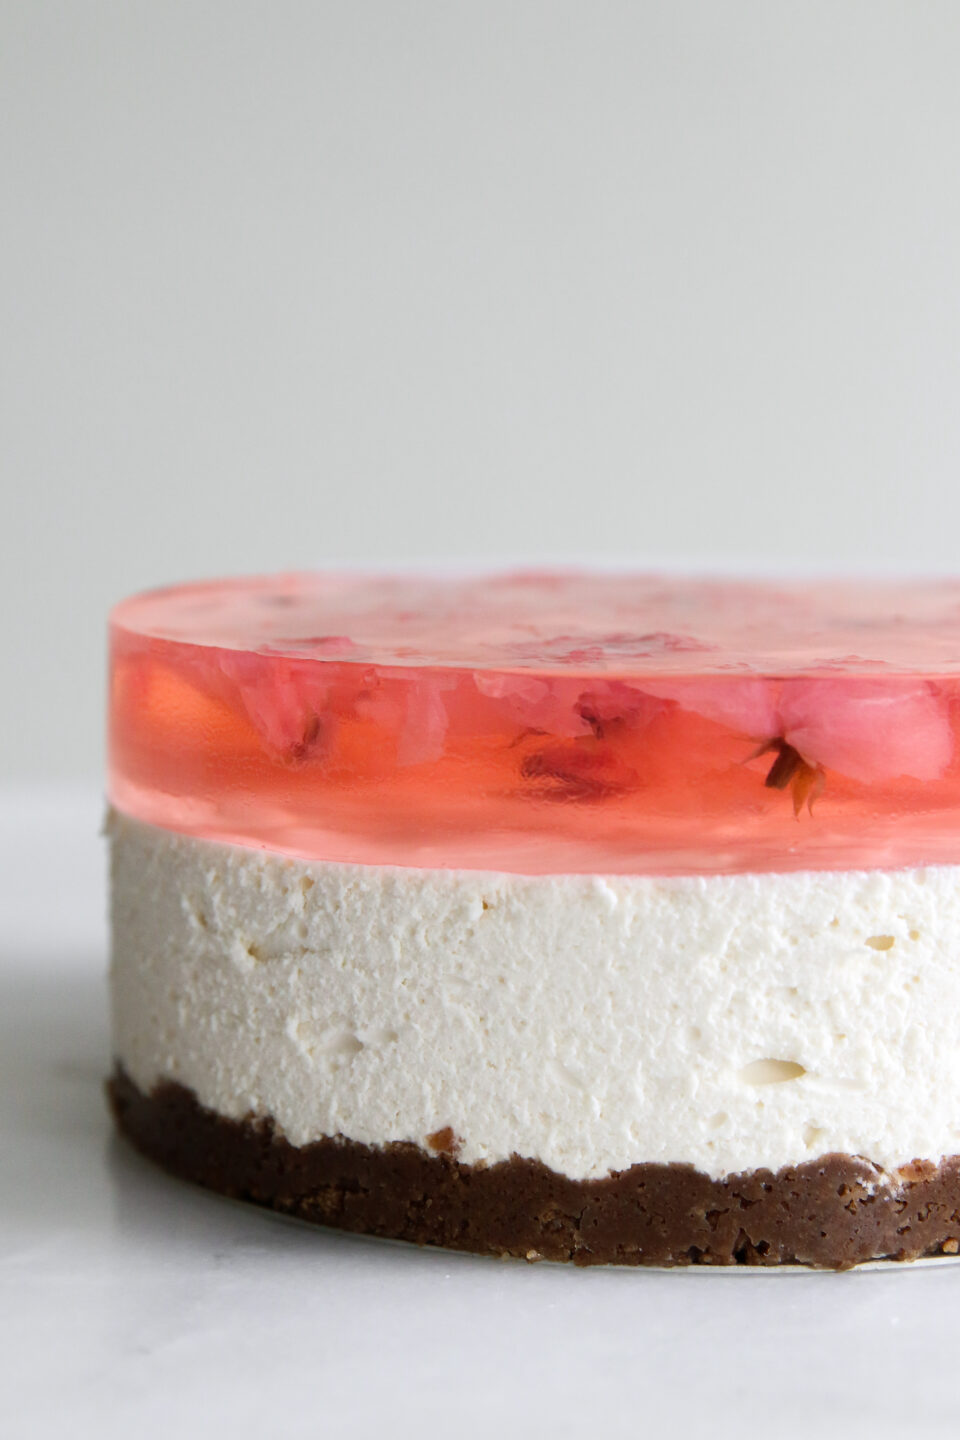
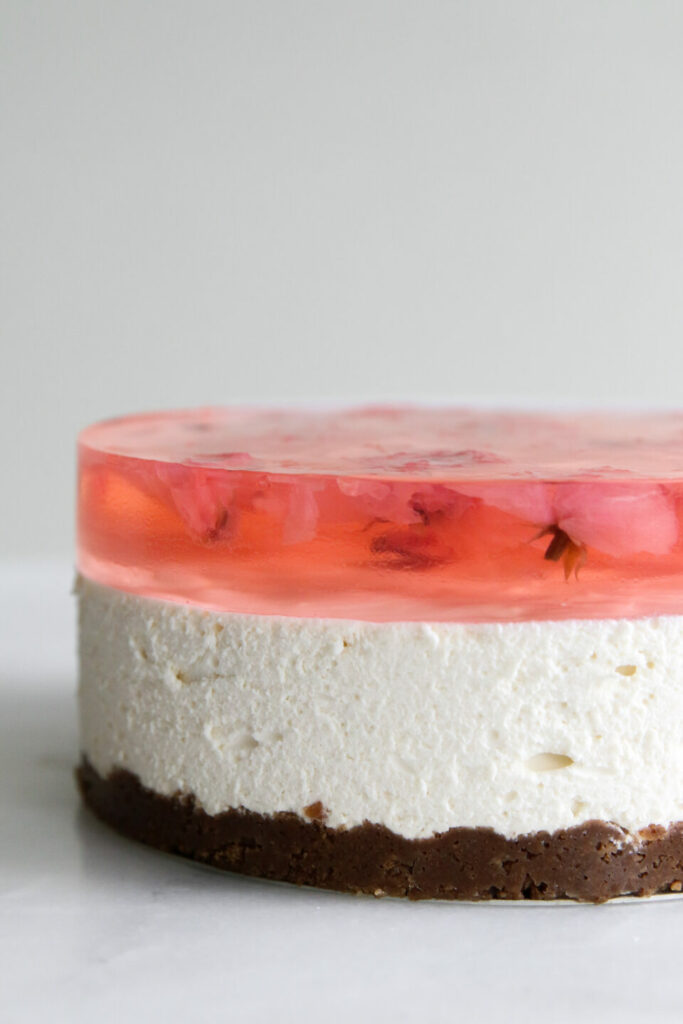
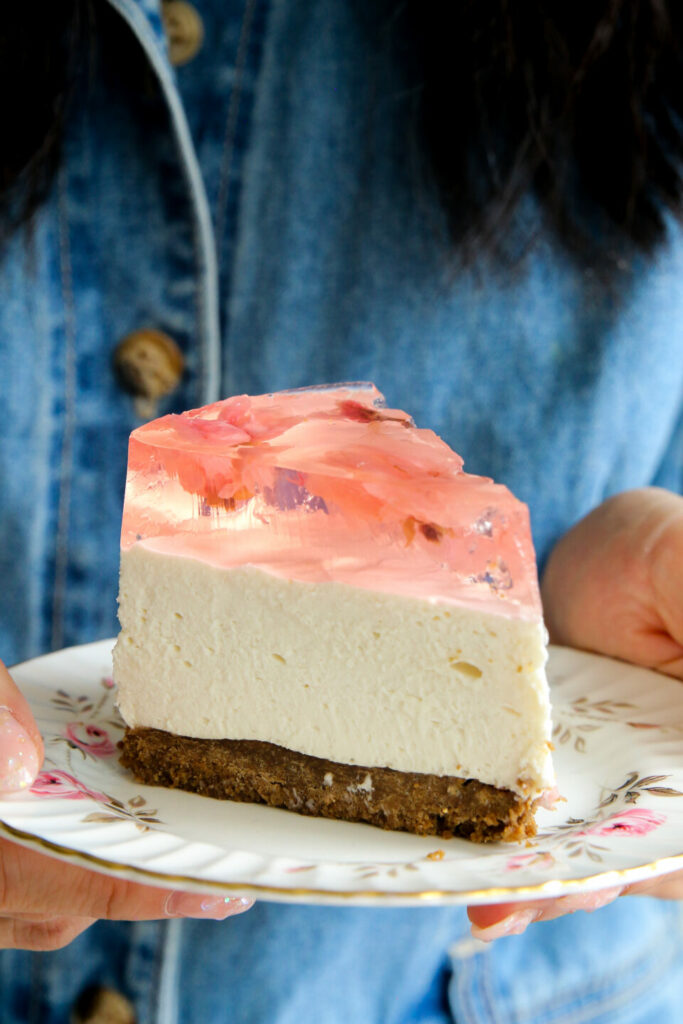
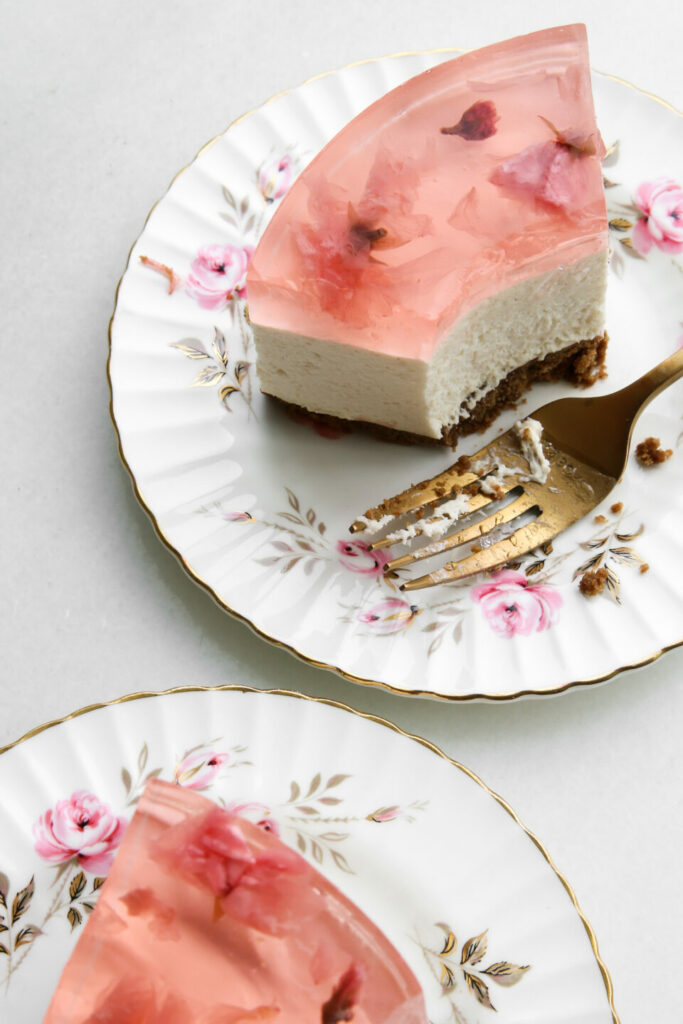
As its name suggests, a no-bake cheesecake is a cheesecake that doesn’t have to be baked in the oven. Traditional cheesecakes have eggs in the batter which would help the cake set during the baking process. No-bake cheesecakes in the other hand relies on being chilled to help it become a firm, sliceable cake. The first few versions of this cake only had whipped cream, cream, cheese, and sugar as the main components, and it heavily relied on the whipped cream for its structure. Often times, the cheesecake would still not be stiff enough to create a clean slice that would hold its shape on its own. After adding the jelly layer, the weight of the jelly would cause the cheesecake layer to squish out. After the first few cakes, I started adding a bit of gelatin to the cheesecake layer, which helped the whipped cream to create a sturdy (but still fluffy and cloud-like!) texture. Compared to traditional baked cheesecakes, no-bake cheesecakes are lighter and smoother, almost like a mousse in texture. Similar to baked cheesecakes, this no-bake version also has cookie-based crust. Instead of the traditional graham cookie crust, I opted for speculoos cookies, which added a nice sweetness and a hint of spice to the cake. You can use whatever cookie you like.
Where can I find edible cherry blossoms?
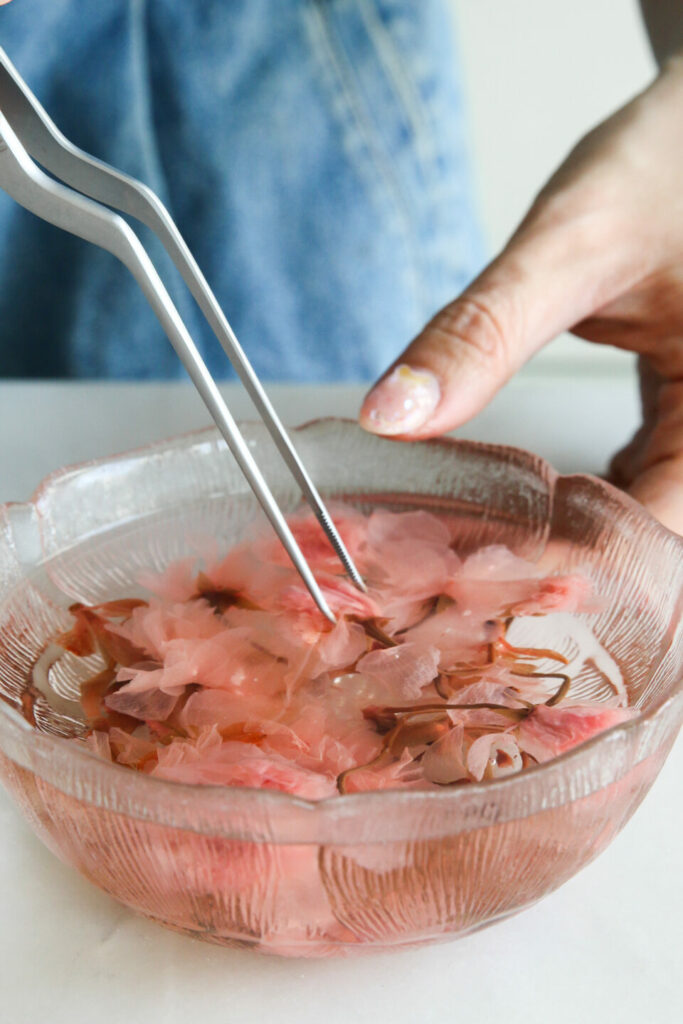
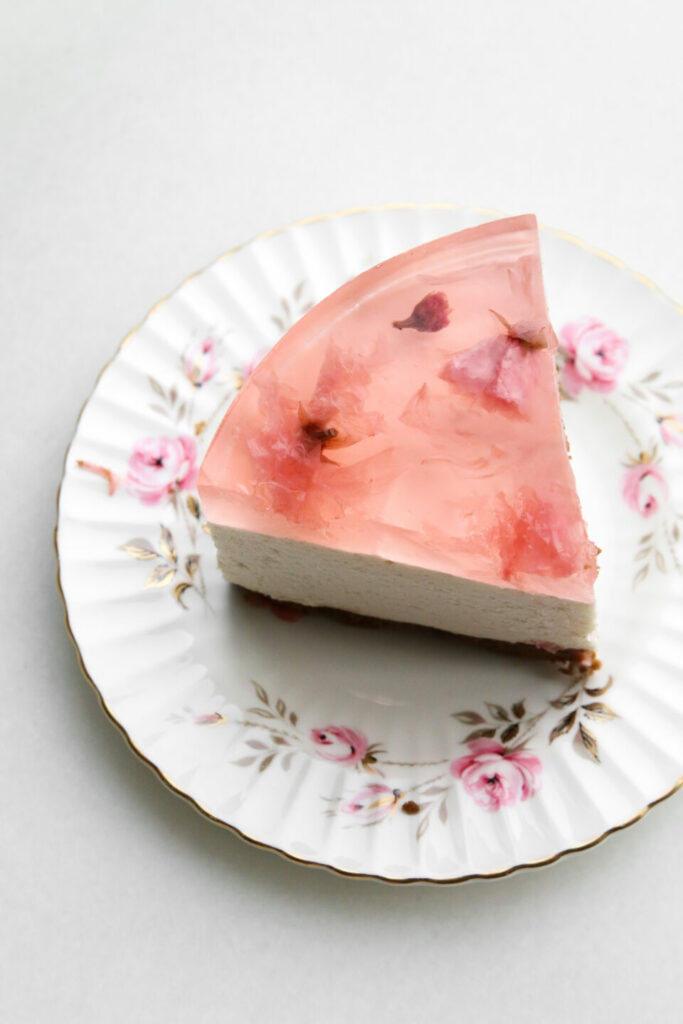
Cherry blossoms have a subtle sweetness but do not have too much of a distinct flavour like other flowers. Cherry blossoms are edible, but you want to make sure there are no pesticides on the flowers you choose to use for baking and desserts. My favourite way to incorporate cherry blossoms into cakes and cookies is to use cherry blossom tea or pickled cherry blossom flowers from my local Japanese market. The latter is usually pickled in salt, so I would recommend rinsing the flowers in warm water to get rid of some of the salt before adding it to baking. Letting the flowers sit in warm water will also help the flowers ‘blossom’ and look fuller in the jelly layer of the cheesecake.
Do I pour the jelly directly onto the cake?
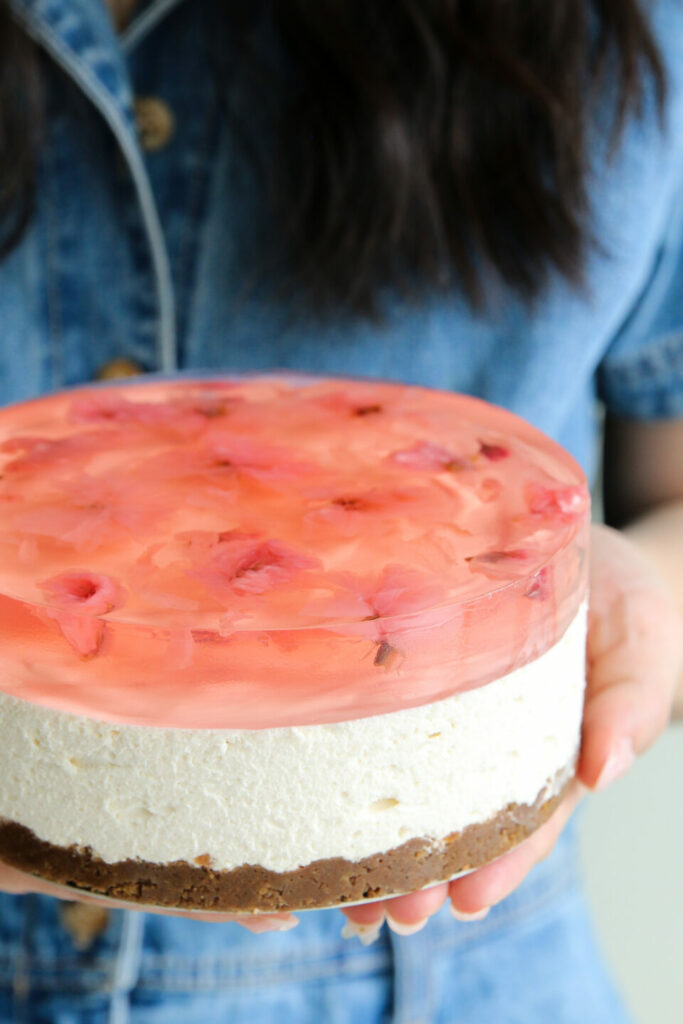
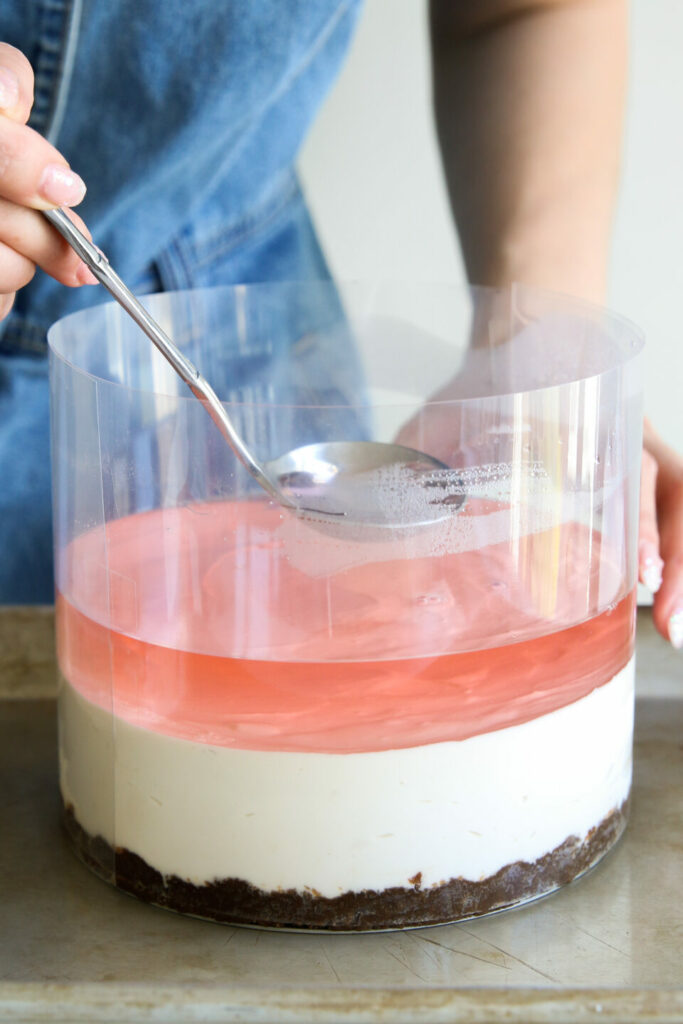
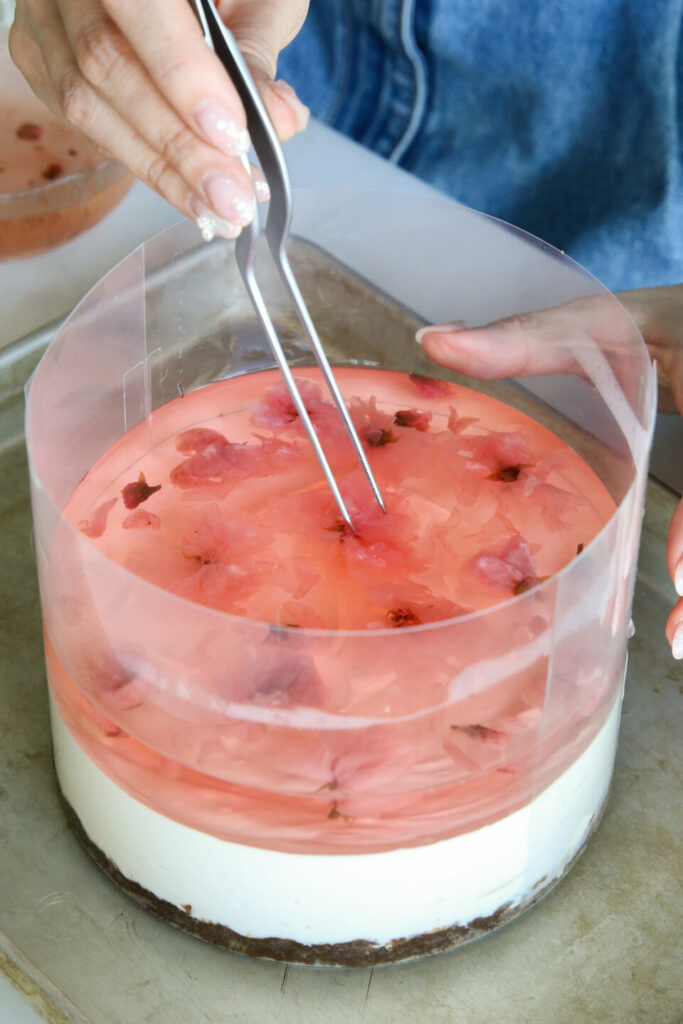
The jelly layer can be made with a store-bought jello mix but I wanted to be able to control the colour of the jelly, to make sure it’s not too dark and the cherry blossom flowers will still be apparent in the layer. The jelly layer is a simple mix of gelatin, sugar, water, and flavouring (I chose peach!). It is important to allow the gelatin to bloom in a bit of cold water before adding hot water and sugar to it — the gelatin is more likely to clump up if it is mixed directly into a large amount of hot liquid. Once the jelly mixture has been made, it is crucial that we allow the mixture to return to room temperature. If we add a hot or even warm jelly mixture to the top of the set cheesecake, it will cause the cheesecake to start melting into the jelly layer, creating a murky jelly. Through the many cheesecake tests, I also found that it’s equally important to gently ladle in the jelly mixture because pouring the jelly mixture, can easily break the surface of the cheesecake and cause the centre of the cheesecake to start melting into the jelly. Before returning the cheesecake with the jelly layer to the refrigerator to chill, add the cherry blossom flowers. I have tried making this jelly layer with agar agar instead of gelatin, and it was not as succesfully as using the latter. Because agar agar sets at room temperature, the agar agar jelly would start to set before all the flowers were added.
How long does the cheesecake need to be in the fridge?
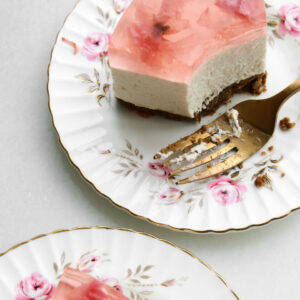
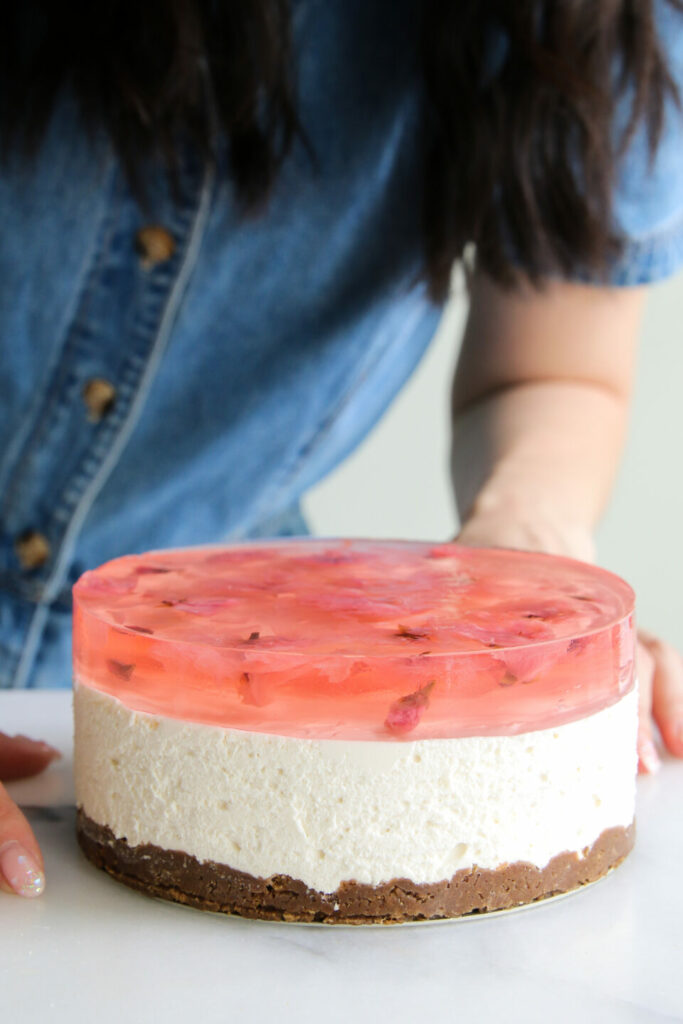
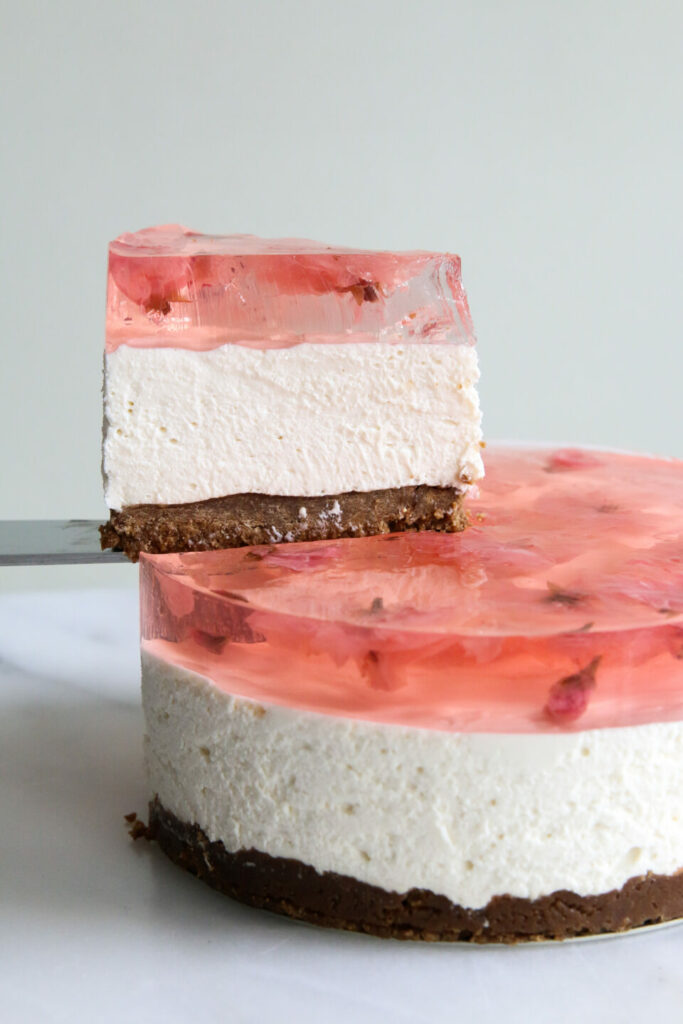
The jelly cheesecake can be served once the jelly layer has set, which takes around 4 – 5 hours in the refrigerator, but I like to let the cheesecake set overnight to make sure everything is sturdy enough to be sliced. I’ve cut into many cheesecakes too early and regretted it!
No-Bake Cherry Blossom Jelly Cheesecake

Ingredients
Speculoos Crust Layer
- 185 g (15 cookies) speculoos cookies
- 1/2 tbsp granulated sugar
- 1/2 tsp salt
- 50 g unsalted butter, melted
No Bake Cheesecake Layer
- 150 ml heavy whipping cream
- 250 g (1 block) full-fat cream cheese, room temperature
- 80 g (2/3 cup) powdered sugar
- 6 g (1 envelope) unflavoured gelatin
- 40 ml water
- 2 tsp vanilla
- 1/2 tsp salt
Cherry Blossom Jelly Layer
- 6 g (1 envelope) unflavoured gelatin
- 315 ml water, divided
- 100 g (1/2 cup) granulated sugar
- Few drops red food colouring
- Few drops flavouring of choice
- 10 – 15 cherry blossoms
Instructions
Prep
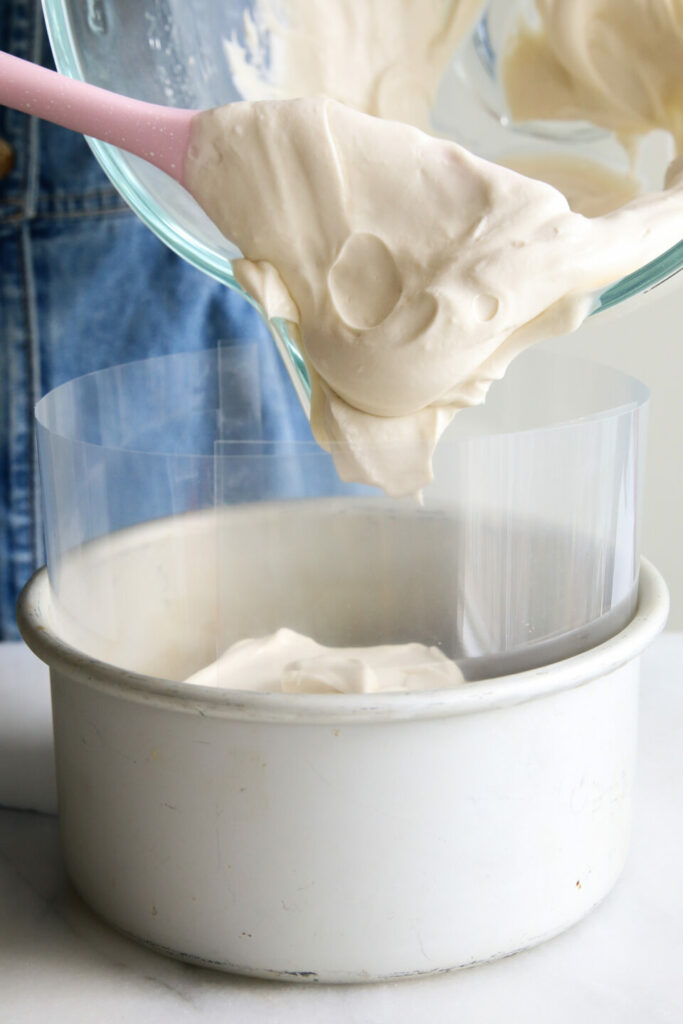
- Optional: create a 6-inch cake ring with a sheet of acetate to line the inside of a 6-inch spring form cake pan. If omitting acetate, line the inside of the pan with parchment paper.
Speculoos Crust Layer
- In a food processor, blitz speculoos cookies until it reaches a fine crumb. Some larger pieces are okay. Transfer cookie crumbs into a medium bowl.
- Add granulated sugar and salt to cookie crumbs. Mix well.
- Add melted butter and mix until the mixture resembles wet sand.
- Transfer the cookie mixture to the cake pan. Using a spoon, pack the cookie mixture tightly. The tighter it’s packed, the less likely it will fall apart when cutting the cheesecake.
- Transfer the cake pan to the freezer to chill while you make the cheesecake layer.
No Bake Cheesecake Layer
- Using a hand mixer or a stand mixer fitted with a whisk attachment, whip heavy whipping cream on medium-high speed until it reaches stiff peaks, about 3 – 4 minutes. Set aside.
- Using a hand mixer or a stand mixer fitted with a paddle attachment, beat cream cheese on medium-high speed until smooth, about 1 – 2 minutes.
- Add powdered sugar, vanilla, and salt to the cream cheese mixture and mix until very smooth.
- In a small bowl, add water and gelatin. Allow the gelatin to bloom for 5 minutes. It will become a thick gel. Microwave for 30 – 45 vseconds and give it a stir until the gel becomes a clear liquid.
- Add gelatin mixture to the cream cheese mixture and mix well.
- Gently fold the whipped cream into the cream cheese mixture without deflating the whipped cream. This takes several turns with your rubber spatula.
- Remove the cake pan from the freezer and and spread filling into crust. Use an offset spatula to smooth down the top as much as you can.
- Cover the top of the cake pan with plastic wrap and allow it to chill in the fridge for at least 3 hours.
Cherry Blossom Jelly Layer
- Add a large measuring cup, combine gelatin and 1/3 cup of room temperature water. Allow gelatin to bloom for 5 minutes.
- Once gelatin as thickened, add 1 cup of hot water to the measuring cup. Stir to until gelatin has dissolved.
- Add sugar, red food colouring, and flavouring of choice. Stir to combine.
- Allow the jelly mixture to return to room temperature before transfering to cake pan.
- Remove chilled cheesecake from refrigerator and take off the plastic wrap.
- Gently ladle the cooled jelly mixture on top of the cheesecake layer.
- Add cherry blossoms to the jelly layer.
- Cover the top of the cake pan with plastic wrap and return cake to the refrigerator to chill overnight.
Serving
- Remove cake from the springform pan. Gently peel away acetate/parchment paper.
- Using a clean sharp knife, cut into slices for serving. Wipe the knife clean between each slice.


Alexis says
Patiently waiting for the recipe for the blueberry lilac version. Please share it soon!