


A pumpkin recipe! Rarely do I share pumpkin recipes because I get overwhelmed by all the pumpkin recipes that surface the internet during the fall months and pumpkin just isn’t my favourite ingredient. Don’t get me wrong, I love using kabocha squash (or Japanese pumpkin) in a lot of my cooking and baking — kabocha cheesecake cream puffs, kabocha salted egg yolk sesame balls, and kabocha mooncakes —but I’ll always choose kabocha over pumpkin for both flavour and texture. These pumpkin mochi cakes might be the only exception.
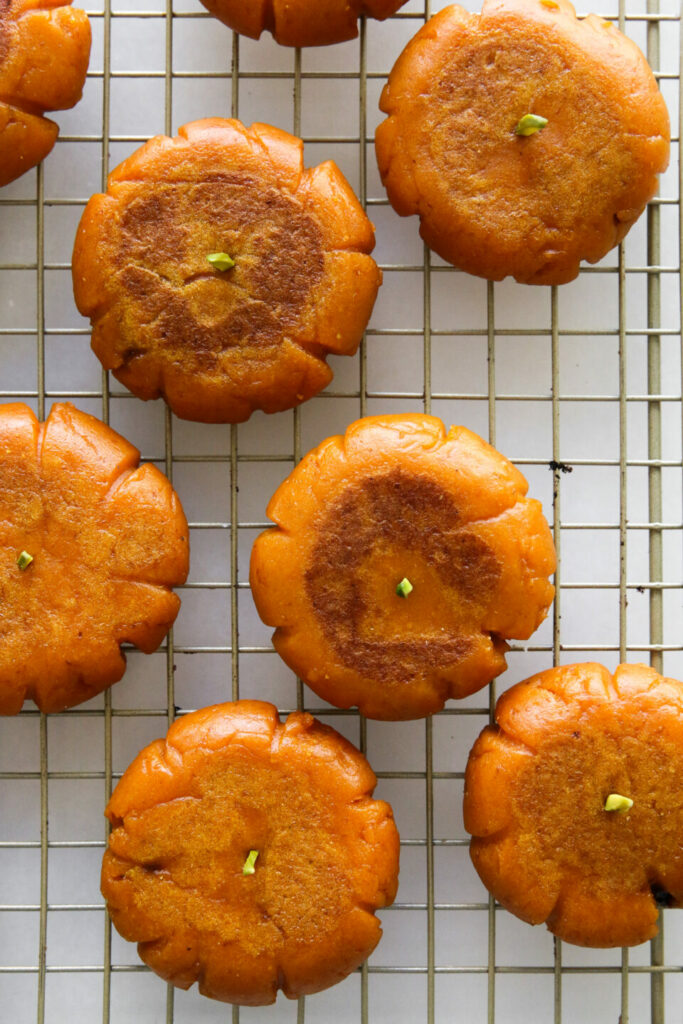
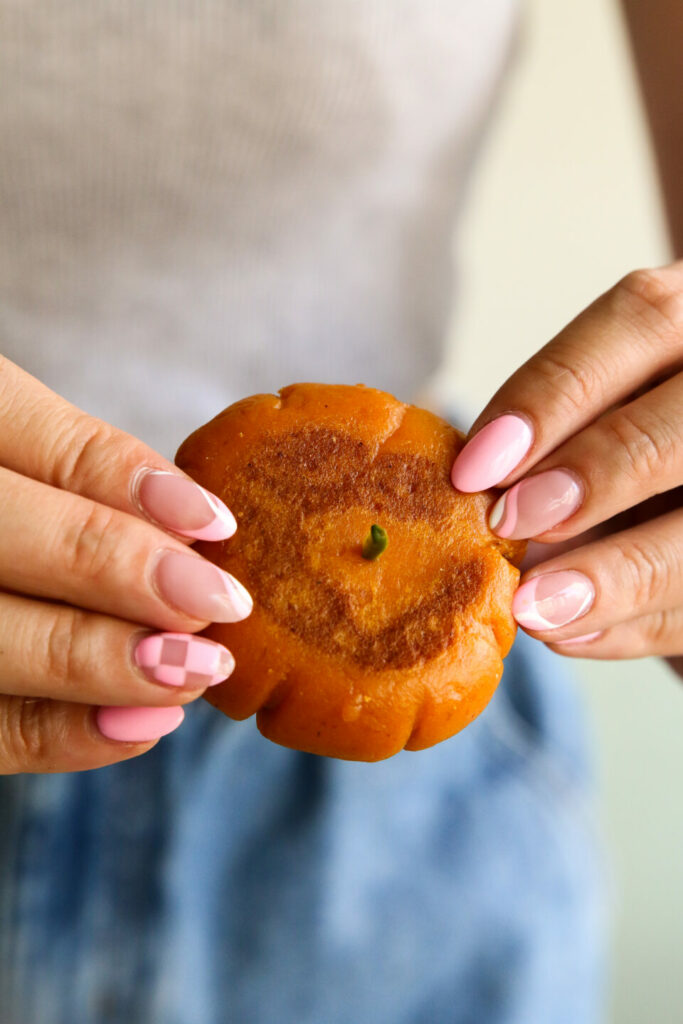
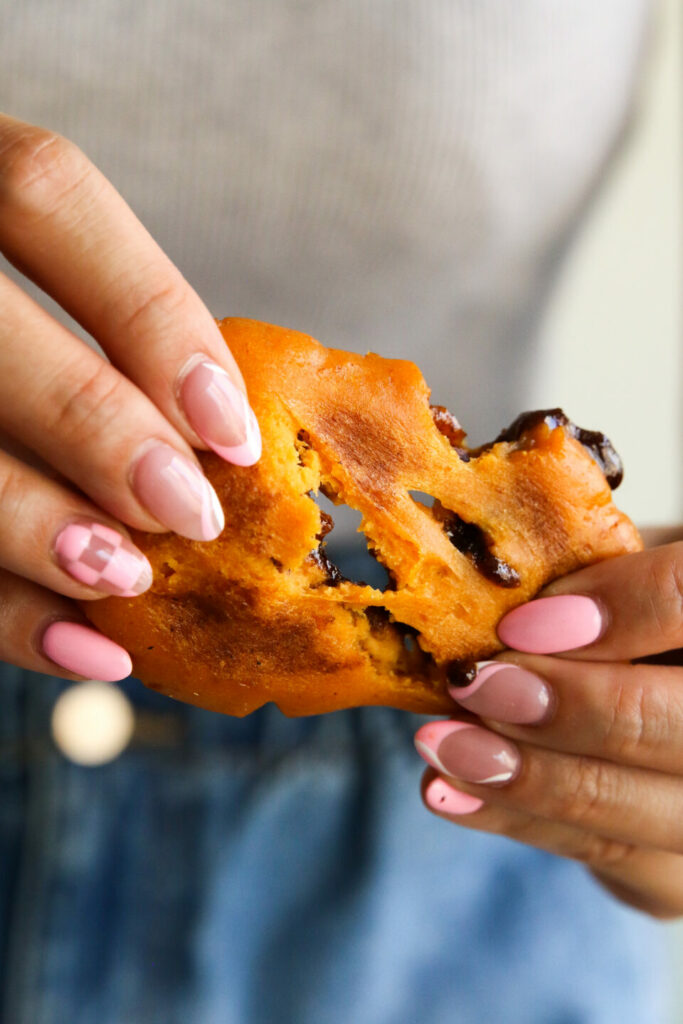
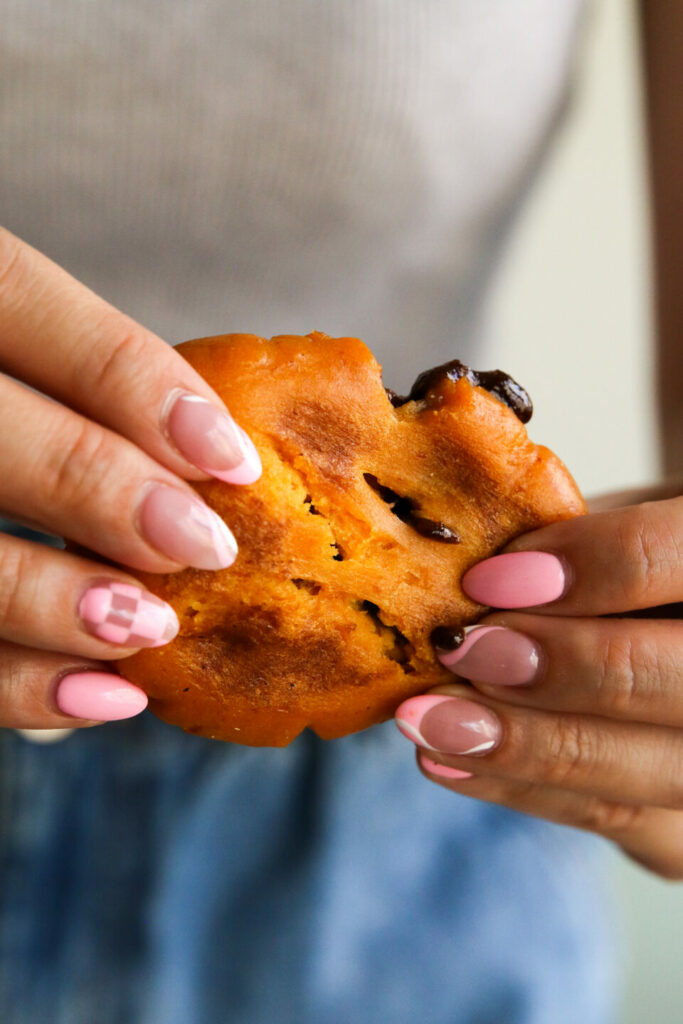
These 3-ingredient mochi cakes call for canned pumpkin purée (not pumpkin pie filling) that one would use to make pumpkin pie or muffins. It’s a great way to use up any pumpkin purée you have leftover from other fall baking projects. Because there are no eggs involved, you can easily scale the recipe up (to make 20 mochi cakes) or down (to make 4 mochi cakes). Glutinous rice flour, or sweet rice flour, is added to the pumpkin purée to create the base of the mochi dough. It’s important to get glutinous rice flour and not just regular rice flour so you get the chewy, sticky mochi texture. Granulated sugar is added to the mixture for a bit of sweetness and you can leave it at that if you like. I normally make it a plain pumpkin mochi but if I’m feeling fancy, I will make a simple 4-ingredient brown sugar filling (making this a 7-ingredient recipe!) for the mochi. The brown sugar filling is warm and sweet, much like the filling for a brown sugar pop tart. The mochi cakes are pan fried, giving them a crispy, golden exterior while the centres remain soft and chewy. Mochi cakes are best consumed right after they are made by you can reheat them on the pan until they get soft again.
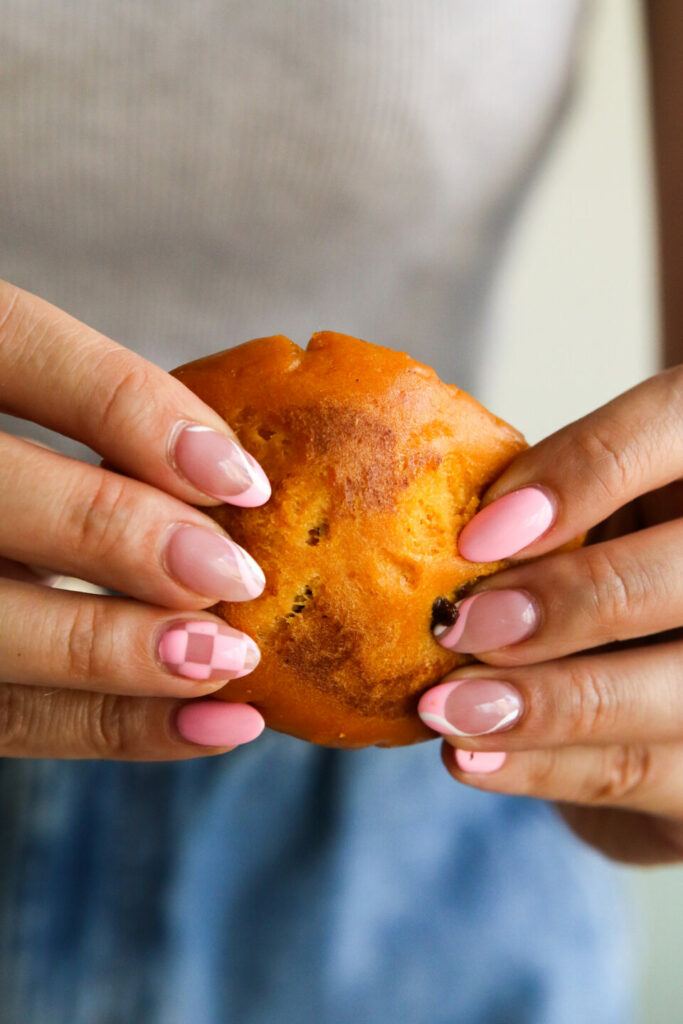
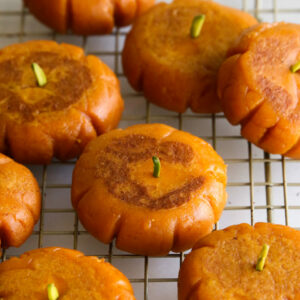
Crispy Pumpkin Mochi Cakes (3-Ingredients)

Ingredients
Pumpkin Mochi
- 300 g (1 1/4 cup) pumpkin purée
- 260 g (2 cups and 3 tbsp) glutinous rice flour
- 50 g (1/4 cup) granulated sugar
Brown Sugar Filling (Optional)
- 67 g (1/3 cup) brown sugar
- 3 g (1 1/2 tsp) all-purpose flour
- 1 tsp cinnamon
- 1/4 tsp salt
Instructions
Brown Sugar Filling (Optional)
- Whisk together ingredients in a small bowl and set aside.
Pumpkin Mochi
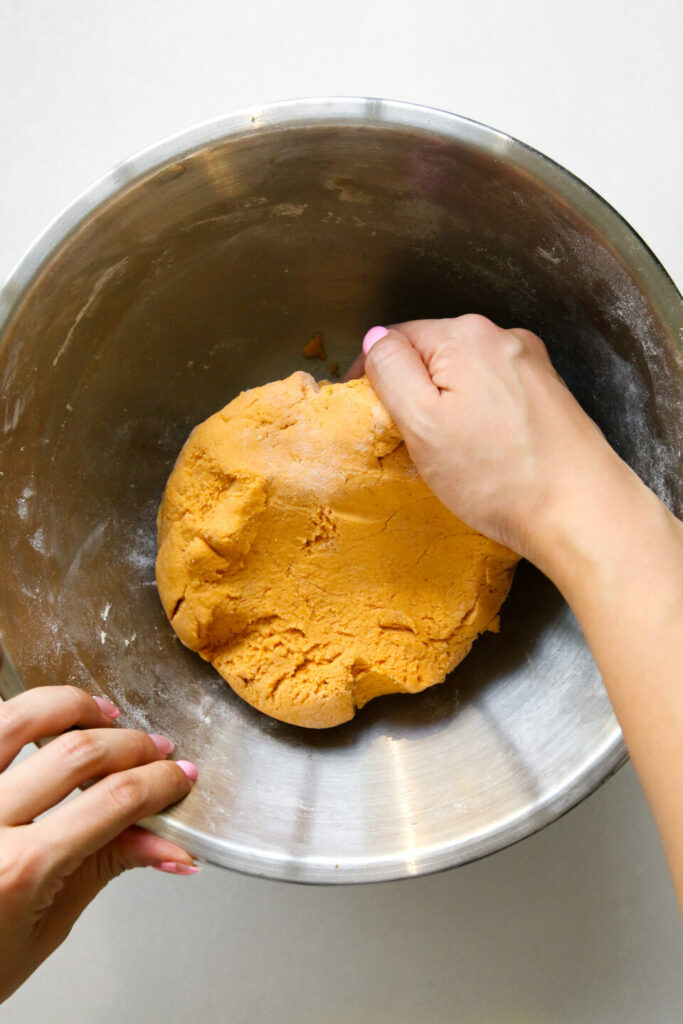
- In a large bowl, combine pumpkin purée, glutinous rice flour, and sugar with a rubber spatula, mixing until smooth. The mixture will resemble play-doh. If the mixture is too sticky, add more glutinous rice flour, one tablespoon at a time.
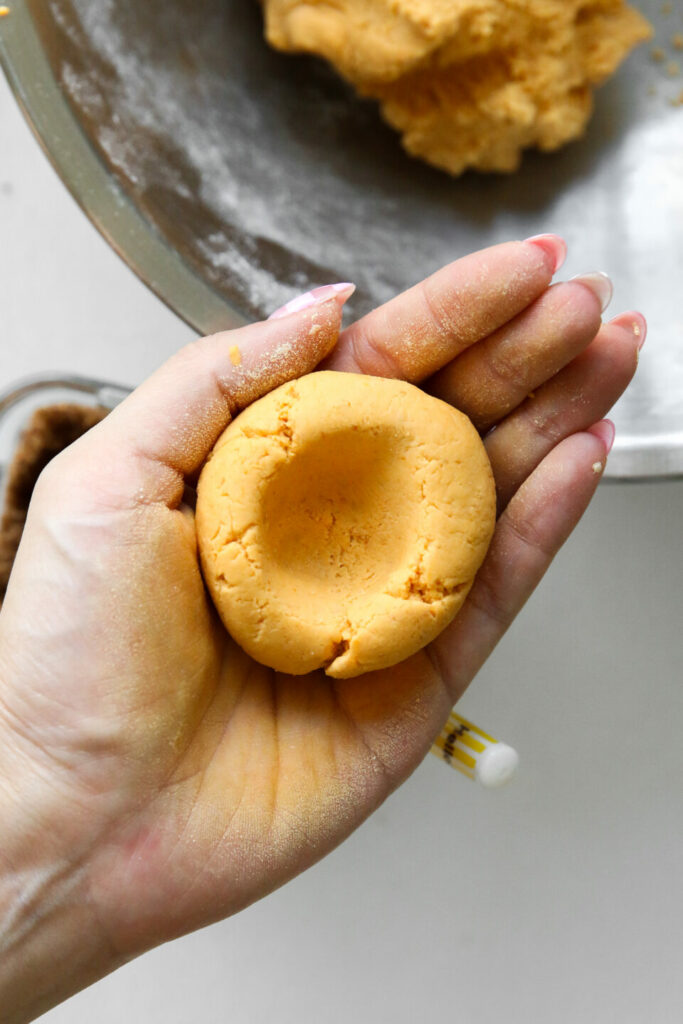
- Divide the dough into 12 equal portions and roll each portion into a ball between the palms of your hands.
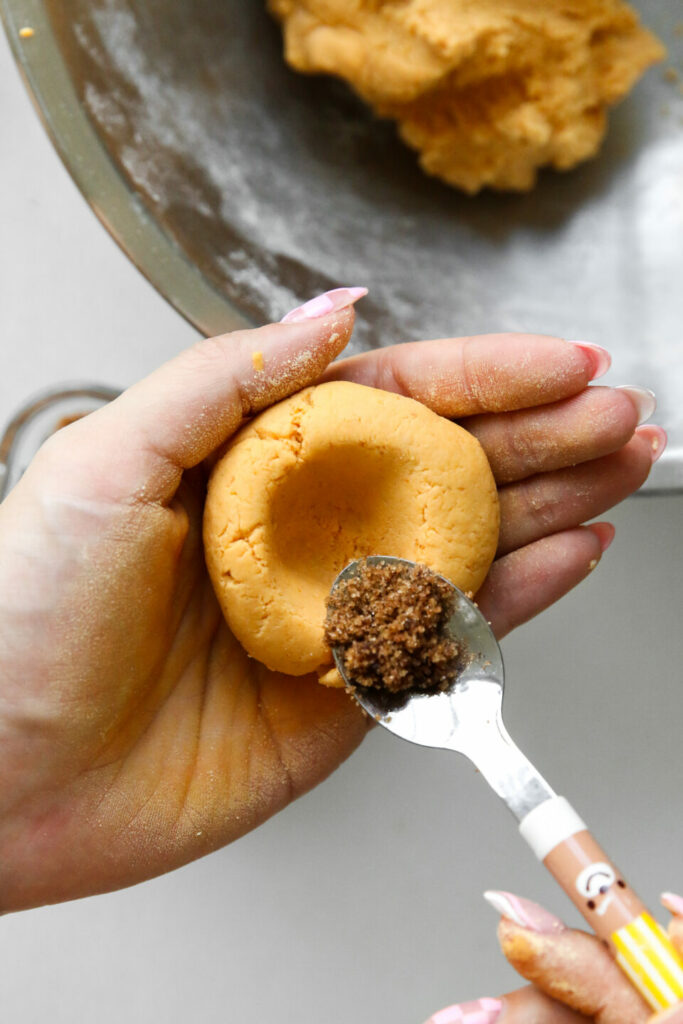
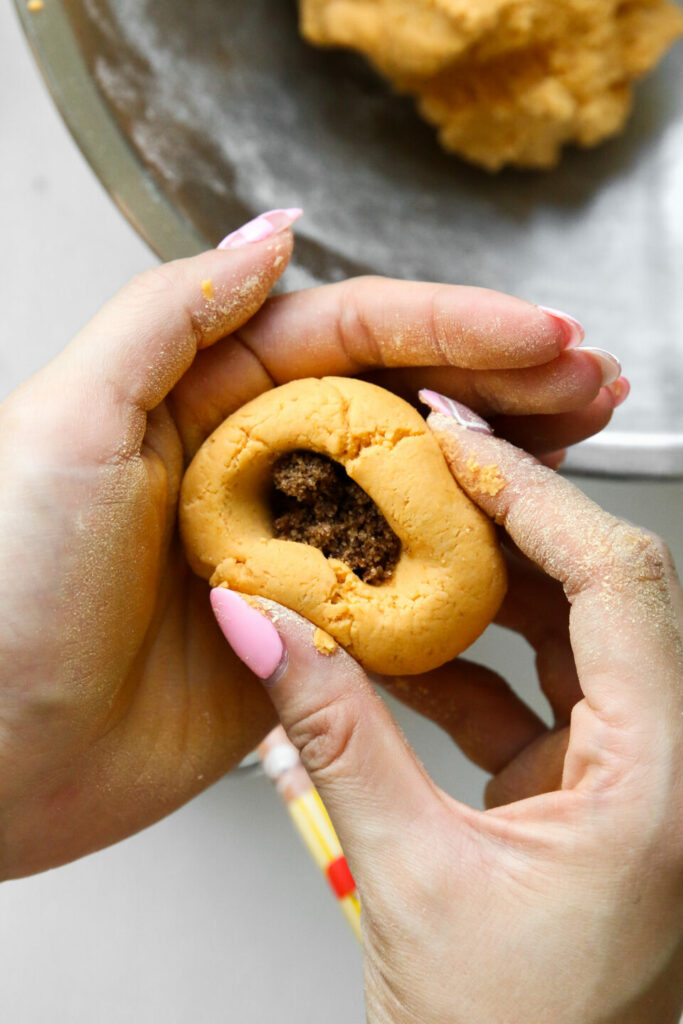
- Using your knuckle, create an indent at the centre of mochi dough. Add 1 – 2 teaspoons of filling to the centre and pinch the dough to seal the filling.
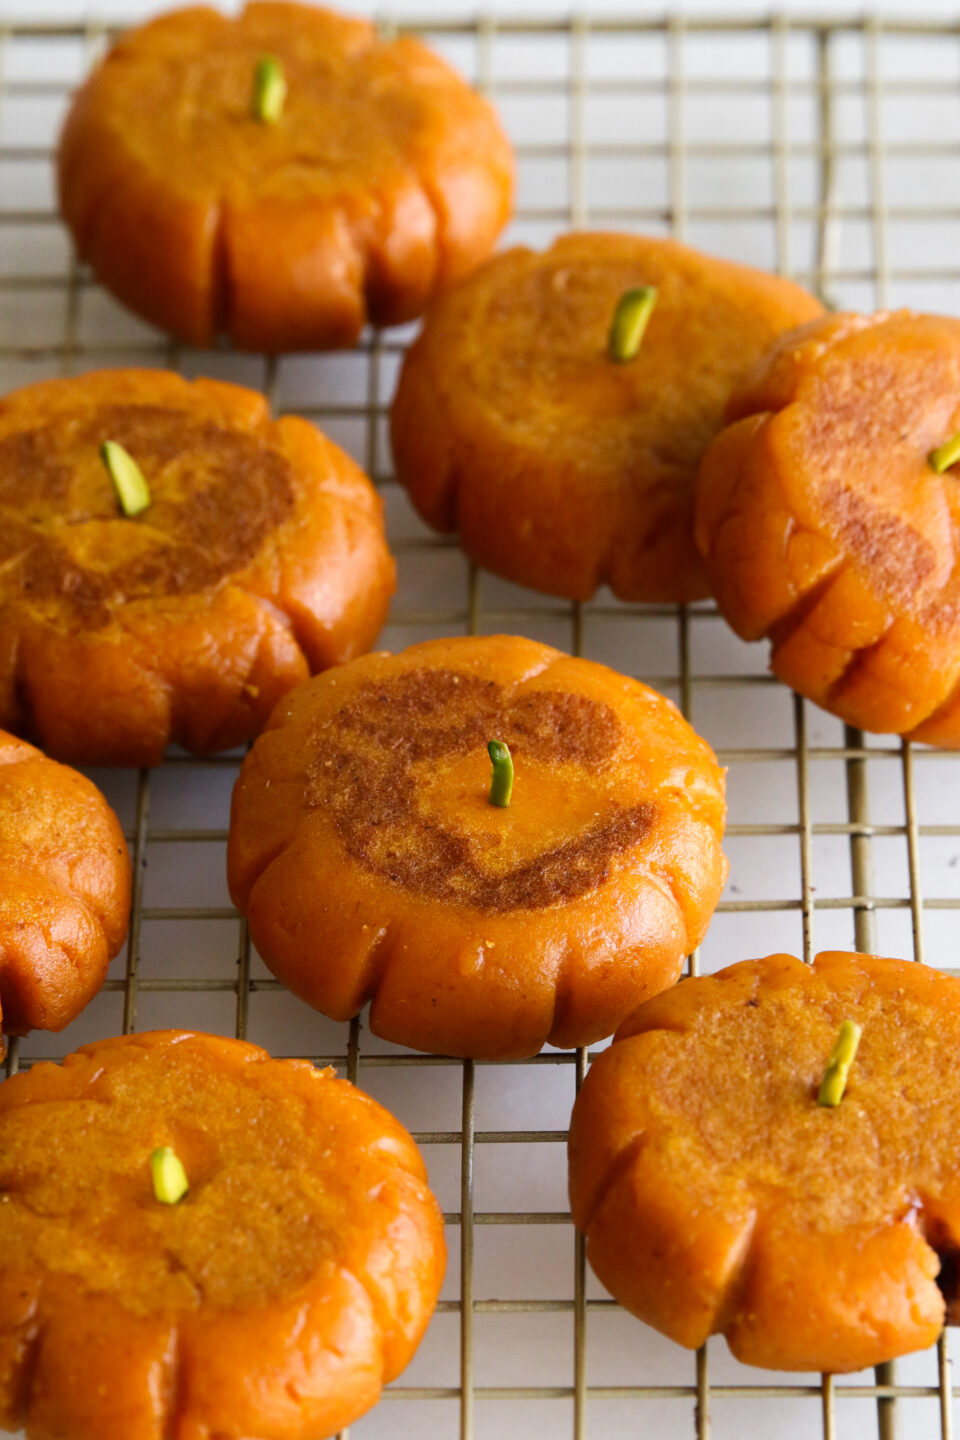
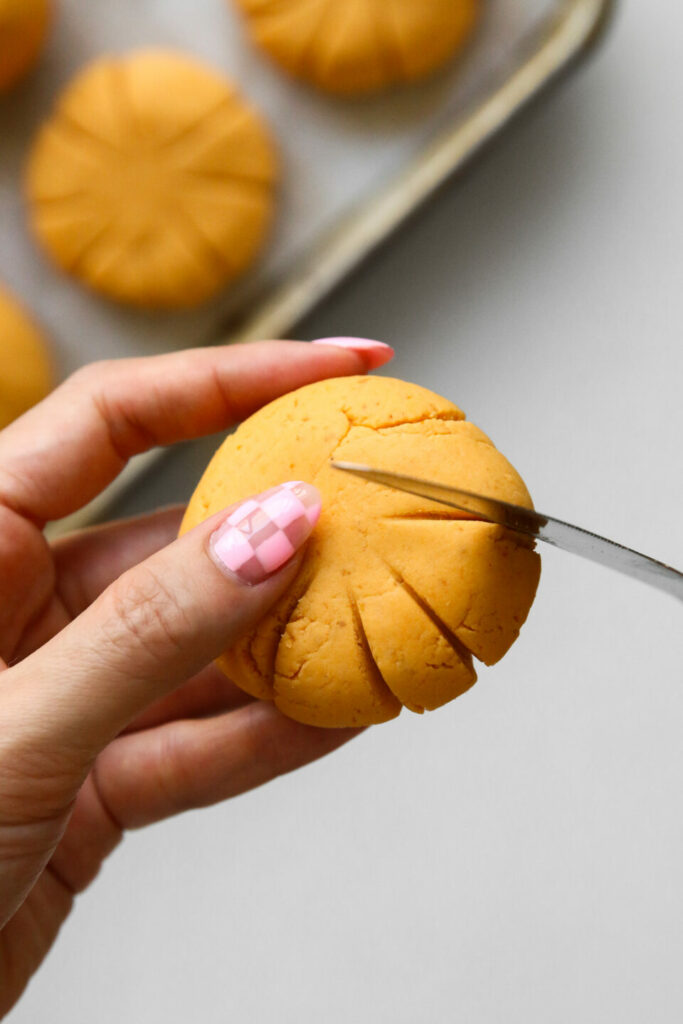
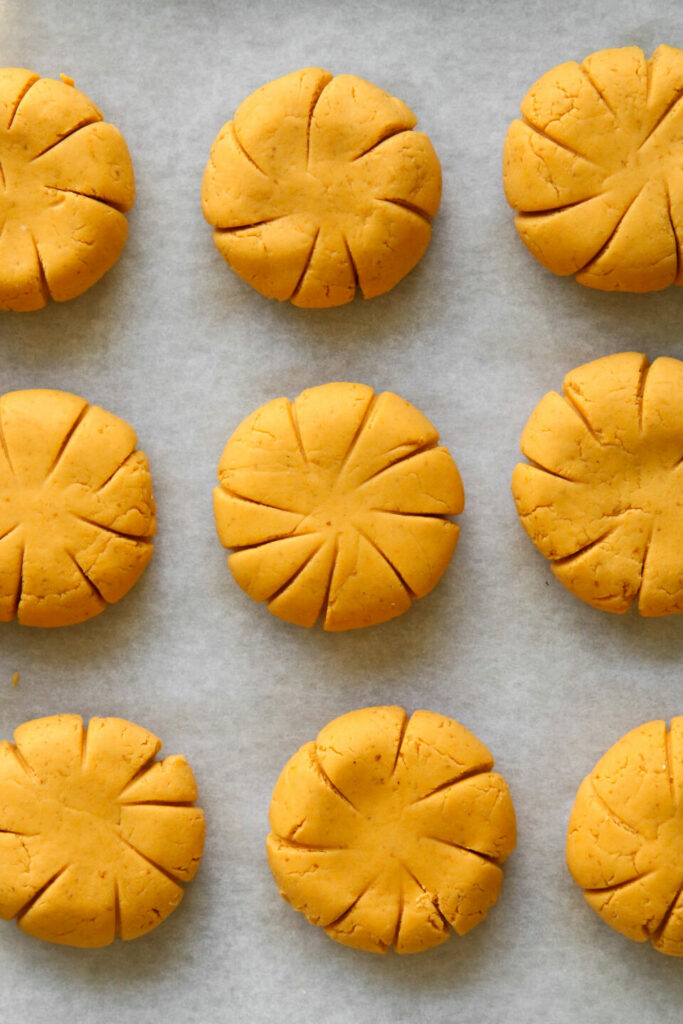
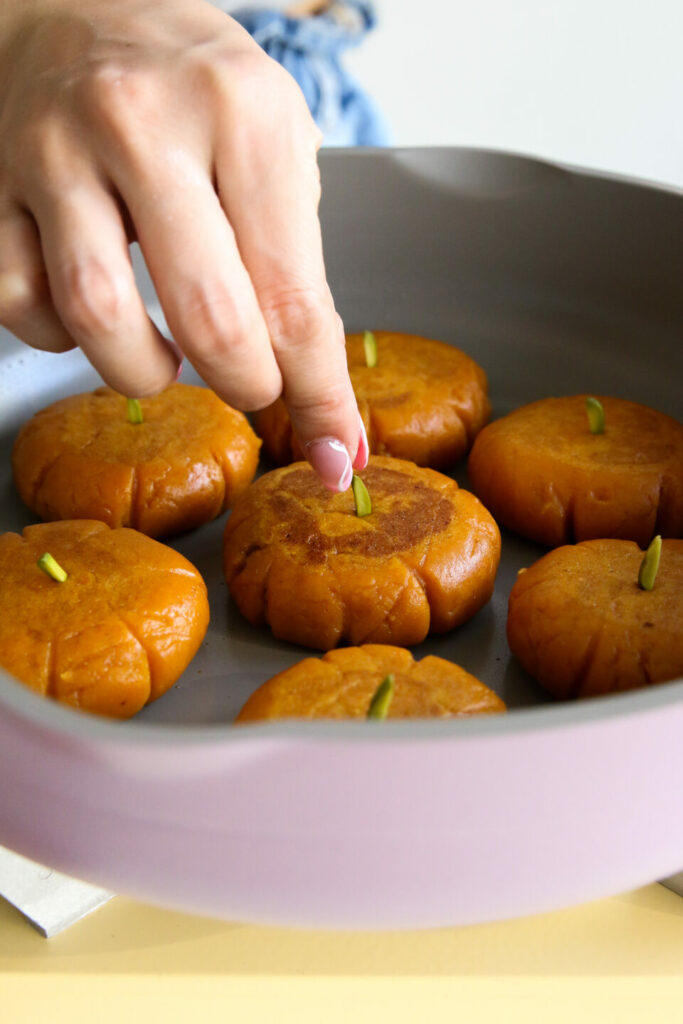
- Flatten the filled dough ball between the palms of your hands. Using the dull side of a butter knife, create marks on the side of the mochi to create the shape of a pumpkin. Repeat with remaining dough balls
- Heat up a nonstick pan on medium heat. Brush on a thin layer of vegetable oil to the pan.
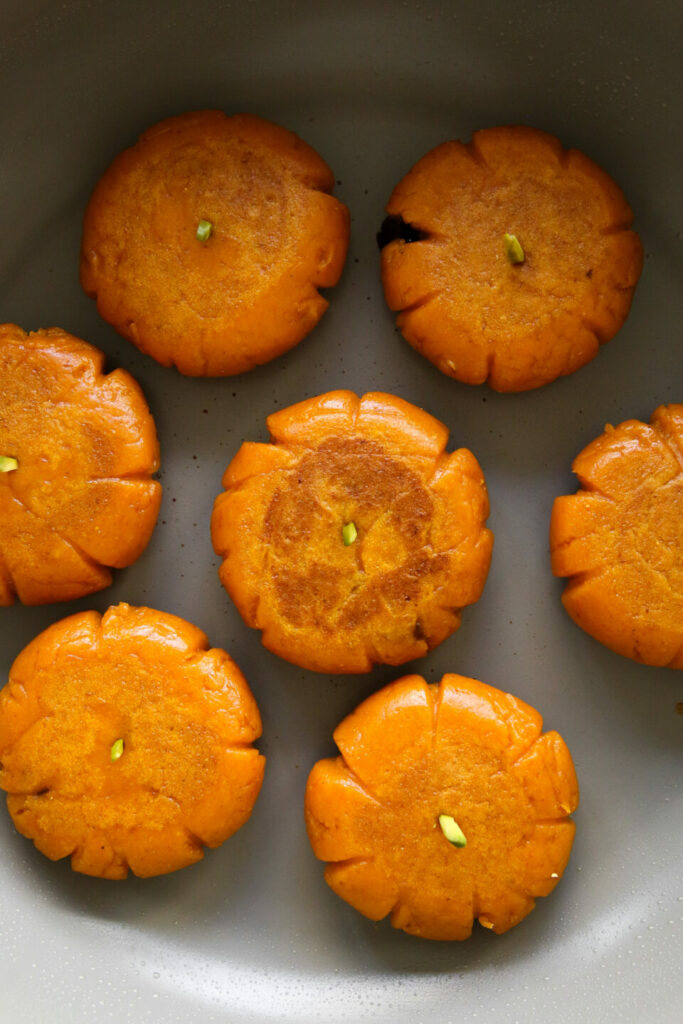
- Add mochi cakes to the heated pan. Fry mochi cakes until golden, about 2 – 3 minutes. Using a spatula, flip the mochi cakes over.
- Add 1/4 cup of water to the pan and add a lid to the pan, this will allow the mochi to steam and get tender. Leave lid on for 2 minutes. Remove lid and allow any remaining water to evaporate. Fry the mochi for additional 2 – 3 minutes until mochi cakes are golden and crispy.
- Optional: add a pumpkin seed or pistachio for the 'stem' of the pumpkin mochi.


KWL says
Excellent, simple recipe. I mixed black sesame seeds into the dough and filled them with red bean paste. Absolutely delicious! Thank you!