


Many amazing cookbooks came out this year and it’s been getting quite difficult to keep up and bake from all of them. Of all the books that came out this season, Mooncakes & Milk Bread was the one I looked forward to the most. I’m quite drawn to Chinese bakeries and pastry techniques and when I found out that Kristina’s book would be spotlighting all these bakeries that helped shape local Chinatowns, I got so excited. In addition to sharing traditional and modern interpretations of Chinese recipes, Kristina also talks to many Chinese bakery owners about why these businesses are so important to Asian American culture. Chinese bakeries have so much history behind them, whether they’re in Vancouver, the Bay Area (where Kristina is now), or any city in the world. Growing up, I’ve always felt that Chinese bakeries that sold $1 pineapple buns were inferior to patisseries that offered $5 croissants and it wasn’t until in the recent years that I realized my thinking has been wrong all these years. Just because these Chinese baked goods are priced lower than Western pastries, it doesn’t make our steamed cakes and milk bread less worthy in any way. Perfecting mooncakes is equally as difficult as perfecting choux pastry and I now choose to put as much effort into learning how to make all the baked goods I ate growing up.
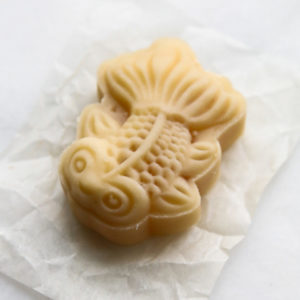
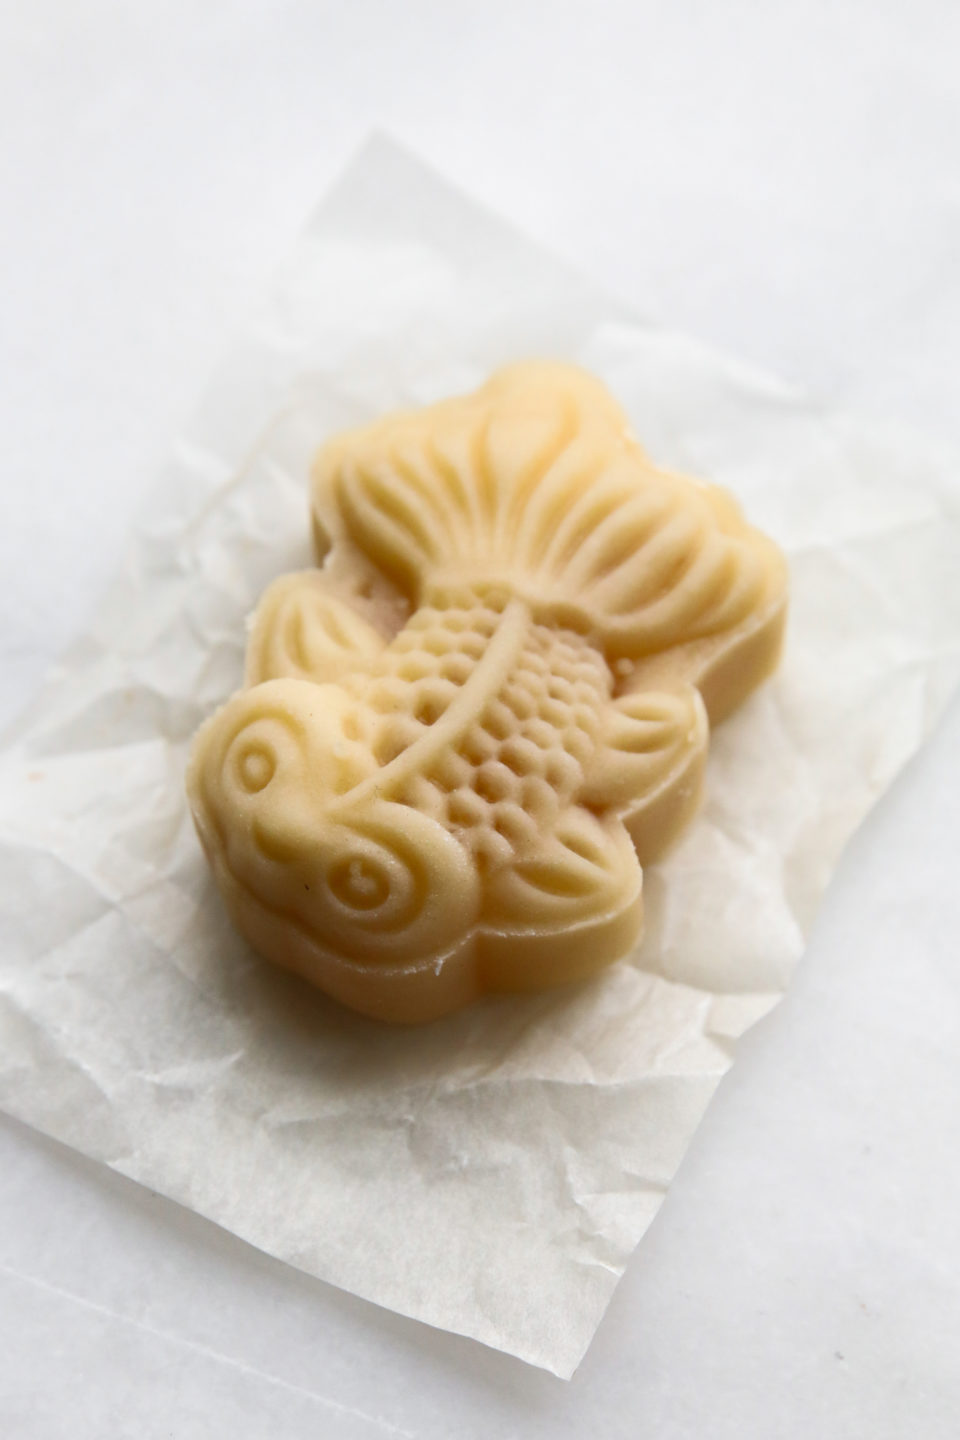
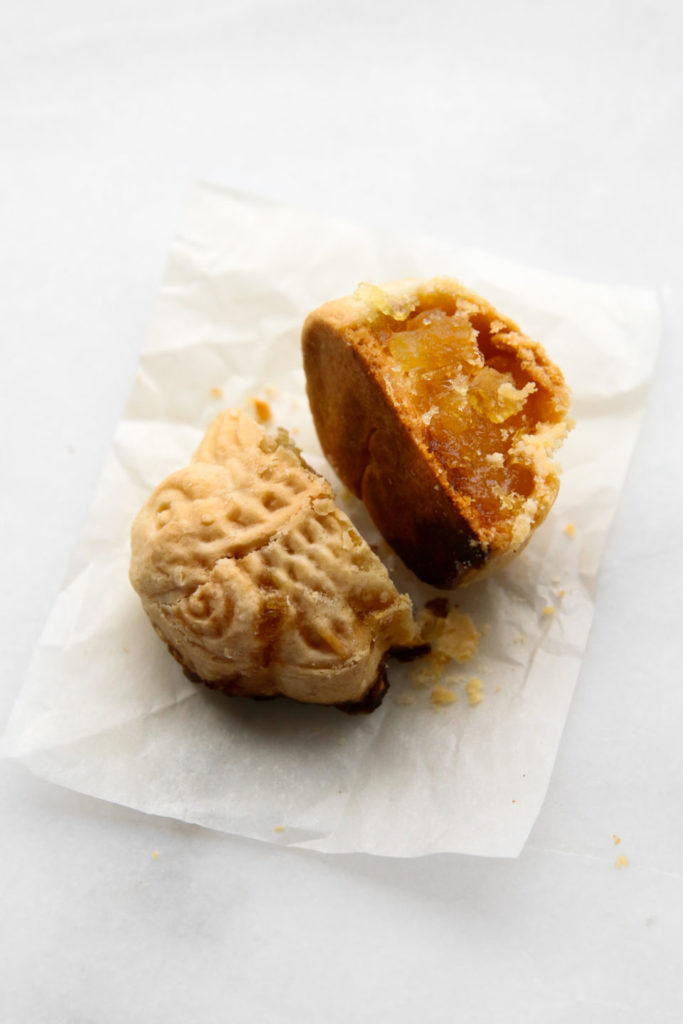
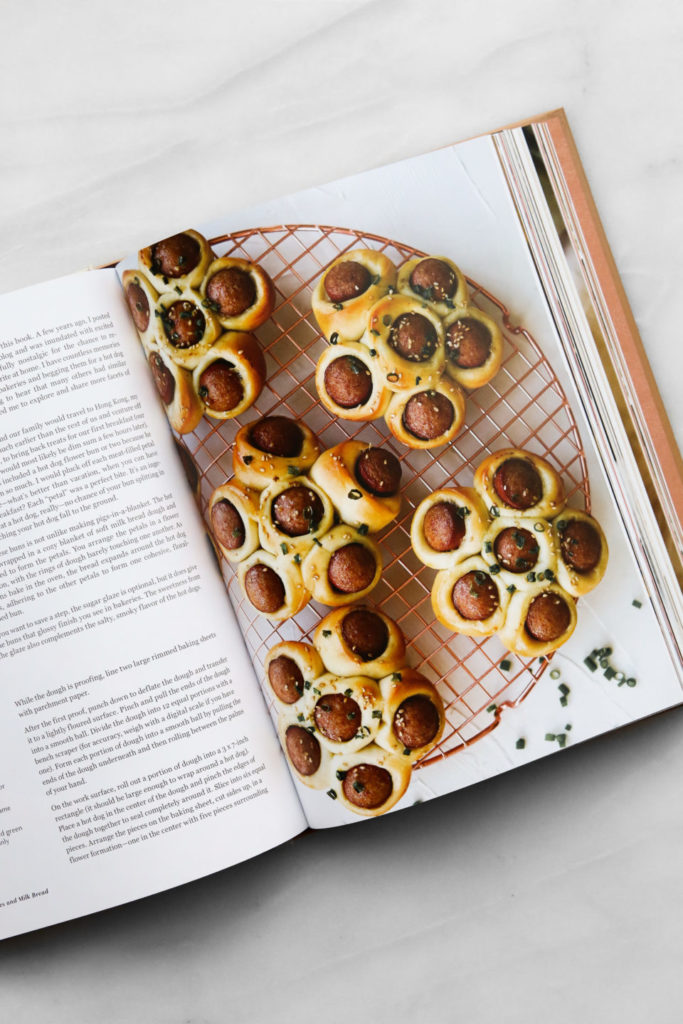
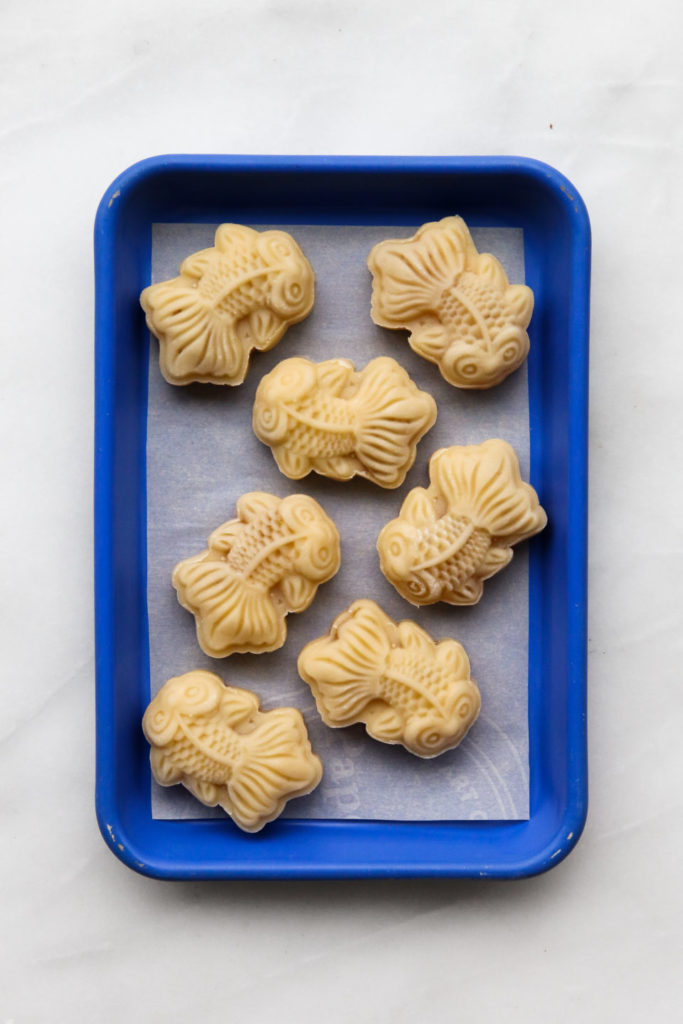
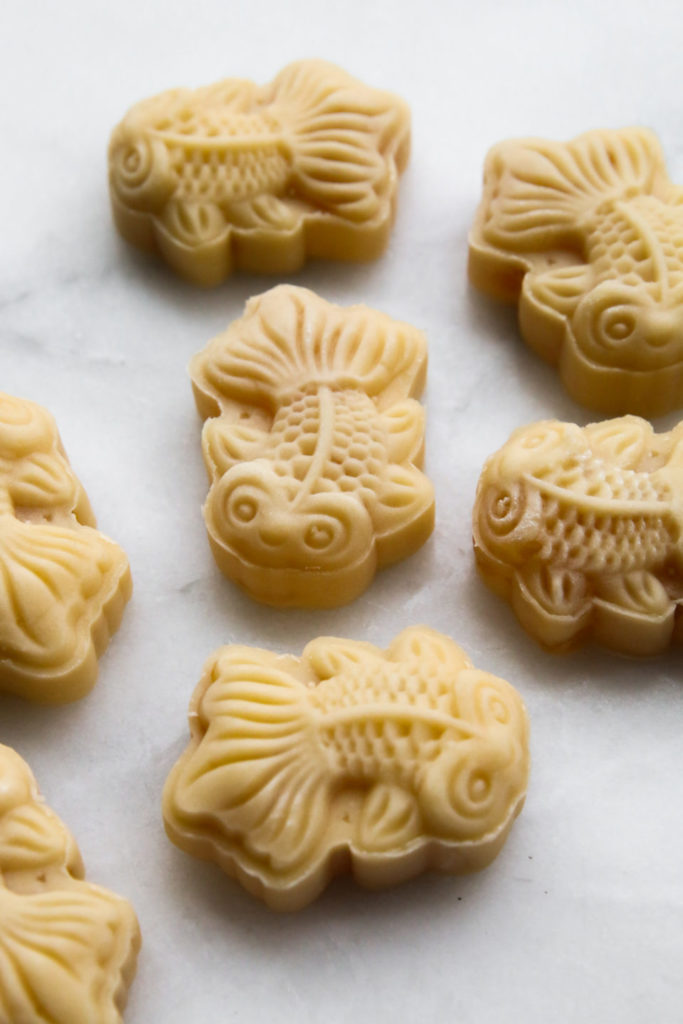
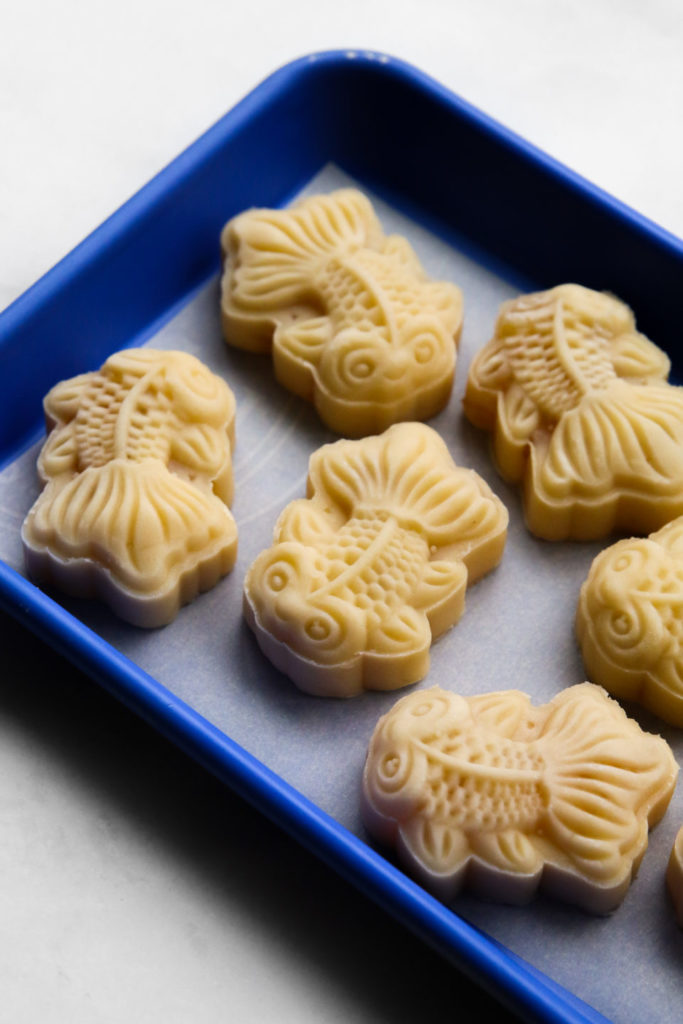
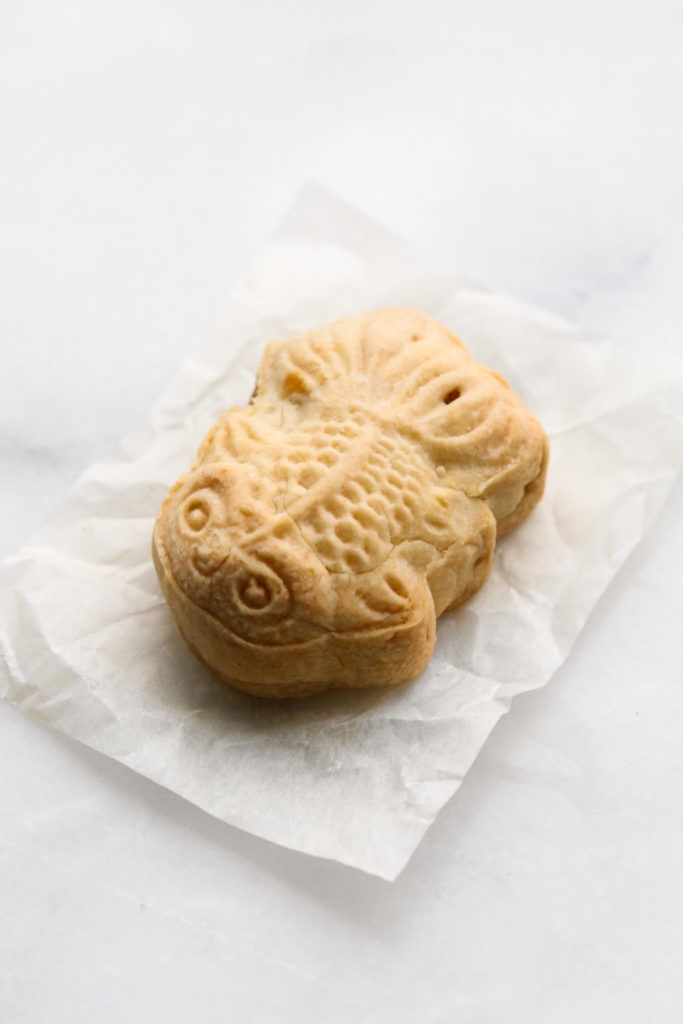
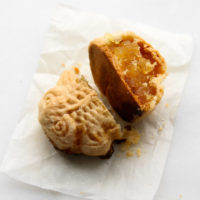
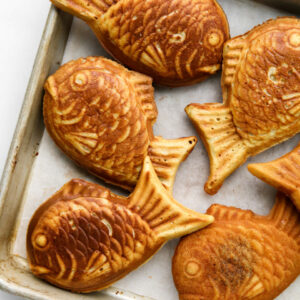
The recipes from Kristina’s book range from fluffy milk bread (which is the base of a lot of Chinese baked buns), steamed buns, her grandpa’s almond cookies, mooncakes, fruit cakes, egg tarts, and dumplings. It was quite difficult to choose the first recipe to make from her book (I was really drawn to the sausage buns!) but I ultimately decided to start with the Taiwanese pineapple cake recipe at the end of her book. Taiwanese pineapple cake is very different from all the recipes that come up when you google ‘pineapple cake.’ Taiwanese pineapple cake are delicate little pastries that have a tender, shortbread-like pastry with a thick jammy pineapple filling. My dad went to school in Taiwan and have always had an affinity for pineapple cakes, so I grew up eating lots of it as my after-school snack. Freshly made pineapples cakes are the best but my family’s pantry would always have a packet of store-bought cakes ready for any occasion. Taiwanese pineapple cakes are traditionally square shaped and require a specific type of mold for the baking process. I was so excited to bake from Kristina’s book that I couldn’t wait for my square molds to arrive in the mail (they’re difficult to source locally!). I opted for my goldfish-shaped mooncake press for these cakes and they turned out quite wonderfully! Even if you don’t have a pineapple cake mold or a mooncake process, you can shape these pastries in your hand and they would be equally delicious. The pastry is quite crisp on day 1 (which is how my mom likes it) and it softens (more traditional) once you let it sit overnight in an airtight container. They keep for up to five days in the container, but I’m sure you won’t have any trouble finishing the batch before then.

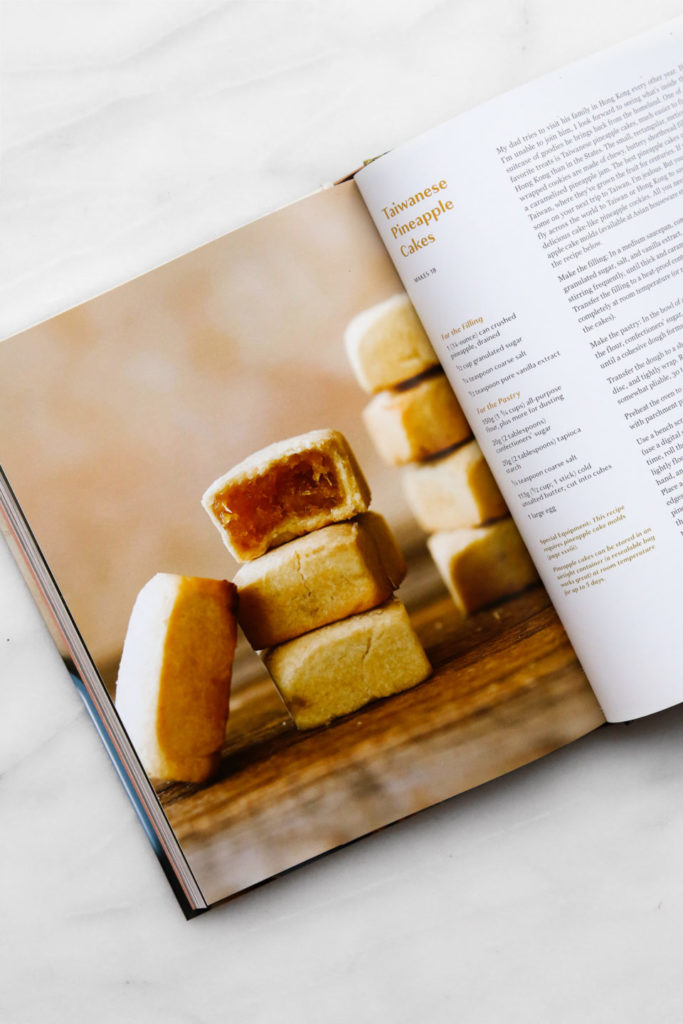

鳳梨酥 Taiwanese Pineapple Cake
Equipment
- Pineapple cake molds (I have also had success using mooncake and other plunger-style molds)
Ingredients
Pineapple Filling
- 1 can (14oz) crushed pineapple, drained
- 100 g (1/2 cup) granulated sugar
- 1/4 tsp coarse salt
- 1/2 tsp vanilla extract
Pastry
- 150 g (1 1/4 cup) all-purpose flour
- 20 g (2 tbsp) confectioner's sugar
- 20 g (2 tbsp) tapioca starch
- 1/4 tsp coarse salt
- 113 g (1/2 cup) cold unsalted butter, cut into cubes
- 1 large egg
Instructions
Pineapple Filling
- In a medium saucepan, combine the pineapple, granulated sugar, salt, and vanilla extract. Cook over medium heat, stirring frequently, until thick and caramelized, 20 to 30 minutes. Transfer the filling to a heat-proof container and allow to cool completely at room temperature (or refrigerate until ready to form the cakes).
Pastry
- In the bowl of a food processor, pulse to combine the flour, confectioners' sugar, tapioca starch, salt, butter, and egg until a cohesive dough forms.
- Transfer the dough to a sheet of plastic wrap, pat into a 1-inch-thick disc, and tightly wrap. Refrigerate the dough until firm but still somewhat pliable, 30 to 45 minutes.
- Preheat the oven to 350°F and line a large rimmed baking sheet with parchment paper.
- Use a bench scraper to divide the dough into 18 equal-size pieces (use a digital scale if you have one). Working with one piece at a time, roll the dough into a smooth ball. Place the dough ball on a lightly floured work surface, gently flatten with the palm of your hand, and roll out to a 3-inch round with a dowel rolling pin.
- Place a teaspoon filling in the center of the dough, pull up the edges, and pinch together to seal. Place the filled cake inside the pineapple cake mold, seam side down, and gently press down with the plunger until it evenly fills the mold. Remove the plunger and transfer the pineapple cake, still in the mold, onto the prepared baking sheet. Repeat with the remaining pastry and pineapple filling. If you have a limited number of molds, keep the dough and filling in the refrigerator until ready to form the next batch.
- Bake in the molds until the cakes are golden brown, 25 to 27 minutes. Transfer the sheet to a wire rack and allow the cakes to cool on the sheet for 5 minutes. Remove the molds and allow the cakes to cool completely on the rack. Enjoy the cakes fresh or store in an airtight container for 24 hours to allow the shortbread to soften.


Jan says
May I asked how you remove the finished tart from your goldfish mold? Or is it a plunger type mold?
Thanks.
Nina says
Hi! Does this make 12 or 18? (It says 12 at the top, but the recipe says to divide the dough into 18 pieces.)
Alice says
It is something unique to others.
Kevin says
What do you do if the dough is dry? I am using a gluten free flower and margarine instead of butter. I added a couple of tablespoons of water to get the dough to become cohesive. I’m just curious as to your experience.