This post is sponsored by Ingredients by Saputo. The opinions, as always, are my own.
One of the biggest highlights of the holiday season for me every year is making the cookie box. The tradition started two years ago with my friends Anna and Alex when we made this box of assorted sugar cookies, thumbprints, snowballs, and homemade marshmallows. It still is one the most popular recipes on the blog today. Fast forward one year later and I shared my second cookie box — this time featuring all my favourite holiday cookies from bakeries in Vancouver. In between all those winter-themed cookie boxes I shared other seasonal ones too, like this Easter sugar box made with my favourite sugar cookie recipe from my aunt and smaller ones like this that are also perfect for gifting.
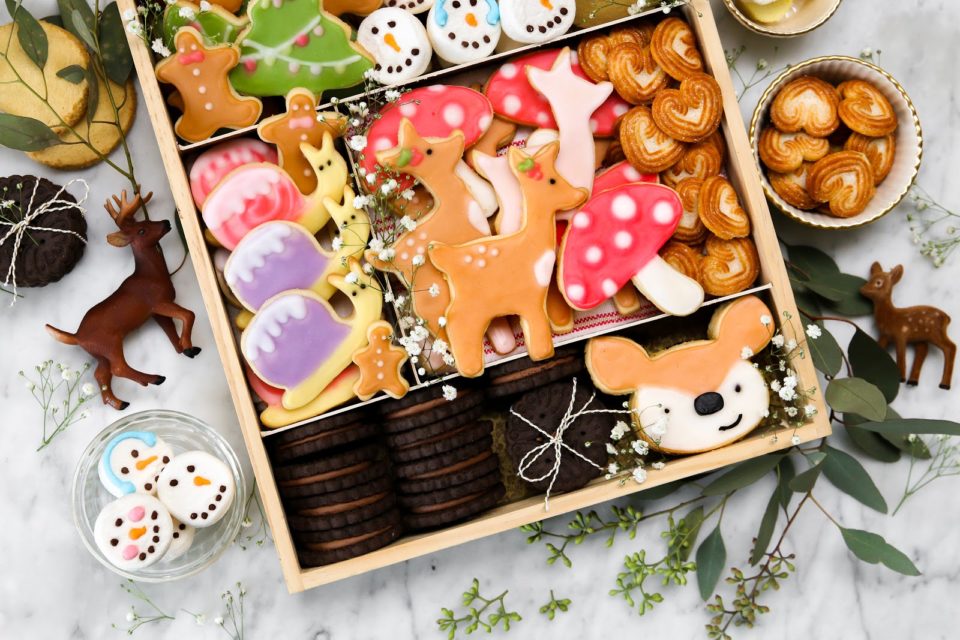
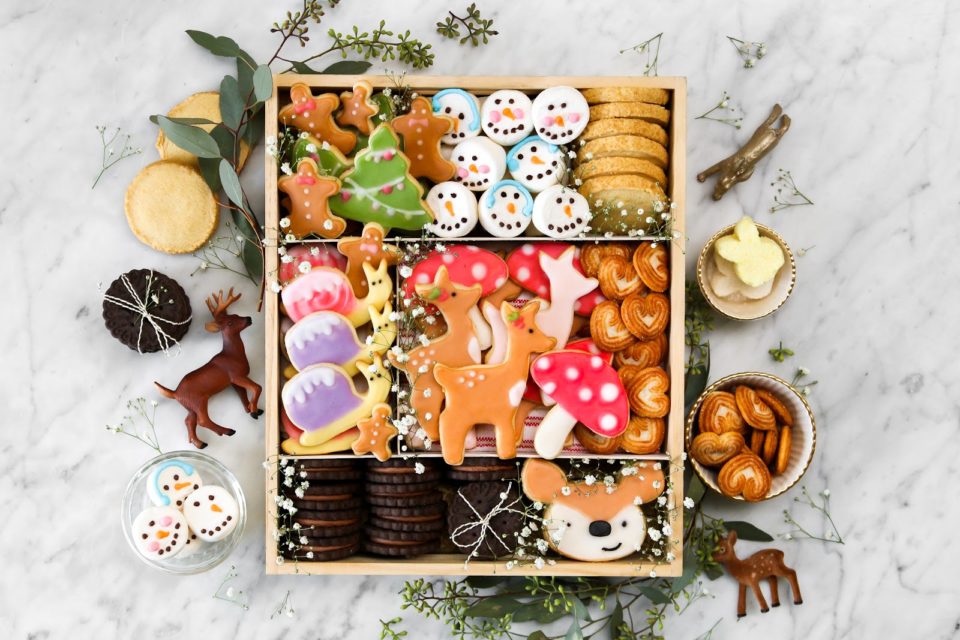
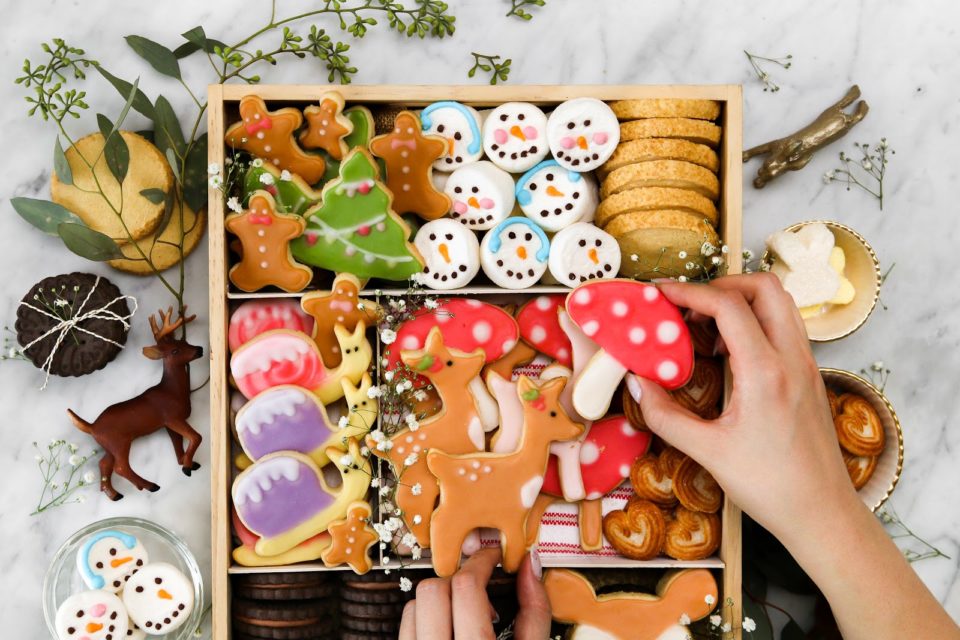
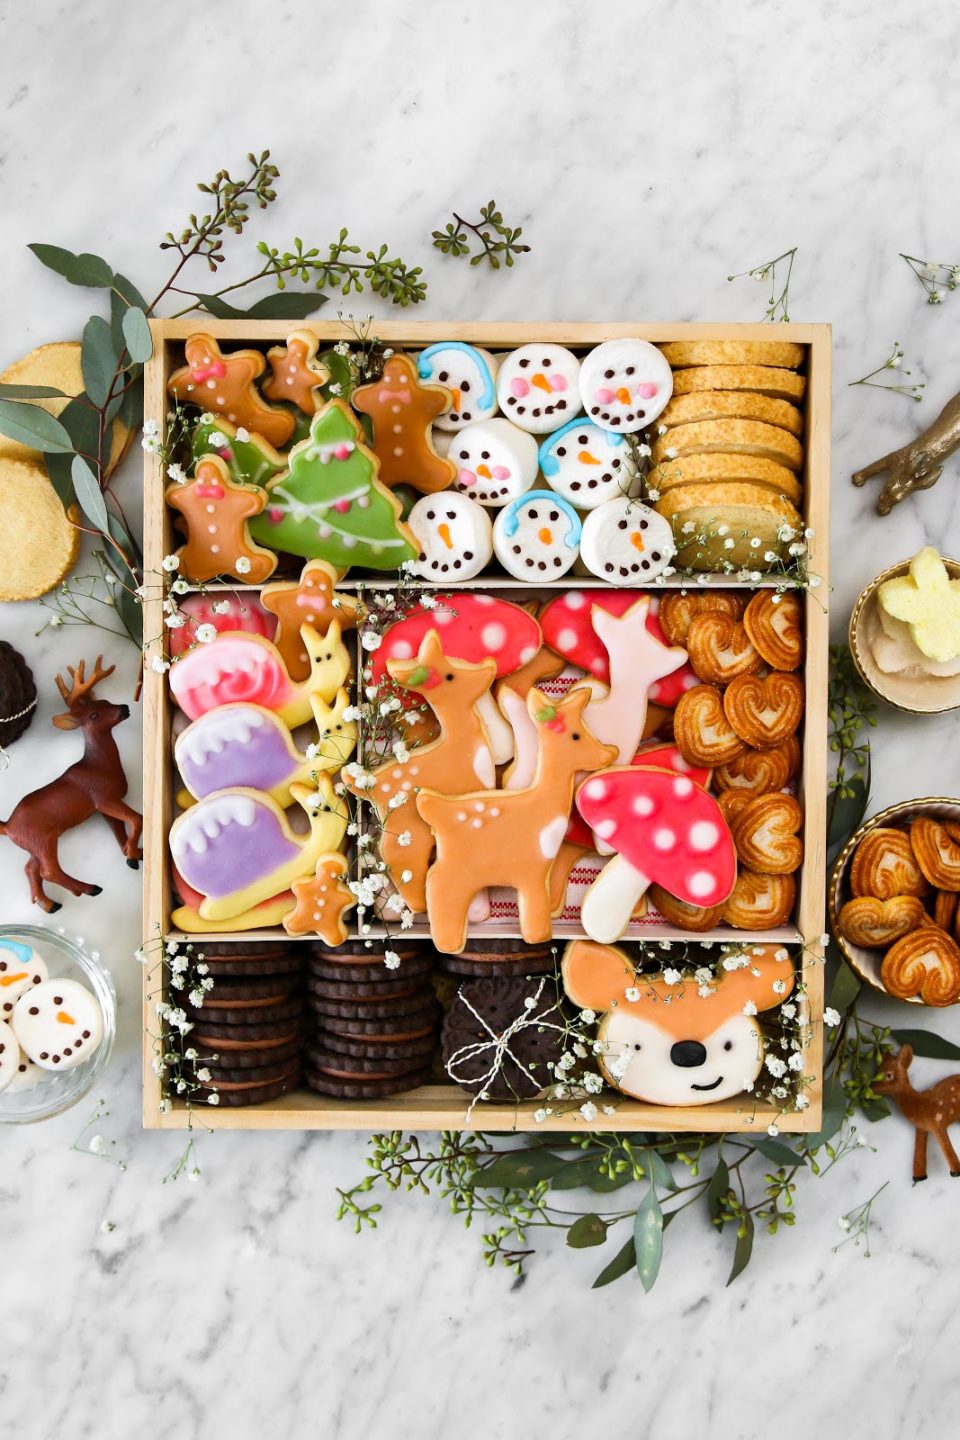
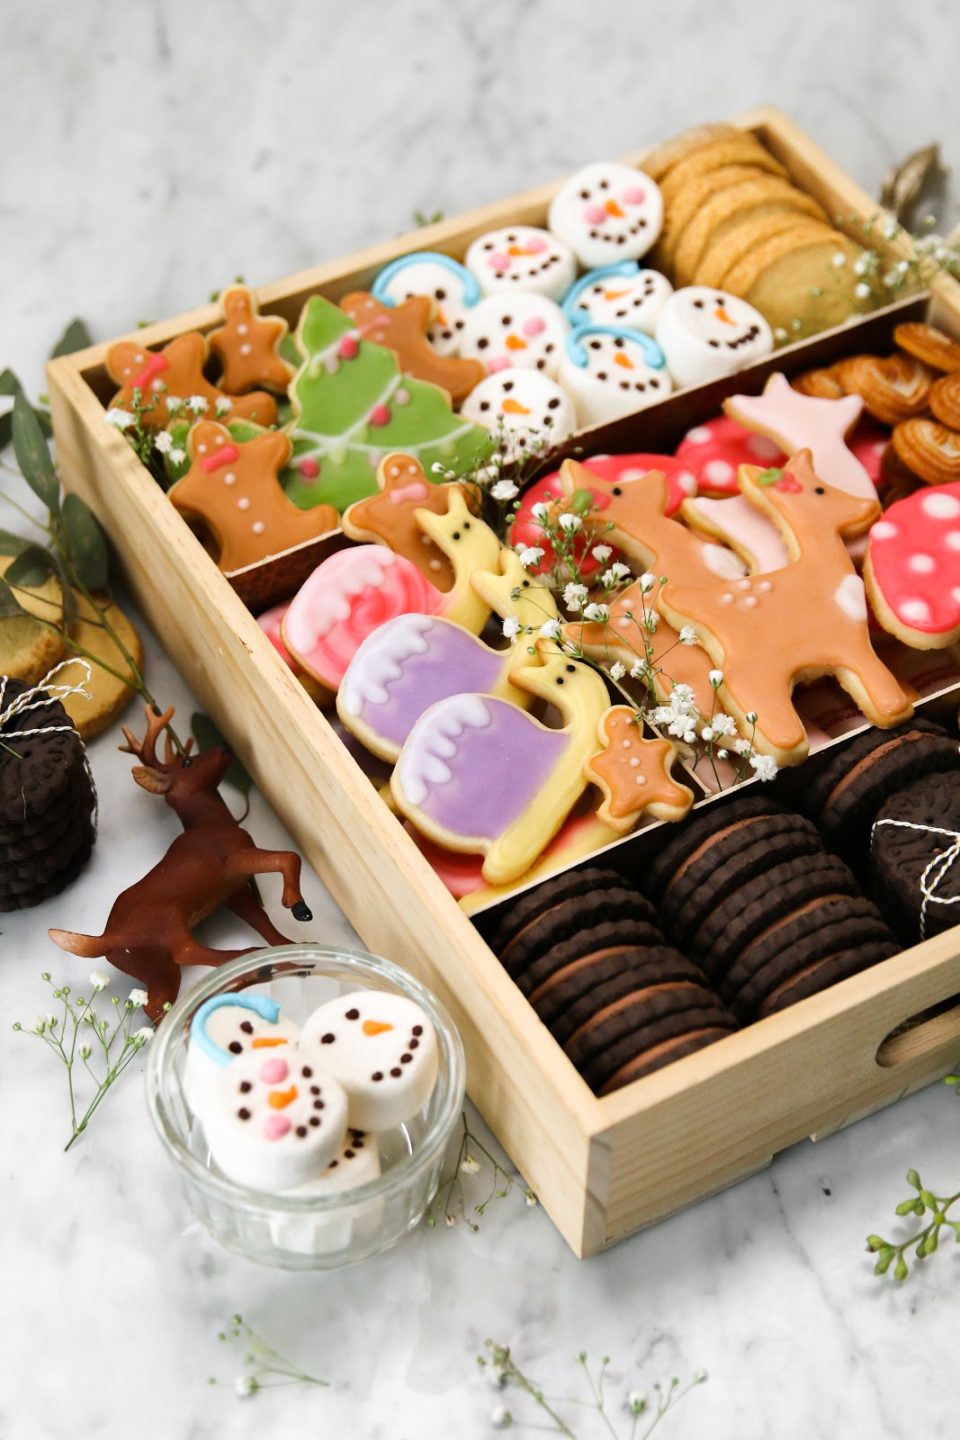
This year I am sharing a woodland themed holiday cookie box — deer wearing holiday scarfs and holly, snow-covered snails, toadstools, trees with Christmas lights, and of course classic gingerbread men/women. I am sharing this with you a tad earlier this month because I am going to be honest — cookie boxes take a lot of time and patience. Cookie boxes aren’t a one-day affair. The process is much more enjoyable when you divide work across several days. Making the cookie dough on one evening, baking it off the next day, and decorating all the cookies when you are able to set aside a larger chunk of time. These cookies also freeze really well, so you don’t have to fret if you have to spread out the tasks into two different weekends.
In addition to using a great base recipe for your holiday cookie box, there are some tips and tricks that will your cookie box to the next level:
1. Finding the perfect box!
Old metal cookie tins are perfect to recycle to become new cookie boxes — they were made to hold cookies in the first place! Wooden boxes from the craft store and sturdy gift boxes will also do the trick. I like to make cookie box dividers (for inside the box to section off different variety of cookies) from thick cardstock. Secure dividers with a little bit of tape.
2. Having a variety of colours and textures!
I like having a variety of cookies in my cookie box — cut out cookies, drop cookies, bar cookies, sandwich cookies, you name it. Not only does having a variety of cookies take your cookie box to the next level visually, but it makes the cookie box more fun to eat. You get a different flavour and texture with every cookie. Even if you only have one type of cookie, you can decorate them differently. I decorated my reindeer cookies three different ways to make sure each of them ‘pop’ in the box.
3. Adding in treats that are not cookies!
Add your favourite candies, chocolates, and rice krispie treats for some extra fun. I love adding the mini candy canes to my boxes.
Today, I am sharing a classic sugar cookie featuring Dairyland 18% Coffee Cream. The cream is used in the batter itself to make the cookie extra tender and in the royal icing used to decorate the cookies.
Thank you, Dairyland for supporting Constellation Inspiration!
Happy baking!
Ingredients
- 1 1/3 cup unsalted butter, softened
- 1/2 cup granulated sugar
- 2 large egg yolks
- 1 1/2 tablespoons Dairyland 18% Coffee Cream
- 1 teaspoon vanilla
- 2 1/2 cup all-purpose flour
Royal Icing
- 4 cups about 1 lb. confectioners’ sugar
- 5 – 6 tablespoons Dairyland 18% Coffee Cream*
Instructions
- In a bowl of a standing mixer, beat together butter and sugar on medium speed until smooth.
- Beat in egg, one at a time. Add coffee cream and vanilla and beat until well-incorporated.
- With the mixer on slow, add the flour. Mix until just incorporated. Do not overmix.
- If the dough is too soft as this point, chill the dough in the refrigerator until dough is not too sticky to the touch.
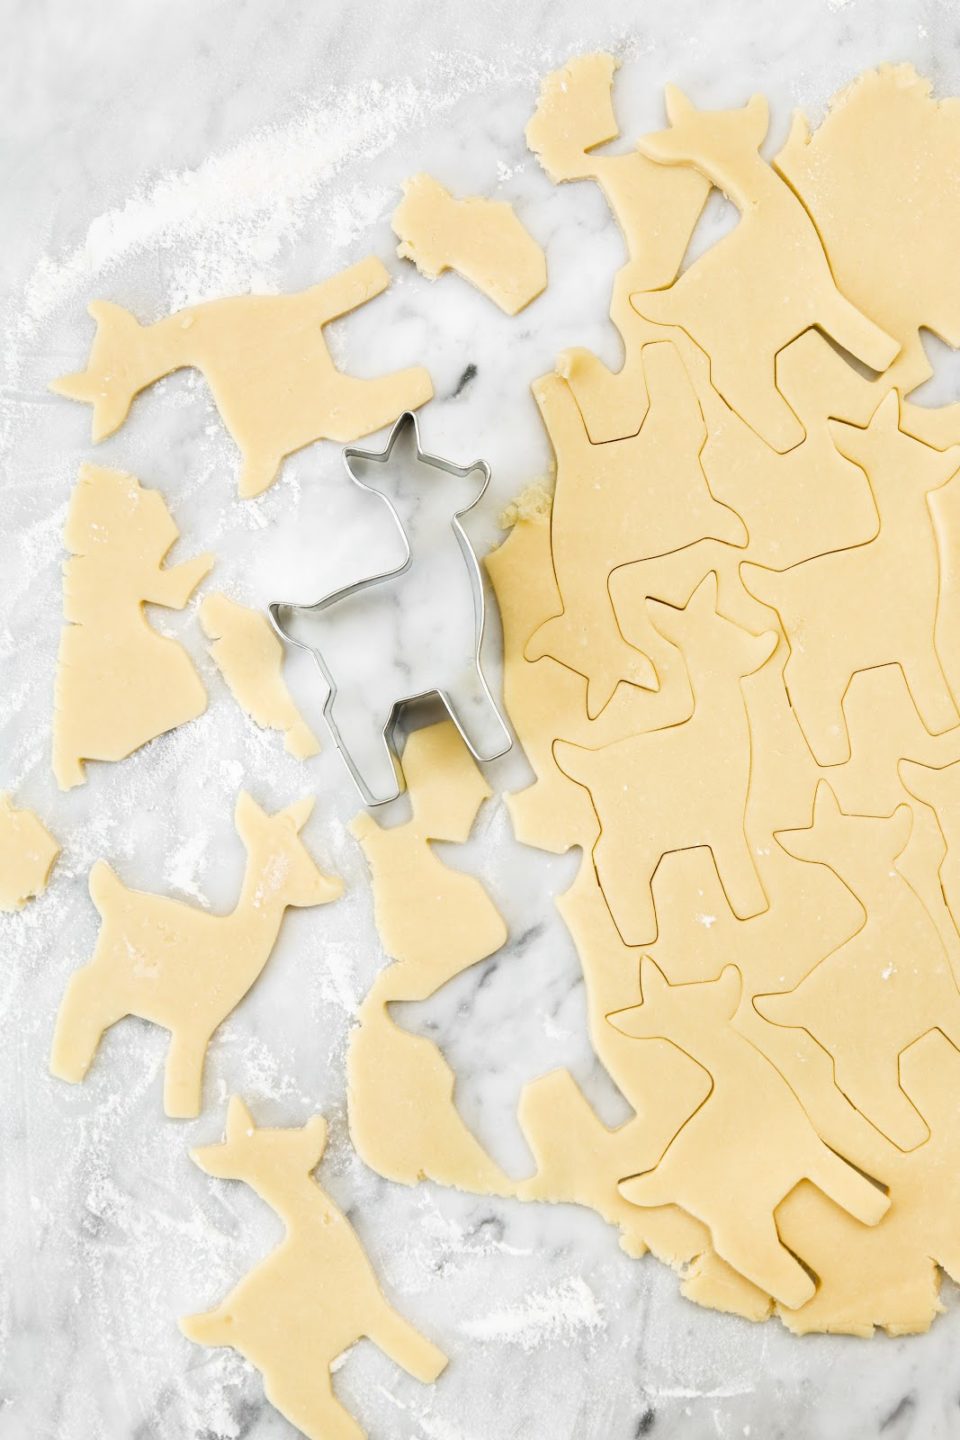
- Roll out the dough in between two sheets of parchment paper to 1/4 inch in thickness. Use cookie cutters to cut out desired shapes.
- Chill the cut outs in the fridge for at least an hour to prevent the cookies from spreading when baking.
- Bake at 315F for 12 – 14 minutes, just until the edges are golden brown. (Smaller cookies will require less time)
- Let cookies cool completely before decorating with royal icing.
Royal Icing
- In a large bowl, combine all the ingredients and mix until no lumps of sugar remain.
- Portion out icing into smaller bowls and colour with gel food colouring.
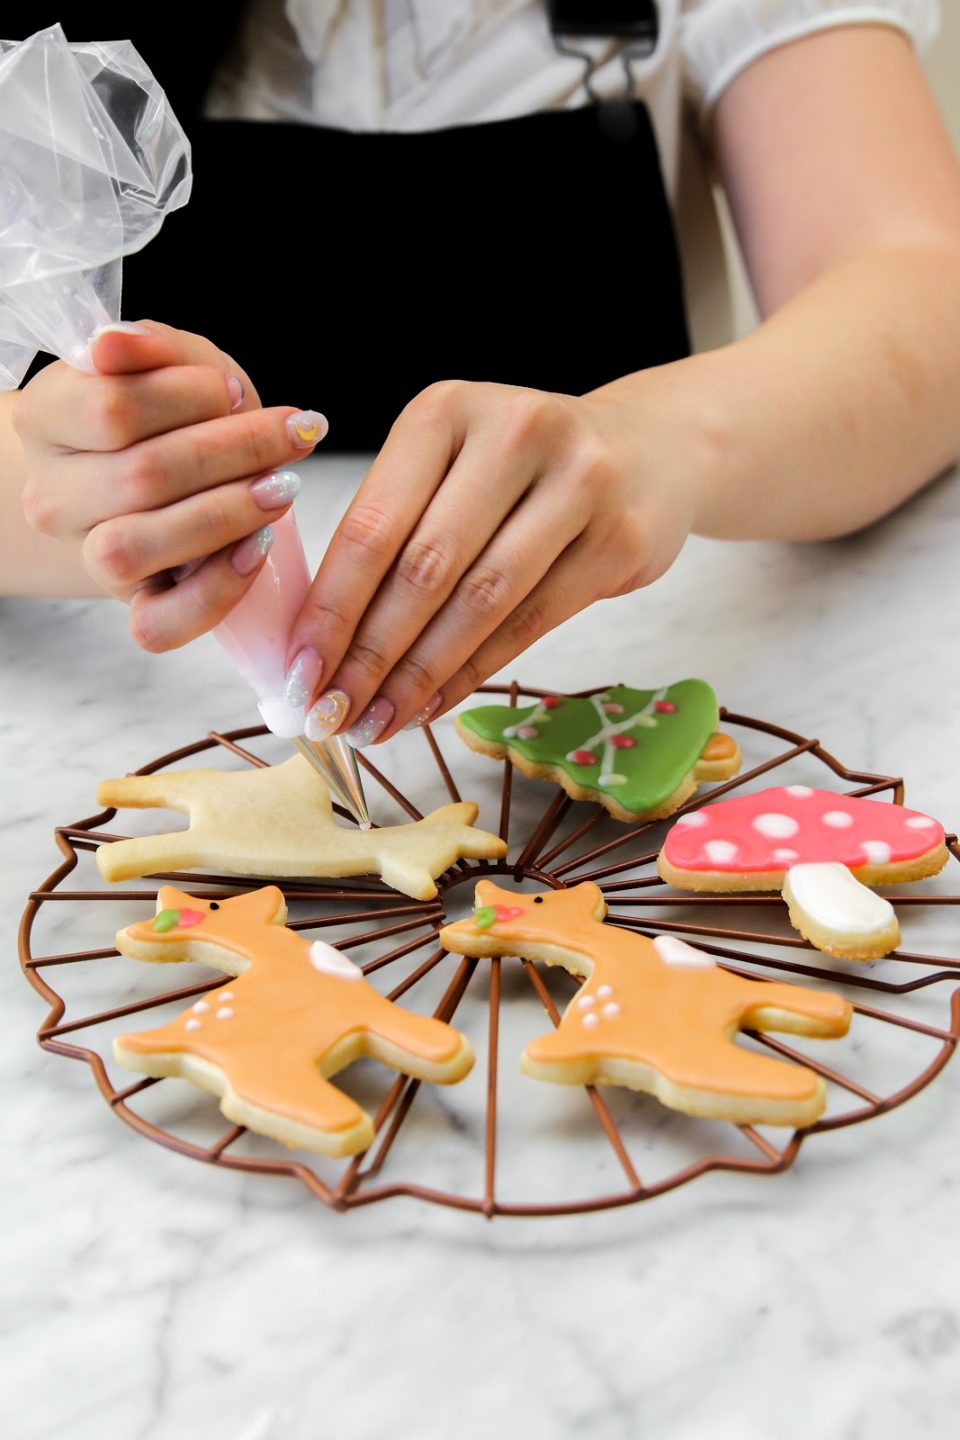
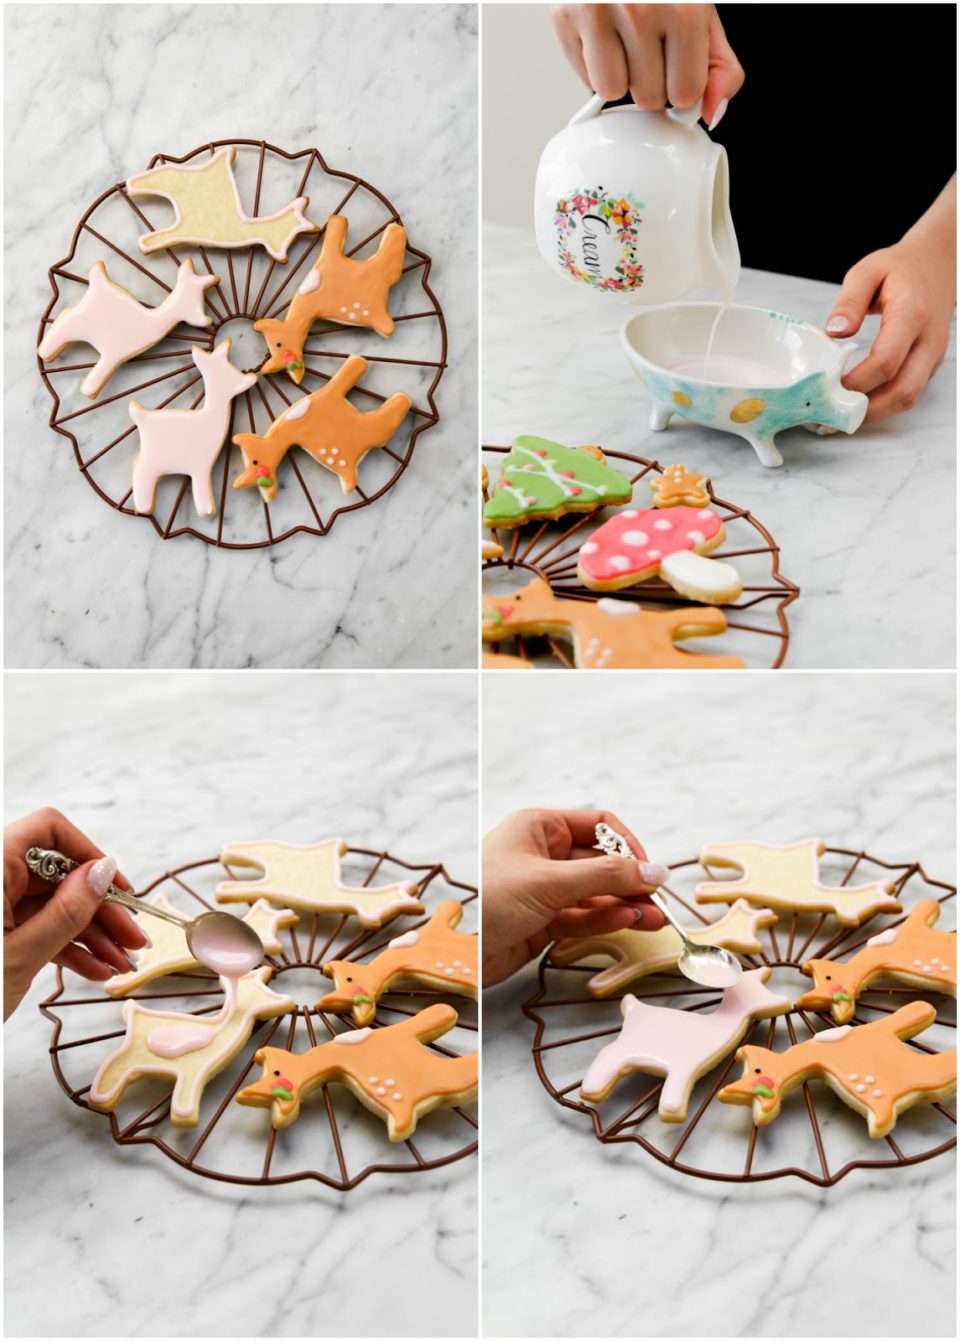
- Fill a pastry bag fitted with a piping tip with the thicker icing and outline a border onto your cookie. This creates the ‘dam’ for your cookie.
- Fill the cookie with the thinner icing of the same colour — this step is called ‘flooding’ the cookie. Use the back of a small spoon or spatula to help smooth out the surface.
- Once the icing has hardened, use thicker icing of different colours to decorate your cookie.
- Let cookies completely dry before stacking.
Notes







Judy says
Hi,
Love your posts. You have the prettiest accessories, and the rack that you are using to decorate the cookies with is really cute. The little pig is another cute article. Wish we had some cute things like that here.
Unknown says
This is the cutest cookie tray I have ever seen in my lifeeeeee!!
Unknown says
This box looks amazing!!! What are the little heart shaped cookies?
QuoraHarshEntrepreneur WhiteSafeUser Redsoil says
How do you get such design ideas & make such beautiful stuff?
Quora com profile Harsh-Entrepreneur