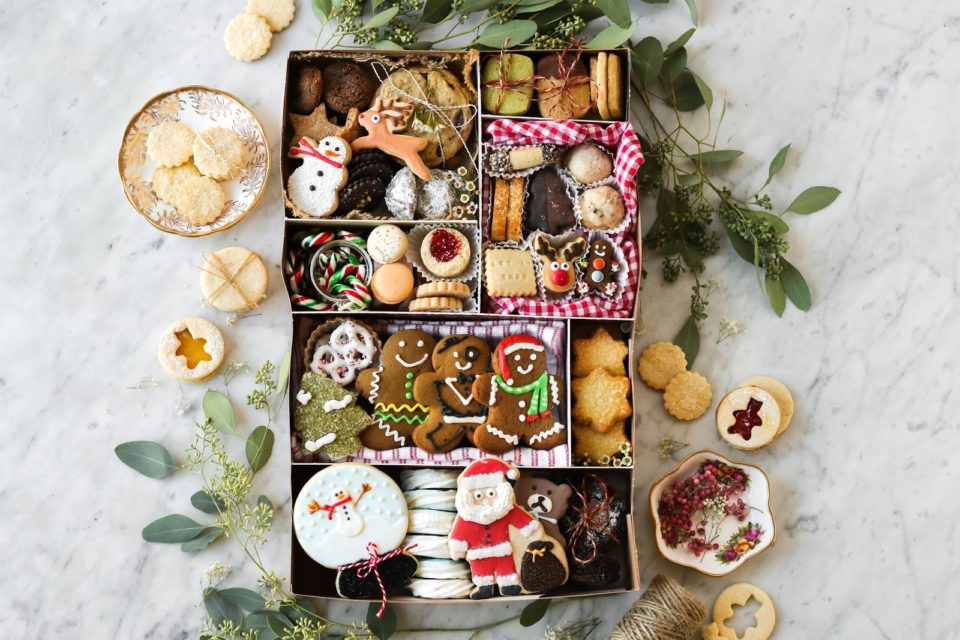
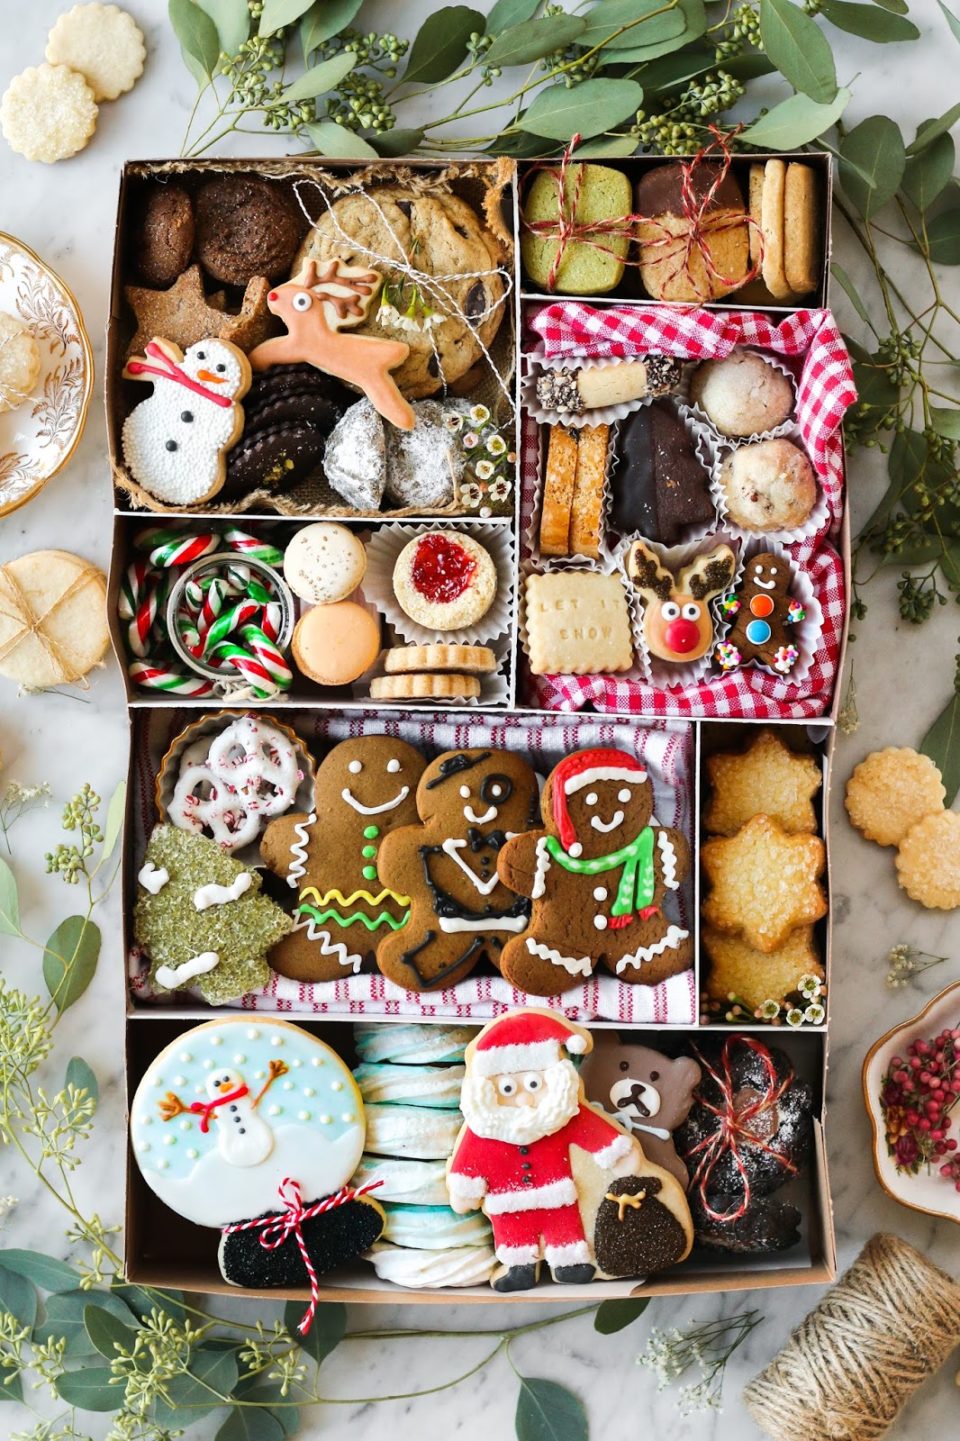
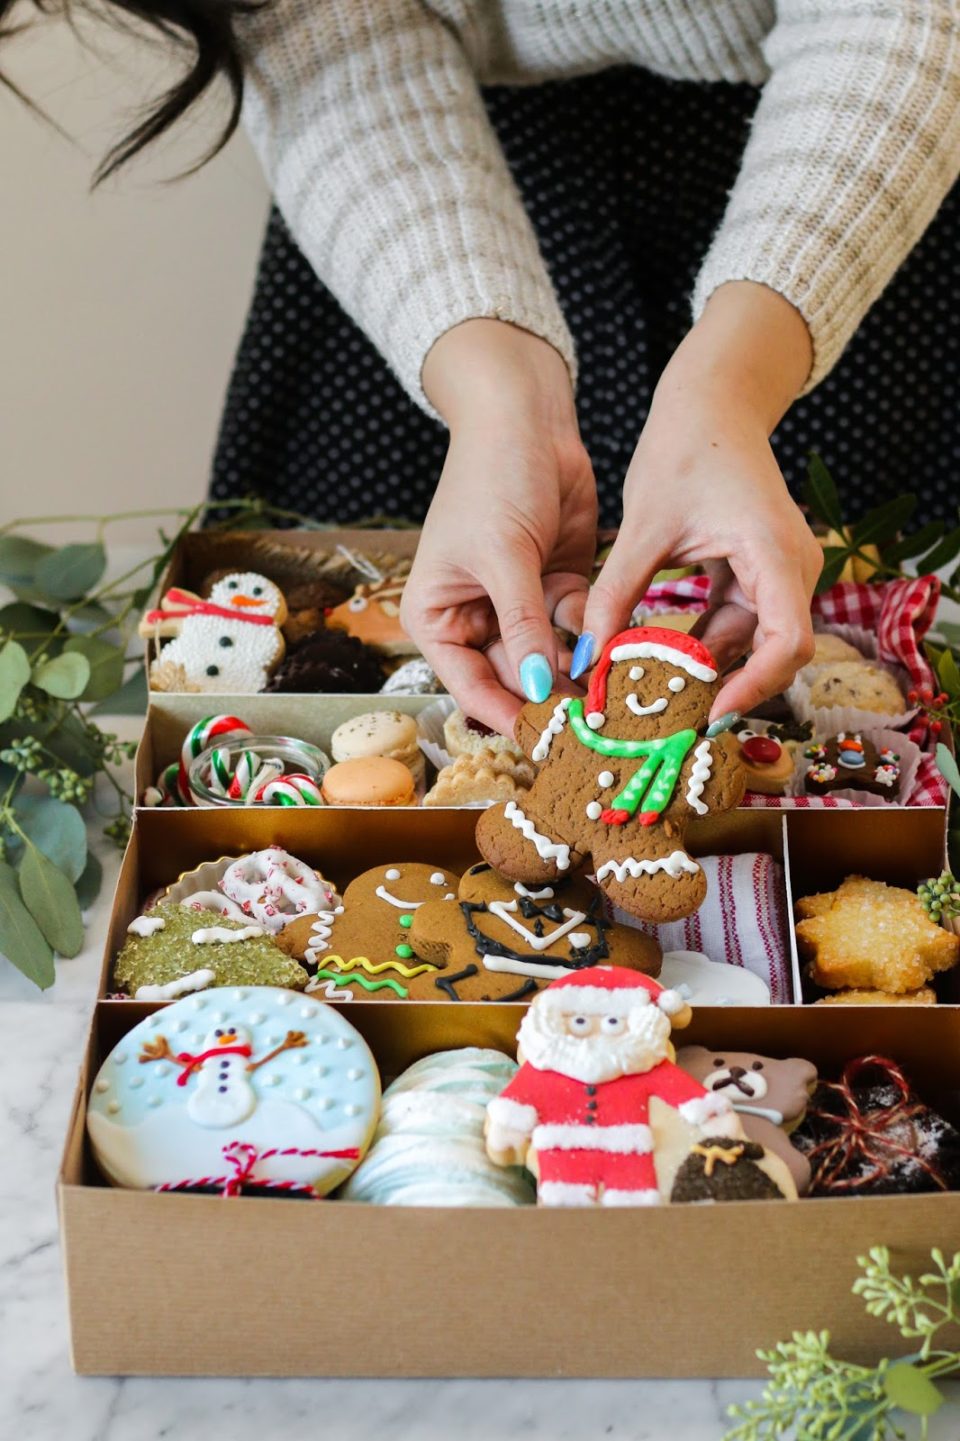
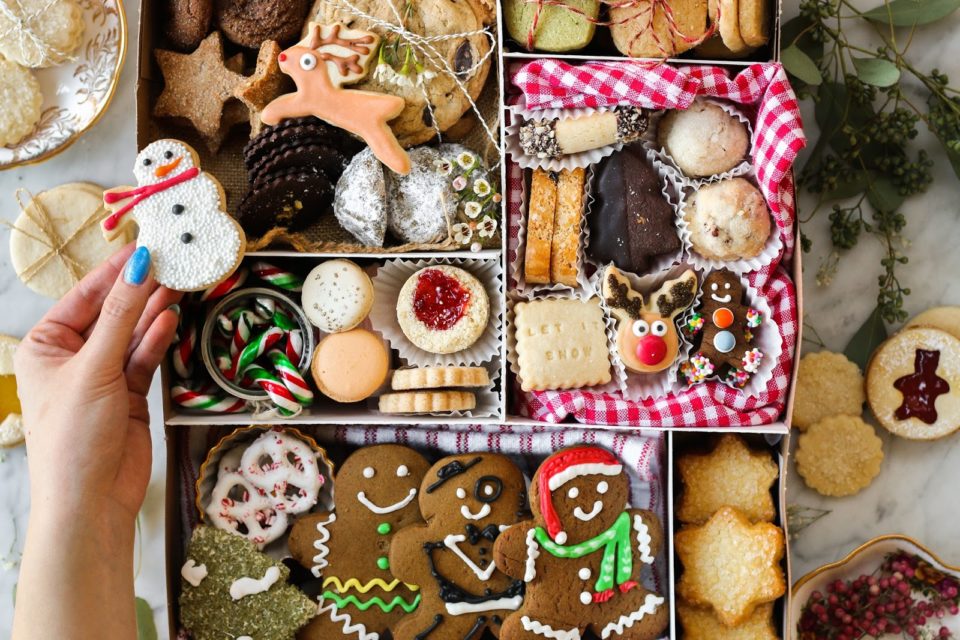
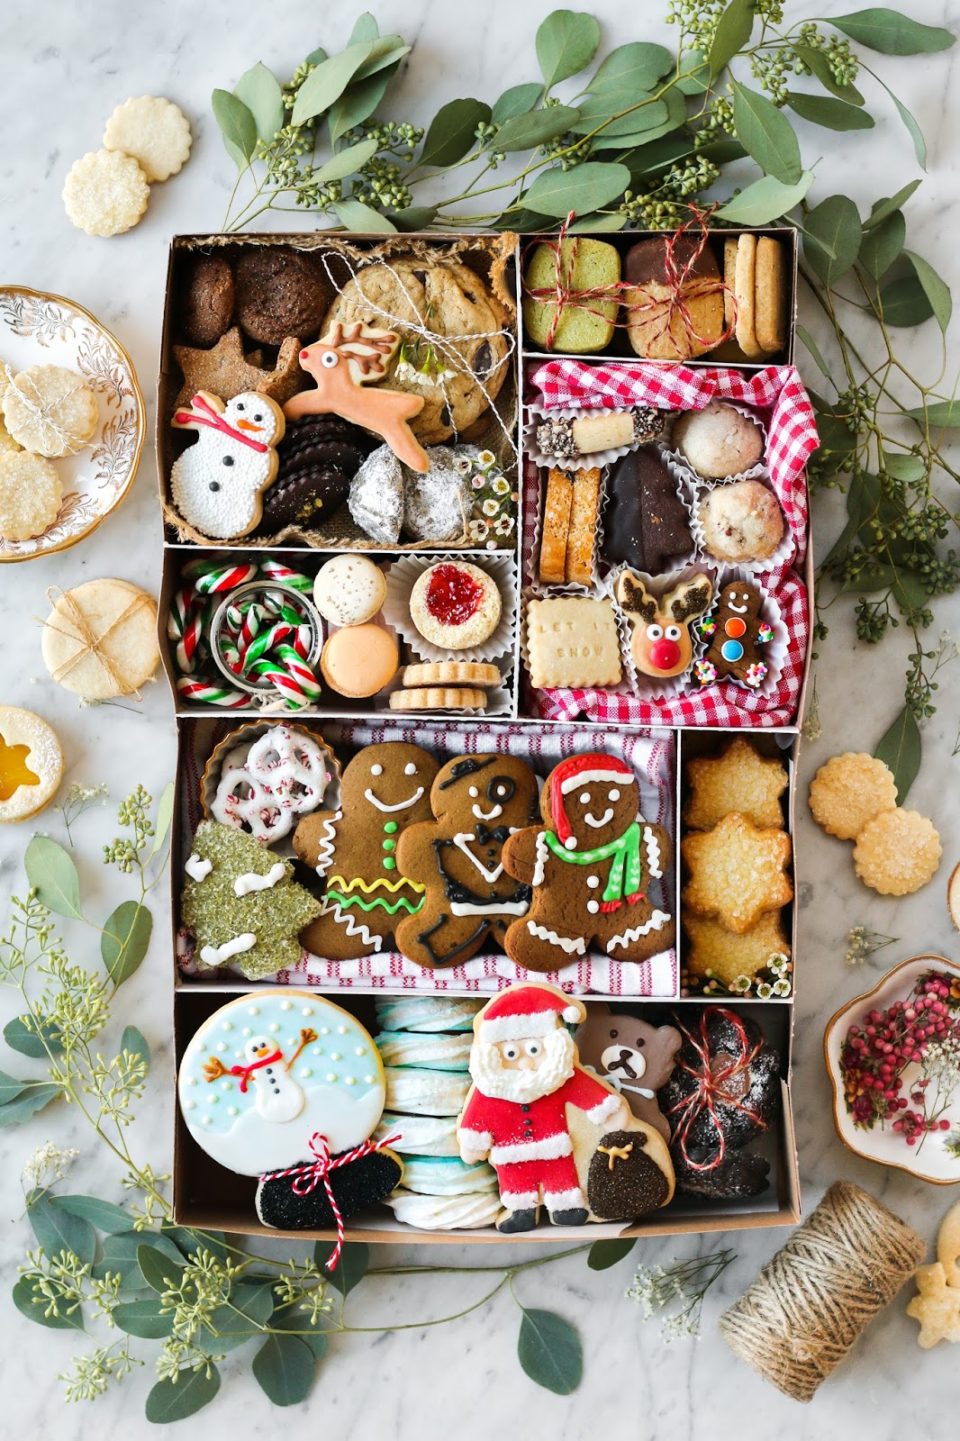
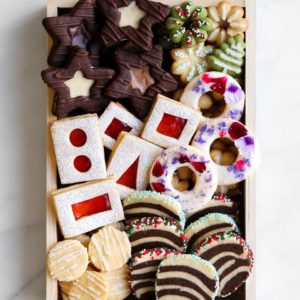
The cookie box makes a return to the blog again this year! You loved the cookie box from last year (it was the most popular blog post of 2017!) that it only seemed right for me to create some sort of cookie box again this year. Originally I was not sure if I was going to make a cookie box this year, especially a box of a similar size to the one from last year. I had so much holiday baking to do that I did not think I would be able to bake 8 – 10 different types of cookies and provide thorough recipes and instructions for each one. I was in a cookie-induced dilemma when the lovely TEAMCHOMP (hi!!) suggested that we create (in his words exactly) “the most epic cookie box with our favourite holiday cookies in Vancouver.” So that is exactly what we did. We picked a day and drove all around town to pick up our favourite festive cookies in Vancouver. We also included a few cookies that are not necessarily festive, but we thought were a nice addition to our box.
There were two questions that kept coming into my email and Instagram inbox during the months of November and December —“where did you get the box for your cookie box?” and “how did you make your cookie box?” It seems like many of you want to make your own cookie box this year (yay!) so I am here today to answer both those questions for you.
“Where did you get the box for your cookie box?”
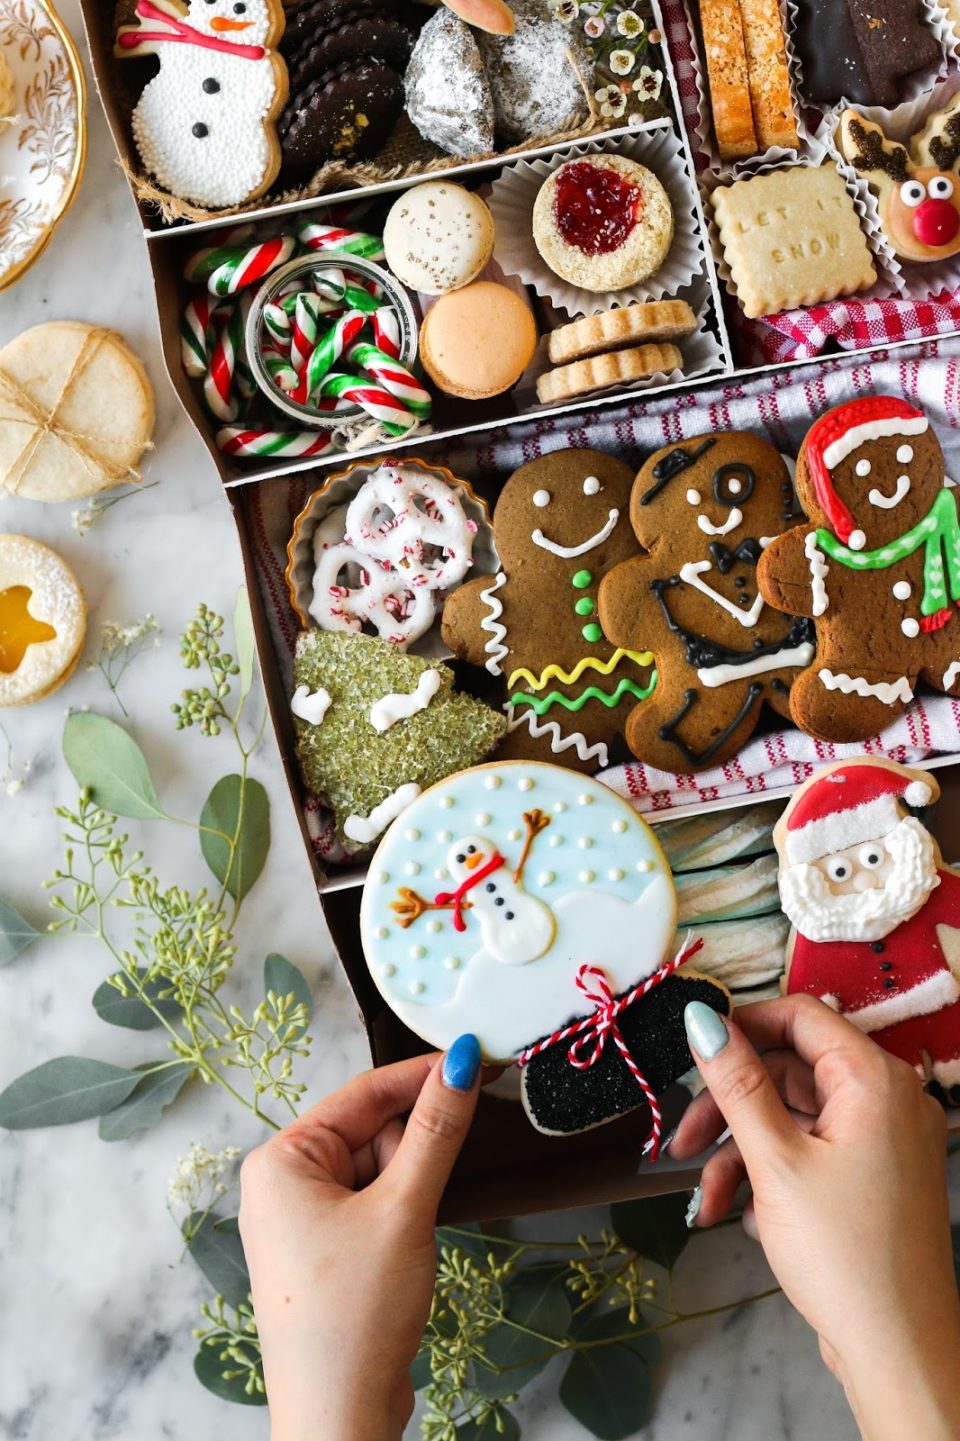
My ‘cookie box’ is not an actual box designed for housing many different types of cookies. The box itself is a very large shirt box. I bought this large shirt box from a local craft store. I then bought thick card stock, which I then trimmed down, to turn into cookie box dividers. The amount of card stock needed will depend on how many compartments you want your cookie box to have.
Do not worry about how the compartments of your box will look before you have your cookies. Once you start arranging your cookies in the box without the dividers, you will start to get a sense of how large your dividers have to be and how many you will need. Once the cookies are in the box, your dividers should not have any problems standing up on its own, but if if you want some extra support, a little hot glue or tape will do just the trick.
“How did you make your cookie box?”
My answer to this question might be slightly underwhelming but I do not have one answer that will fully answer that question. What I can provide to you though are tips and tricks to make and arrange the perfect cookie box!
1. When choosing festive treats for your box, be sure to choose treats that have a shelf life of more than just a day. It is likely that you or whoever you are gifting this cookie box to will not be able to consume all the cookies in one sitting. Shortbread cookies and sugar cookies are great cookies because they stay fresh longer, especially when stored airtight. Soft ginger molasses cookies are also a great choice because the molasses in them tend to help them stay moist for several days.
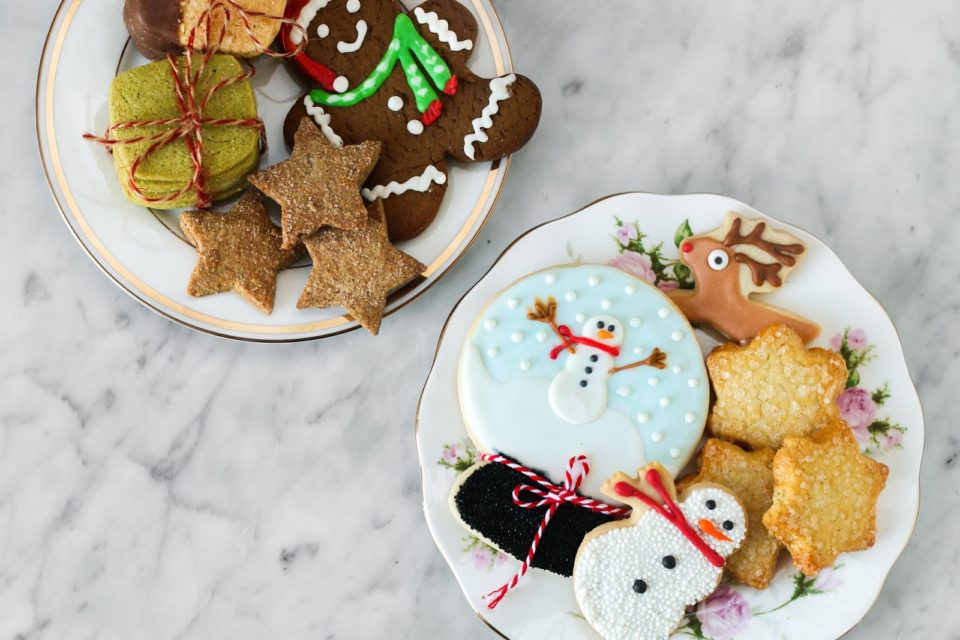
2. Choose a variety of cookies. It is nice to have variety of cookies in terms of flavour and shape. If you want to save time and make a full box of shortbread cookies, do not be afraid to have different add-ins in to make different variations of shortbread. You can create one classic shortbread dough, divide up the dough into portions and add different types of nuts, dried fruit, or chocolate into each portion of dough. Using different cookie cutters will also add variety to your box. I also love turning my favourite shortbread cookies into linzer cookies with the addition of jam and a light dusting of icing sugar.
3. If you are decorating sugar cookies for your box, make sure the icing on your cookies are completely dry before you start arranging and stacking your cookies. Patience, always!
4. Since we are on the topic of stacking cookies, be sure to stack the heaviest cookies at the bottom and the lighter, more delicate cookies at the top.
5. Do not limit yourself to just cookies. Your festive box can be a cookie box or it can be a treat box. Last year I had homemade marshmallows for one compartment of the box and this year I added peppermint chocolate covered pretzels and a jar of mini candy canes to the mix.
Both years I created a large cookie box, but that does not mean smaller boxes are not as pretty and festive! I have created many smaller boxes too. Smaller boxes are much easier to find in the craft store and many smaller boxes actually come with little dividers. If you want some inspiration to a simpler version of a cookie box, you can check the speculoos and hot cocoa box I created last year as well. It makes a very cute breakfast cookies in bed kind of situation.
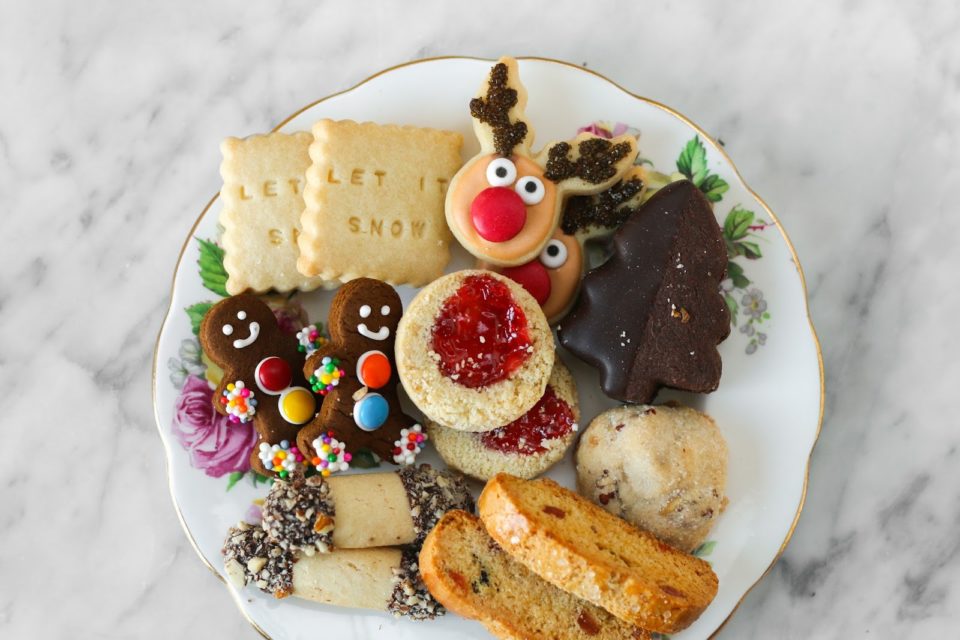
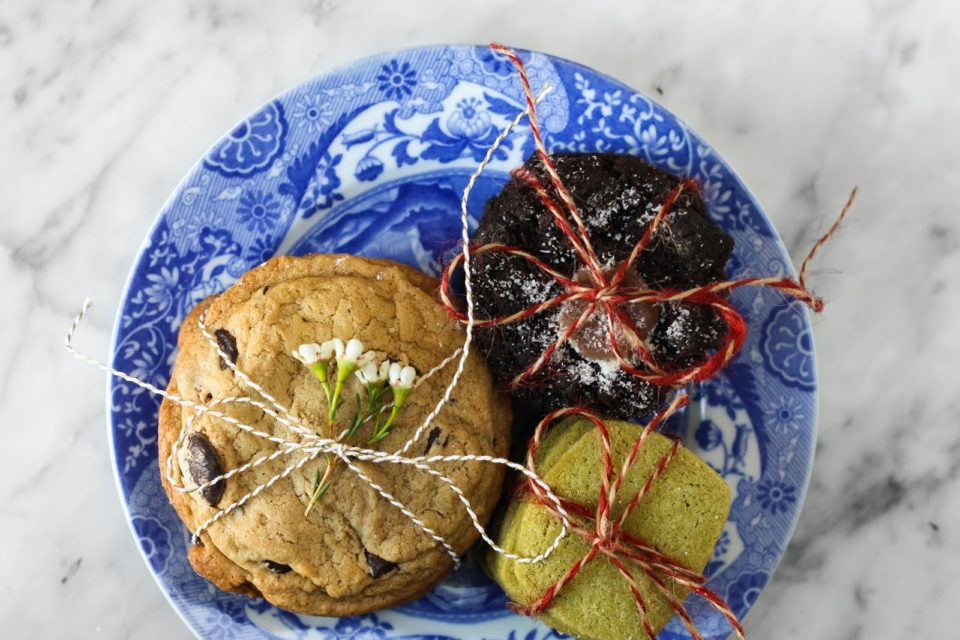
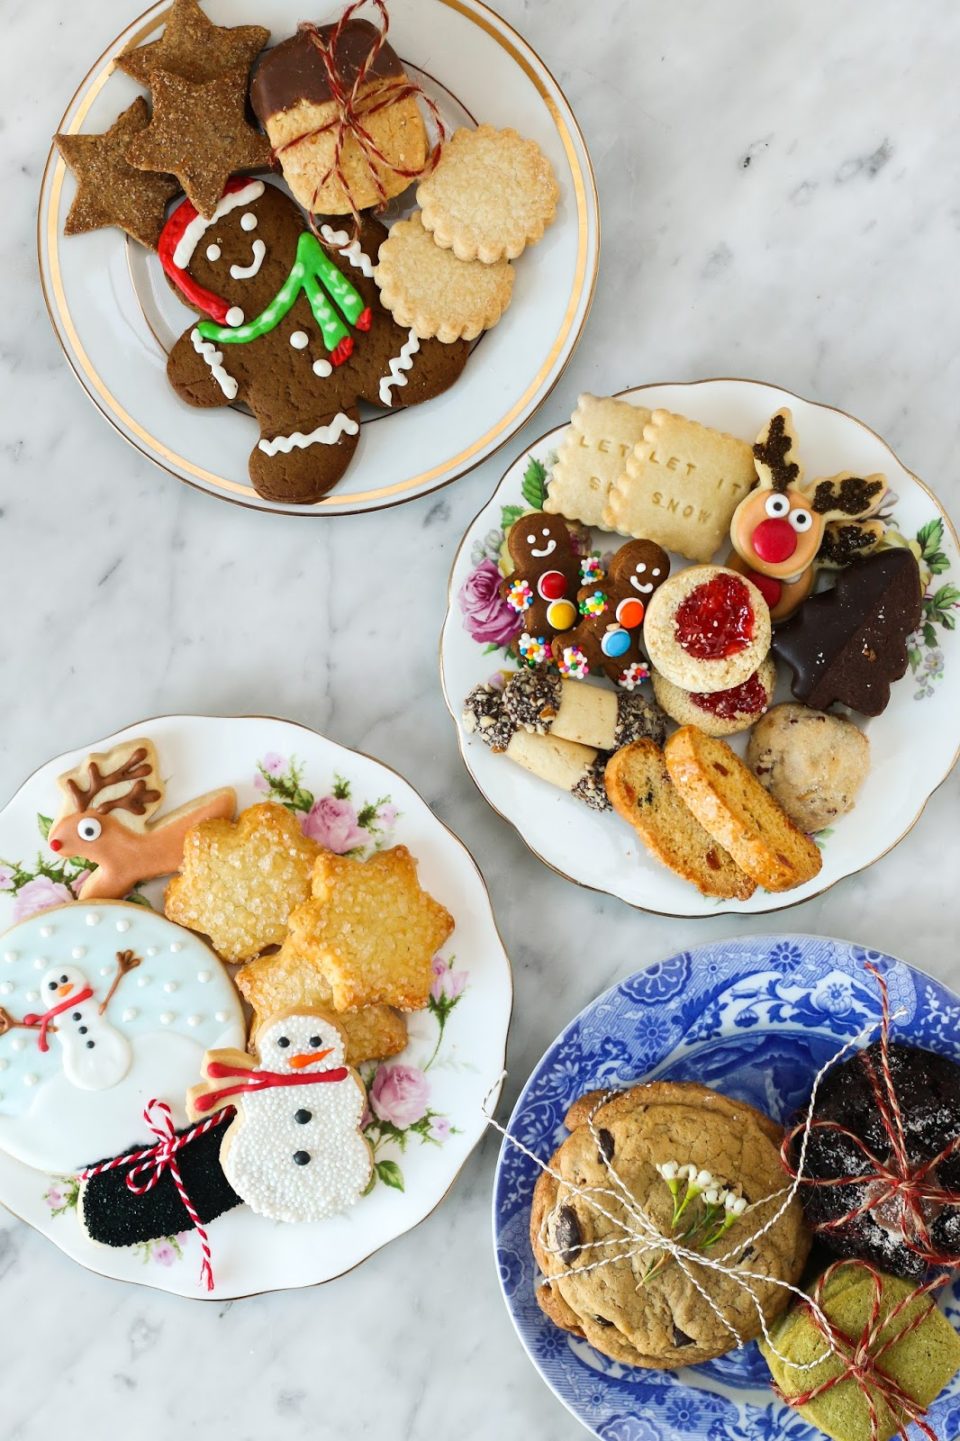
The cookies that I chose to be part of the box this year were the ones both TEAMCHOMP and I really enjoy. All the cookies come from local bakeries here in Vancouver, BC and if you are from Vancouver (hello!!) we hope this serves as a helpful guide to where you can find festive cookies in the city. You can read more about our cookie guide over at TEAMCHOMP.
*We used cookies from: Beaucoup Bakery, Butter Baked Goods, Cadeaux Bakery, Fife Bakery, Half Baked Cookie Company, Tacofino, Thomas Haas Chocolates & Patisserie
Not Pictured (but equally loved): Elysian Coffee, Nemesis
Happy holidays from Amy and Rich of TEAMCHOMP!






Lily Gardner says
Such a great idea for cookie packaging. Thanks for the great sharing.
Lynda Smith says
Where do you get the dividers for your Christmas boxes
Olivia says
Do you do like small Christmas boxes instead of the big ones where like I colloid pick some of the stuff out of the big one for you to put into it ?
Ludy says
Thank you for these tips! This collection looks scrumptious.